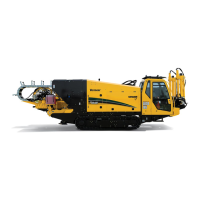
D7x11 Series II Navigator Directional Drill Operation 50-7
LIFTING MACHINE
No provisions are made for lifting the machine. If transport requires that machine be lifted, it must be loaded
onto an appropriate skid.
Setup
BORE PATH - WALK
Be sure to walk the bore path to double-check for signs of utility lines, potential causes of locator interference,
and general assessment. Look for the following visual signs that could indicate presence of utility lines:
• Ditch lines or depressions where the ground has settled from previous excavation.
• Buildings that have lights but no overhead wires; the power lines may be buried in the bore path.
• Patch repairs in the street, which could indicate digging to bury or repair a utility line.
• Poles with wires extending into the ground, which might power traffic-sensing loops or traffic lights.
• Manholes, which can be used for utility line connections, not only for sewer connections.
• Water and gas shutoff valves, likely indicators of utility lines in the area.
DRILL UNIT SETUP
IMPORTANT: Front of rack and rear stabilizer must be firmly on the ground when parking or leaving the drill
unattended. Use front of rack and rear stabilizer as a park brake when stopping on an incline.
Step 1: Move machine to site and position it for drilling.
Step 2: Completely lower rack.
Step 3: Lower rear stabilizer until rack is at desired angle.
Step 4: Inspect power vise jaws and grips. Replace worn or damaged components before drilling (refer to
“Maintenance - As Required” section in the Maintenance Manual).
 Loading...