NOTICE
After the calibration (at high speed) has finished the calibration needs to be repeated
at low speed, to calibrate the count per mm.
If the repeated calibration is still at high speed, something has gone wrong. Start
over again with step 5.
22. Click START CALIBRATION to start the actuator calibration (determine the counts
per mm ).
Wait for the Calibration OK message.
23. In VVSU, go to tab ACTUATOR.
24. Change the actuator speed parameter values to the values shown in the table:
Value
Name Breaker Carcass Tread
Proportional Range 10 mm 1.3 mm 1.3 mm
Speed Auto 60 mm/s 60 mm/s 30 mm/s
Speed Manual 60 mm/s 60 mm/s 30 mm/s
Speed Jog 50 mm/s 50 mm/s 30 mm/s
Pos Range 50 mm
Motor Current 4.9 A 4.9 A 2.9 A
Motor Direction 0
Motion Range 50 mm
Zero Offset 0 mm
Position P 20
Position I 1
Position D 0
25. Click TRANSMIT to send the values to VVSX.
26. Wait 30 seconds until the actuator is back online.
27. Click FILE > REFRESH PARAMETERS and check the values in the ACTUATOR tab
screen.
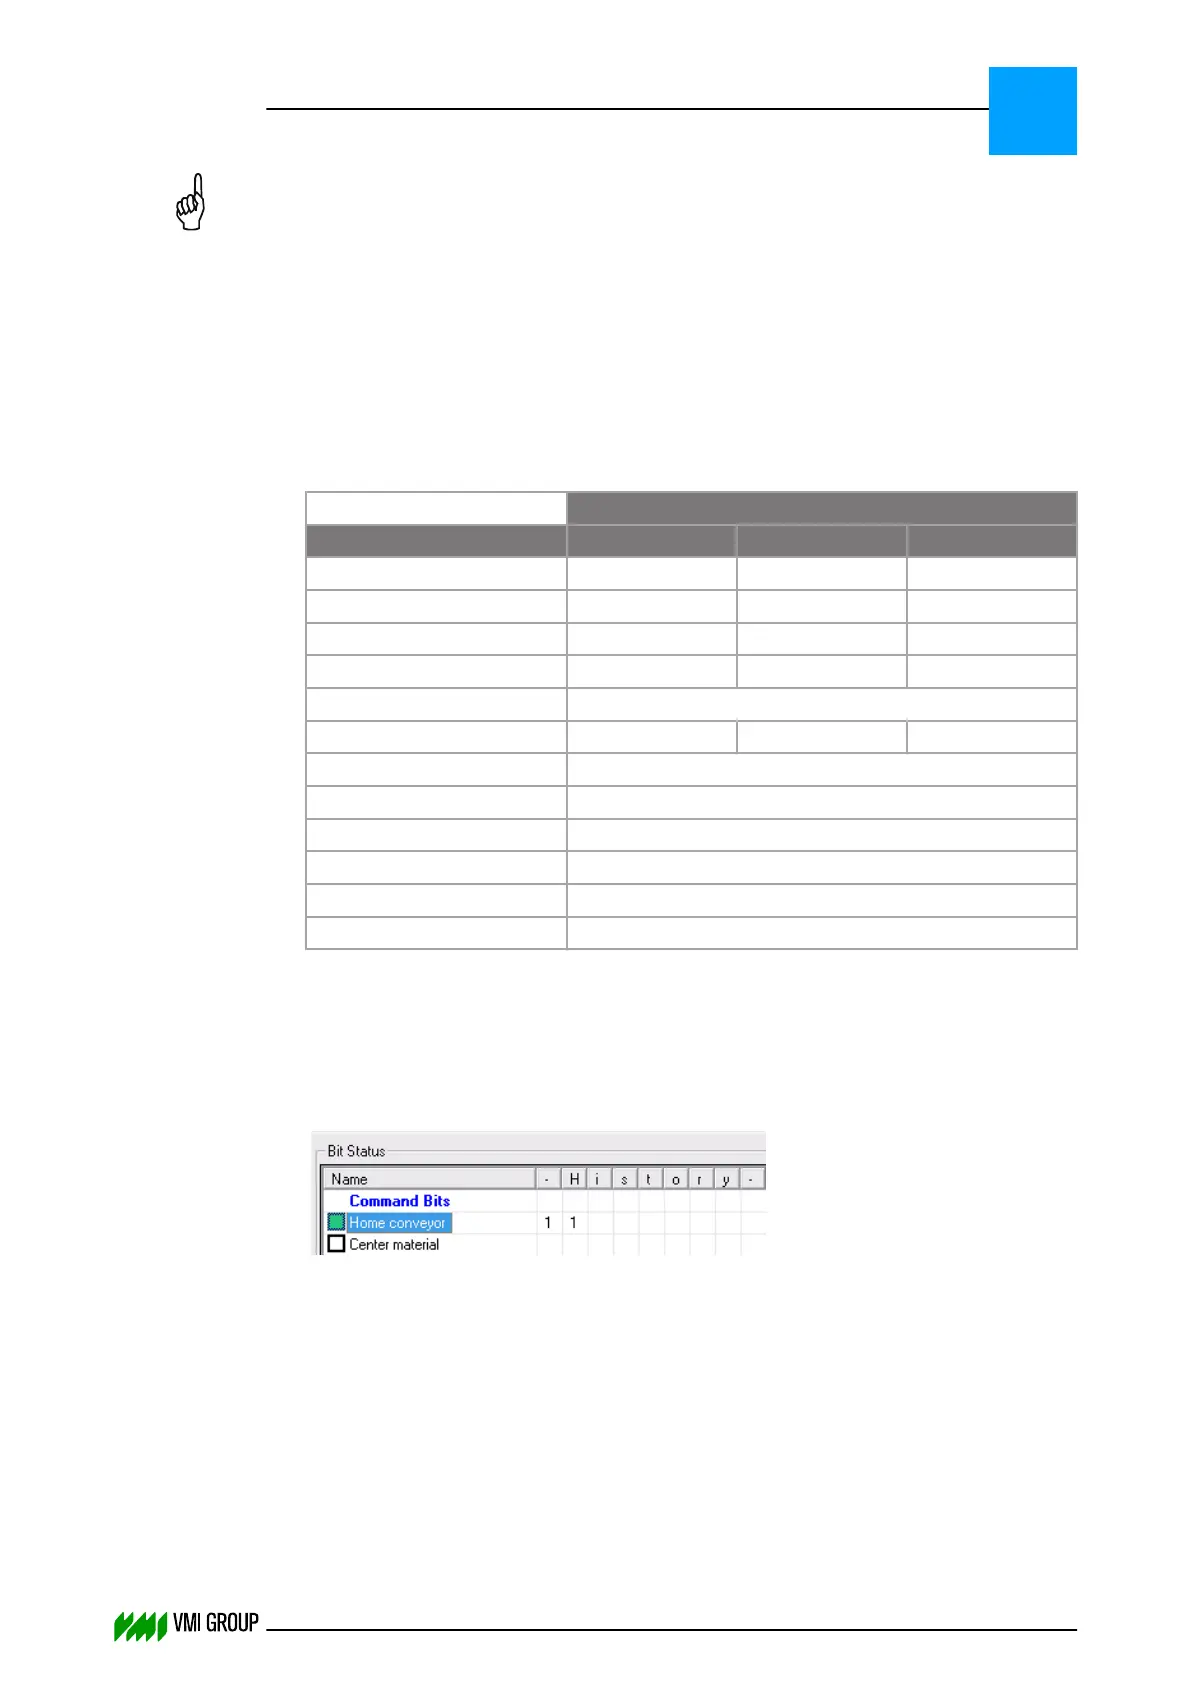
28. In VVSU, go to tab STATUS.
29.
Select Home Conveyor.
30. Go to the conveyor and measure the deviation of the heart line in respect to1BCV
(2BCV) relative to 1BAR (2BAR).
ALIGNMENTS, ADJUSTMENTS AND CALIBRATIONS
VVS Breaker
5
THINKING FORWARD
VMI Vision System VVS (OL82) VVSX 13.0.12.0, VVSU 3.0.6 / 4 / 2016-07-11 / pd#175592
5-19