ADPRO
®
FastTrace™ 2 Series Hardware Installation Manual
21790_05 21
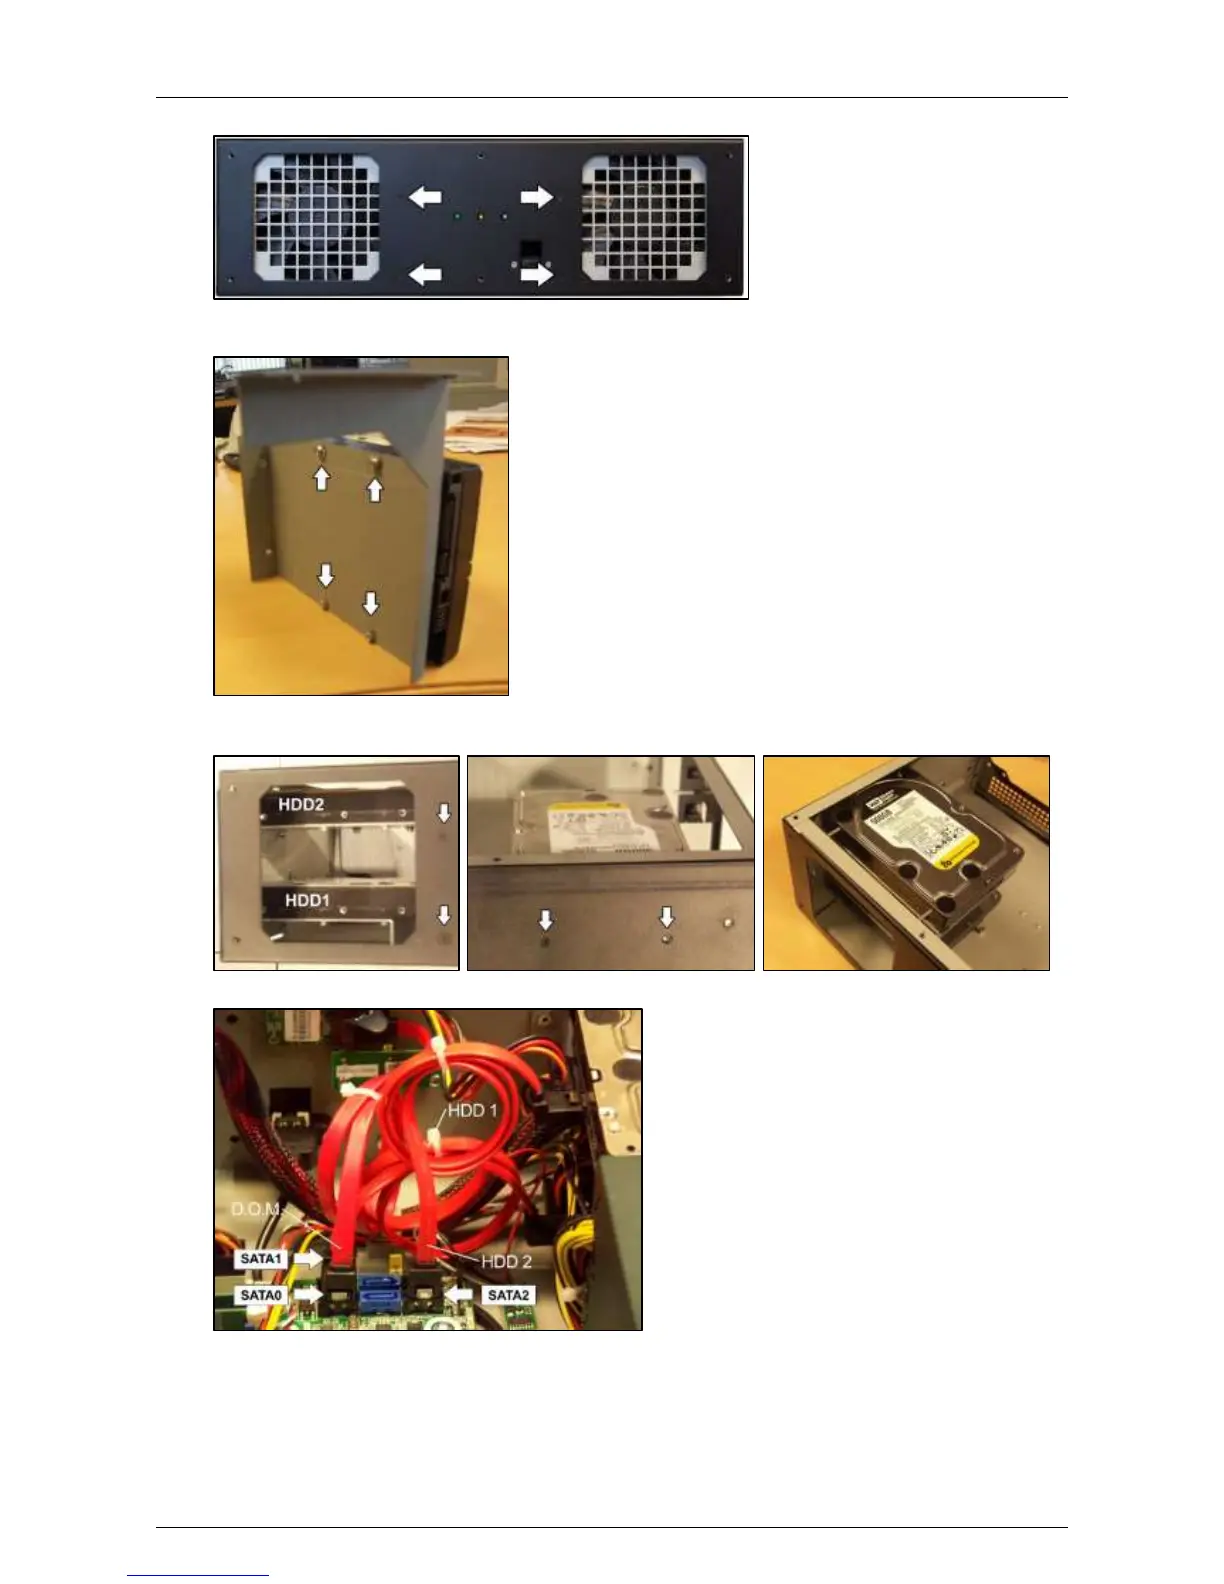
You can now see the mounting holes for the disk bays:
2. Fix the second disk to the support #1729121* with the screws #17434080 or #17434060 and dented
washers M4 #17720050.
3. Fix the support to the casing with 4 screws (#17439080): 2 at the front, and 2 at the left side of the
casing.
4. Connect the disk to the SATA2 connector on the motherboard with the SATA cable (#1652087*).
5. For the power supply to the disk, connect the remaining SATA power connector on the power cable of
disk 1 (not the one on the tail end; that one is reserved for the D.O.M.) to the disk.
6. If you need to add more disks, continue with the next step.
If you do not need to add more disks, continue with step 12.
 Loading...