EasyManuals Logo

Yealink SIP-T48G Administrator's Guide

Yealink SIP-T48G
898 pages
To Next Page IconTo Next Page
To Previous Page IconTo Previous Page
Page #258 background imageLoading...
Page #258 background image
Administrators Guide for SIP-T2 Series/T19(P) E2/T4 Series/CP860 IP Phones
238
If Auto is selected, the IP phone will use the default account when placing calls to
the contact from the local directory.
6. Click Add to add the contact.
To add a group to the local directory via phone user interface:
1. Press Menu->Directory->Local Directory.
2. Press the AddGr soft key.
3. Enter the desired group name in the Name field.
4. Press or , or the Switch soft key to select the desired group ring tone from
the Ring field.
5. Press the Add soft key to accept the change.
To import an XML contact list file via web user interface:
1. Click on Directory->Local Directory.
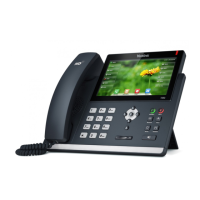
Table of Contents

Other manuals for Yealink SIP-T48G

Questions and Answers:

Question and Answer IconNeed help?

Do you have a question about the Yealink SIP-T48G and is the answer not in the manual?

Yealink SIP-T48G Specifications

General IconGeneral
Expansion module supportYes
Handset typeWired handset
Product typeIP Phone
Product colorBlack
Volume control-
Display diagonal7 \
Display resolution800 x 480 pixels
Lines quantity- lines
Phonebook capacity1000 entries
Number of VoIP accounts6
AC adapter input voltage100 - 240 V
Number of handles included1 pc(s)
Weight and Dimensions IconWeight and Dimensions
Width266 mm
Height185 mm

Related product manuals