NoteAction
Verify that the input to X13/X14 is 24 VDC ±
10%.
• If the measured voltage is normal, pro-
ceed with step 10.
• If the measured voltage is abnormal,
there is an issue with the 24 VDC supply
from the power unit. See Troubleshoot-
ing the power unit on page 383.
Measure the 24_BRAKE input at
connector X13/X14.
2
Make sure that the drive unit is operational.Check the two Link/Activity LEDs
(B & D). These LEDs indicate the
communication status of the mod-
ule.
3
If the Link/Activity LED is:
• Yellow, steady: The communication link
is established. The drive unit may be
faulty, see Replacing the drive unit on
page 262.
• Flashing yellow: The communication link
is established and data is transferred
through the port. The drive unit may be
faulty, see Replacing the drive unit on
page 262.
• Off: The EtherCAT link is not established.
Proceed with step 5.
If the connection and cable seem OK, proceed
with step 6.
Check the connectors at T4.X1 (24V
SYS DRV IN) and T4.X2 (24V SYS
DRV OUT). Make sure that the
power cables are connected prop-
erly at both ends.
4
If there is a problem with the connection, pro-
ceed with step 7.
If the connection seems OK, proceed with step
6.
Check the cables X3/X4/X16/X18.
Make sure that the cables are con-
nected properly at both ends.
5
If there is a problem with the connection, pro-
ceed with step 7.
Verify that the input to X1/X2 is 24 VDC ± 10%.
• If the measured voltage is normal, re-
place the drive unit. See Replacing the
drive unit on page 262.
• If the measured voltage is abnormal,
there is an issue with the 24 VDC supply
from the power unit. See Troubleshoot-
ing the power unit on page 383.
Measure the 24VDC SYS DRV input
at connector X1/X2.
6
Make sure that the power cable is connected
properly at both ends.
• If the Module Status LED is green, the
fault has been fixed. Proceed with step
1.
• If the Module Status LED is off, the fault
remains. Proceed with step 6.
Turn off power switch, and then re-
store the power connection
between the drive unit and the
power unit by reconnecting the
power cable.
7
Make sure the EtherCAT cables are connected
properly on both ends.
• If the Link/Activity LED is yellow, the fault
has been fixed. Proceed with step 1.
• If the Link/Activity LED is off, the fault
remains. Replace the EtherCAT cables,
see 9.
Restore the communication
between the modules by reconnect-
ing the EtherCAT cables.
8
• If the Link/Activity LED is yellow, the fault
has been fixed. Proceed with step 1.
• If the Link/Activity LED is off, the fault
remains. Replace the drive unit, see Re-
placing the drive unit on page 262.
Replace the EtherCAT cables.9
Continues on next page
374 Product manual - OmniCore V250XT Type B
3HAC087112-001 Revision: A
© Copyright 2023-2023 ABB. All rights reserved.
7 Troubleshooting
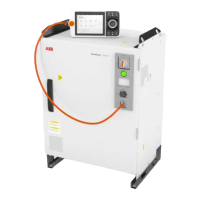
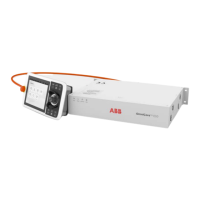
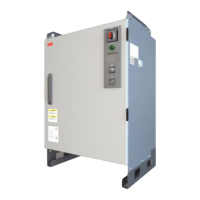
7.3.3 Troubleshooting the drive unit
Continued
 Loading...