Chapter 6. Accounts Payable
A/P Liabilities (Vendor Types)
16 From the A/P G/L Integration Menu, select 1 for A/P Liabilities.
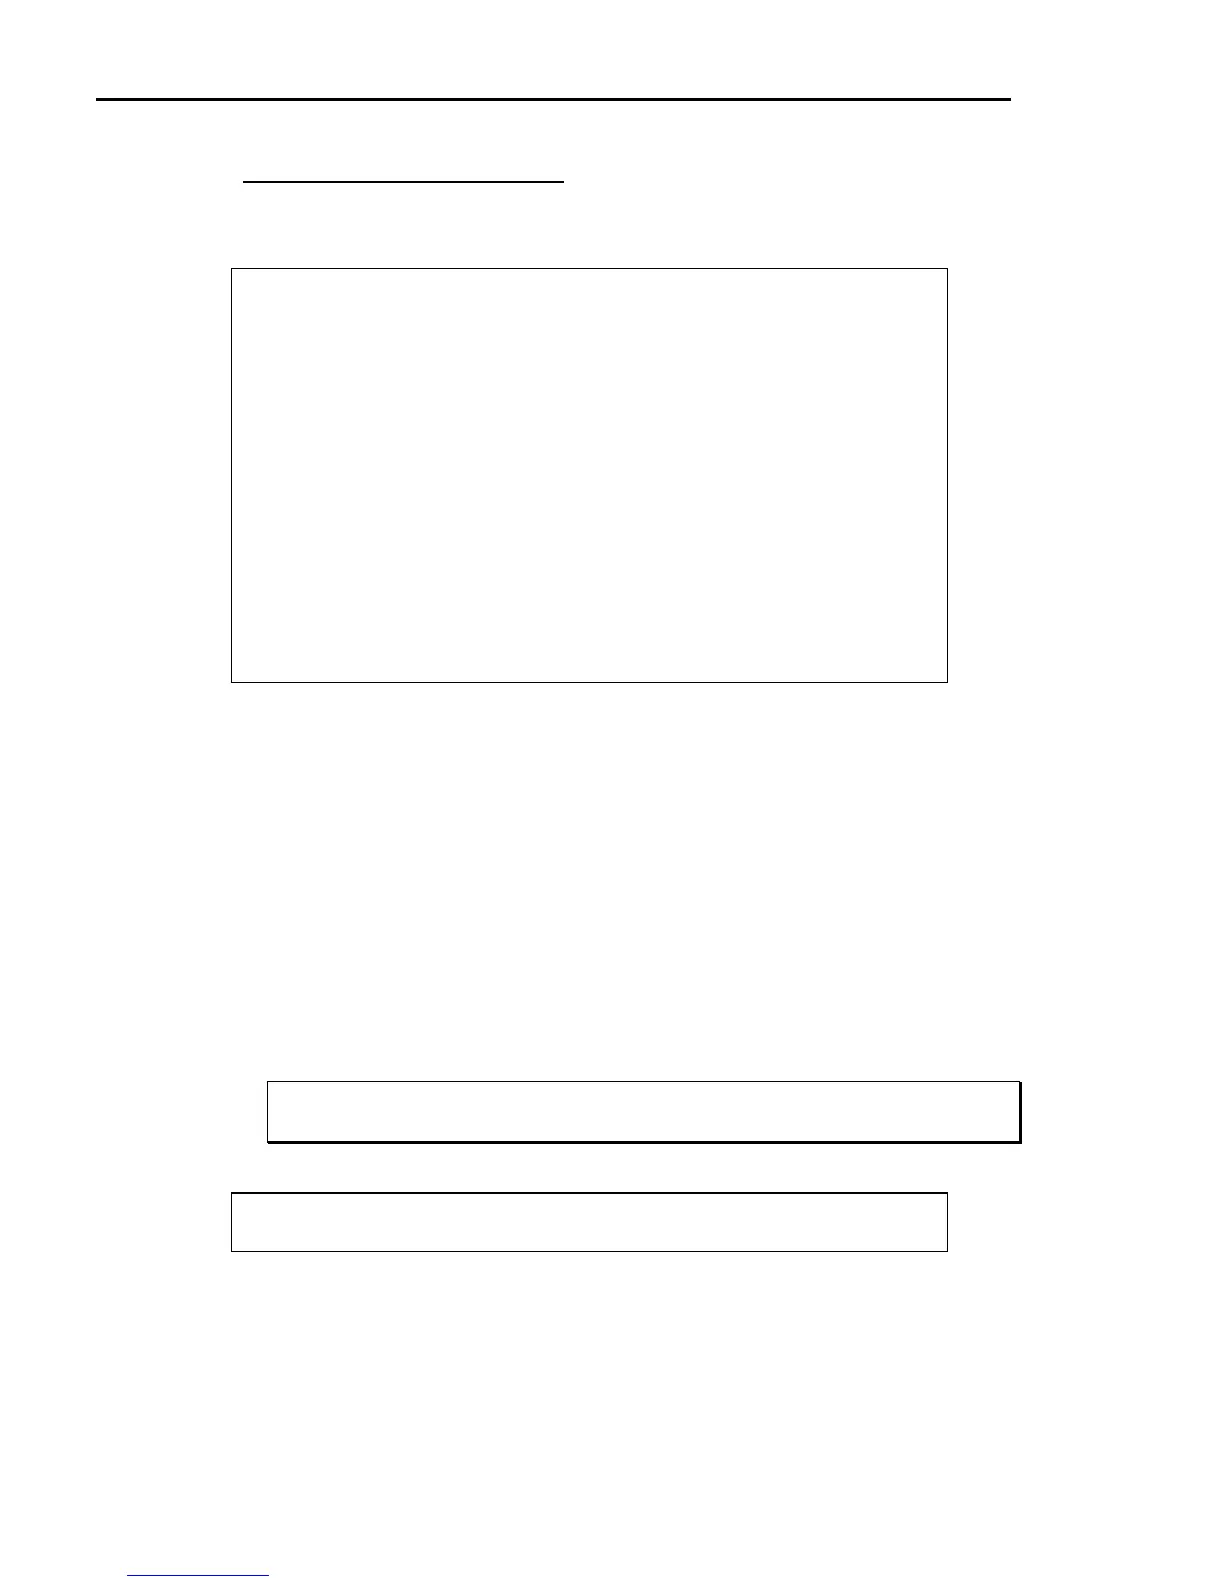
17 The computer displays the A/P liabilities screen:
DSVM0505 A/P Liabilities DIM11 DATA Date mm/dd/yy
Rev11.0.1 Port 44
Store 01
A/P LIABILITIES
VENDOR TYPE G/L ACCOUNT DESCRIPTION
1 2210.01 ACCOUNTS PAYABLE - TRADE
2 2210.01 ACCOUNTS PAYABLE - TRADE
3 2210.01 ACCOUNTS PAYABLE - TRADE
4 2210.01 ACCOUNTS PAYABLE - TRADE
5 2210.01 ACCOUNTS PAYABLE - TRADE
6 2210.01 ACCOUNTS PAYABLE - TRADE
7 2210.01 ACCOUNTS PAYABLE - TRADE
8 2210.01 ACCOUNTS PAYABLE - TRADE
9 2210.01 ACCOUNTS PAYABLE - TRADE
(C)hange (D)elete (E)nd
You have the following options:
(C)hange Allows you to change the displayed G/L account numbers.
Go to Step 18.
(D)elete Allows you to delete the displayed G/L account numbers.
(E)nd Ends this option and returns to the previous menu.
18 A/P vendor types control how the G/L balance sheet is posted for the credit. Each
vendor in the Vendor Master File is assigned an A/P vendor type code (1-9)
representing different types of vendors. For example, A/P Trade, A/P Affiliated
Co., A/P Other. Then the A/P vendor type will determine which liability account
to post as transactions are updated. Most often when starting up the A/P system,
only one vendor type is used. All vendors are assigned vendor type 1. For this
example, the standard chart of accounts is used and all vendor types use the same
G/L account. Change if needed.
) NOTE: The G/L numbers shown are from the standard chart of accounts. Your G/L numbers may
be different. Print a Trial Balance from the G/L system to verify account numbers.
19 After changing the entries, the computer asks:
Save Changes <Y/N>?
Enter Y if all entries are correct. Or enter N to not make the changes. You can
also change this entry for all stores.
20 If needed, check the entries for other stores. Repeat Steps 15-19, entering the
appropriate store number. After verifying these fields, press Esc to return to the
A/P G/L Integration Menu.
250 Dimensions 14