i2000SR interface module Service Manual
Page 50 of 212 625798100.APS.5.doc
• Refer to the pneumatic drawing provided with the
workcell. As an aid, each pneumatic tube is identified with a label
on each end of the tube that corresponds to the appropriate
device.
Initial i2000SR Support Procedure
NOTE:
Before moving to the track position, ensure that the
i2000SR support bracket is fully seated (down) into the
front panel pockets. If the bracket is mounted too high, the
ability to aspirate the minimum sample volume will be
impacted.
• Check the tension of the i2000SR IM belts.
NOTE:
As the belt tension procedure will hang a weight on the
belts, it is recommended that an assistant support the IM
during the procedure.
• Remove the metal screws used to secure the i2000SR IM
to the workcell and replace them with the plastic screws supplied.
These plastic screws are required to ensure that in the event of
seismic activity (earthquake), the analyzer will not cause damage
to the workcell.
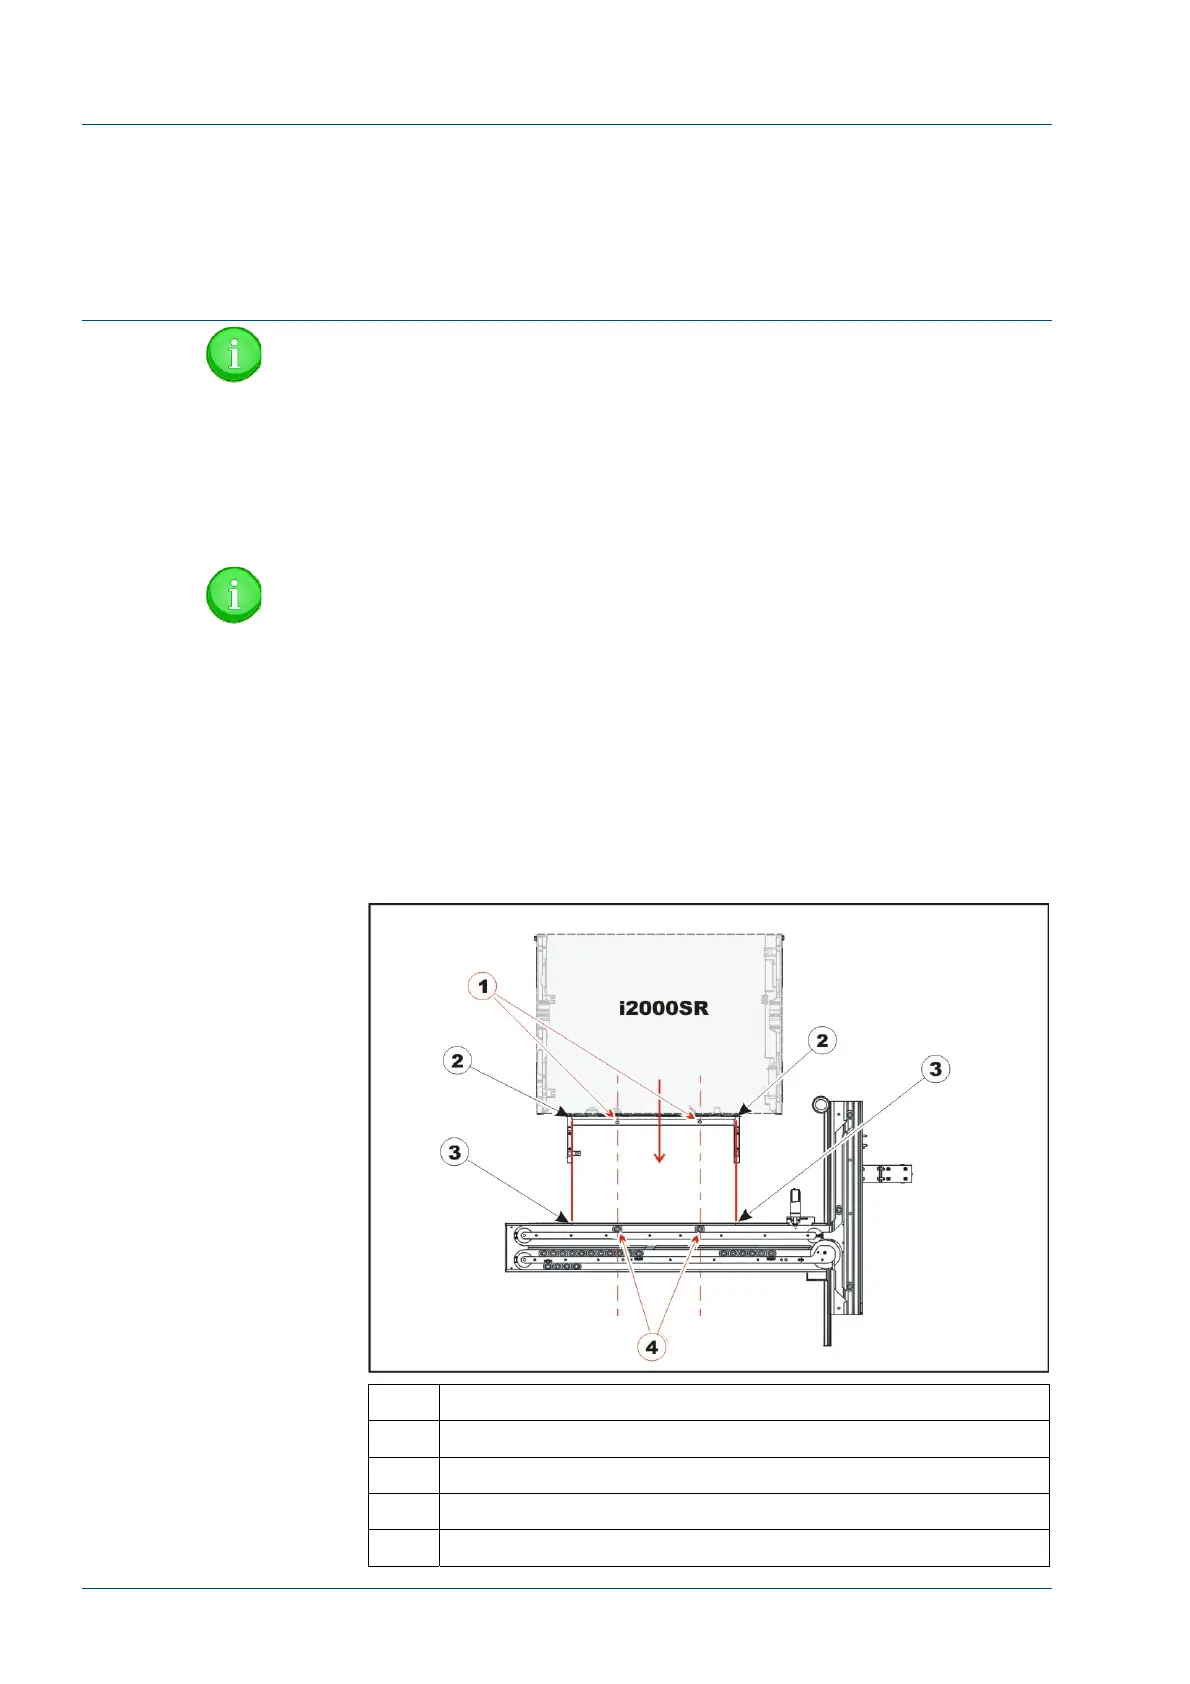
Figure 27 – Positioning i2000SR instrument
No. Description
1 i2000SR sample points
2 i2000SR insert spur rail cut-off
3 i2000SR IM assembly cut-out extreme limits
4 Carriers at sampling stop gate points