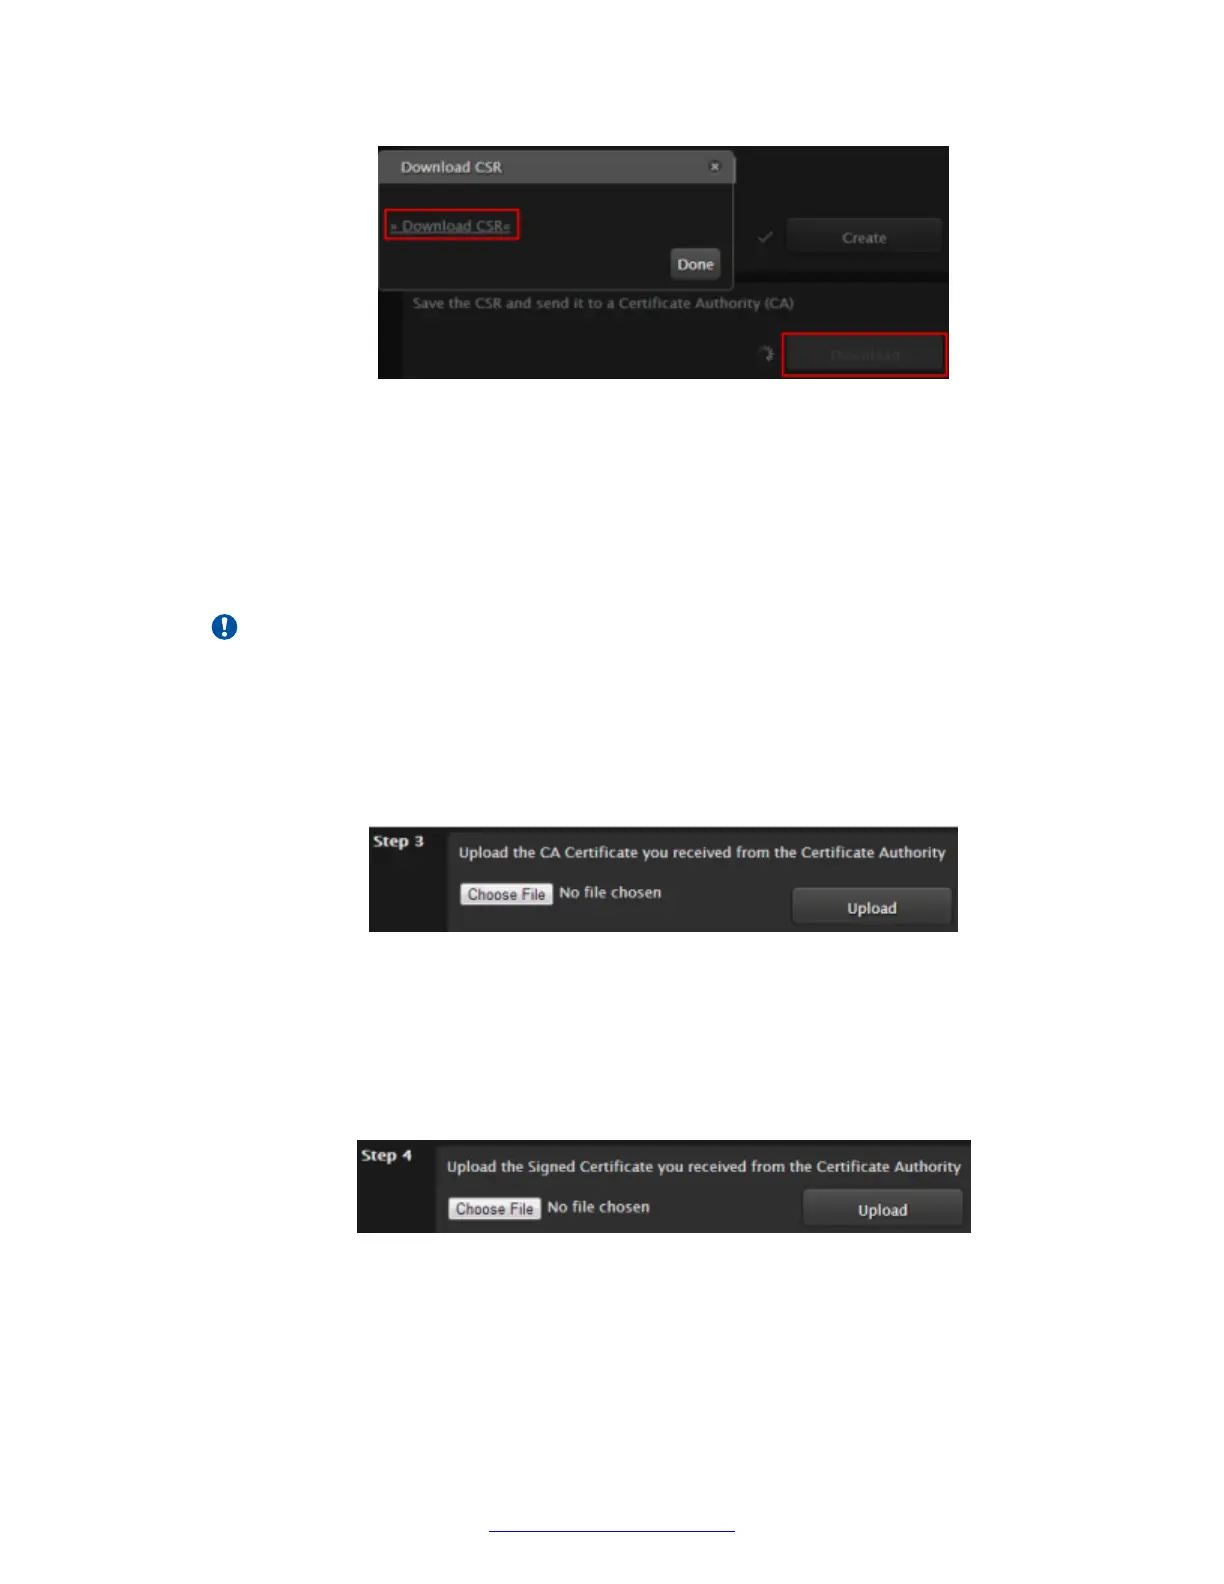
Figure 115: Downloading the CSR
The CSR is downloaded onto your computer, with the filename: <IP address>_csr.pem
6. Save the certificate in an appropriate folder. The certificate is saved as a text file compatible
with Base-64 ASCII code, in .pem format.
7. Send the text file containing the certificate for signing as a certificate compatible with
Base-64 ASCII code, in either .pem or .cer format.
Important:
If other components communicating with the XT Series also have their own certificates,
we recommend using a common CA for all certificates for a more efficient
implementation.
8. From the XT Series web interface, select Administrator Settings > Utilities > Certificates.
9. Import the Certificate Authority (CA) root certificate as follows:
Figure 116: Uploading the CA root certificate
a. Select Choose File (next to Step 3) and browse to the CA root certificate you received
from the CA.
b. Select Upload.
10. Import the signed certificate you received from the CA, as follows:
Figure 117: Uploading the signed certificate
a. Select Choose File (next to Step 4) and browse to the signed certificate you received
from the CA.
b. Select Upload.
Securing your XT Series
164 Avaya Scopia
®
XT Series Deployment Guide April 2015
Comments? infodev@avaya.com

 Loading...


