Commissioning
64 AVENTICS | Marex 3D | R417003094–BDL–001–AA
6.2.3 Enabling control stations for the joystick
operation and assigning the joysticks
On delivery, the bridge station is enabled for the joystick
operation. One joystick is already assigned to the bridge
station and defined as ID 41. Carry out the steps in this
chapter only if Marex 3D includes more than one joystick or
if you wish to change the station assignment of the first
joystick.
Proceed as follows to enable further joystick stations:
1. At the 3D Controller, open the "System Parameter" menu as
described in chapter 6.2.2, Adjusting the 3D Controller for
the operation with Marex OS, on page 62.
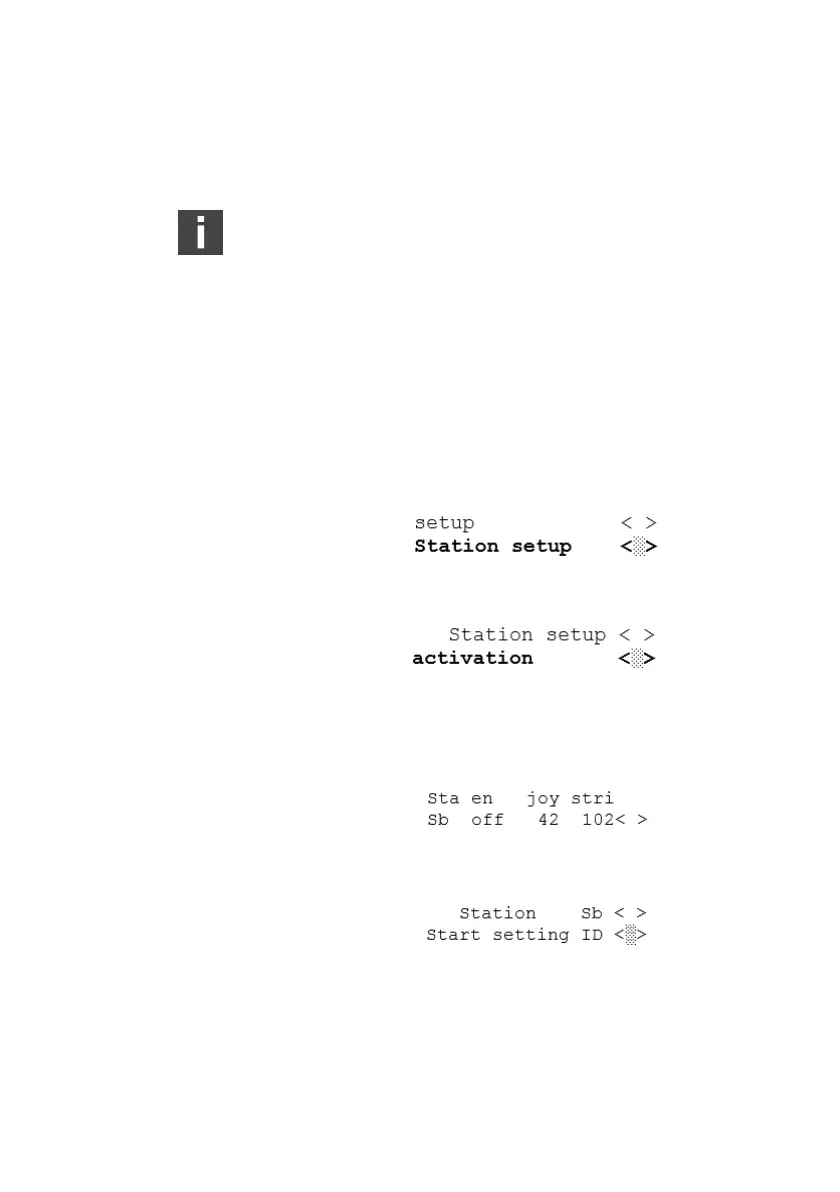
2. In the menu, scroll to "Station setup" and confirm:
3. In the menu "Station setup", scroll to "Activation" and
confirm:
4. Select the station at which the joystick is installed: Turn the
SELECT button until it flashes in the corresponding display
line. Push the SELECT button.
All joysticks connected will start to beep. The display shows
the following information:
5. Walk to the control station you have selected in the menu
and push the command key of the corresponding joystick.
3D_manual_R417003094_DE_EN.book Seite 64 Freitag, 30. November 2018 11:36 11