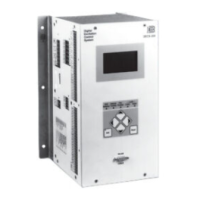
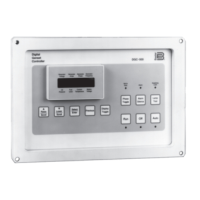
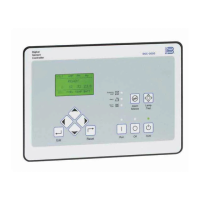
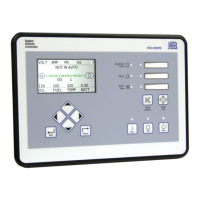
DECS-200 Human-Machine Interface 2-11
Annunciation Message Duration of Message
LOST VOLTAGE SENSING Maintained until reset
FAILED TO BUILD UP Clears 2 s after end of event
SYSTEM BELOW 10 HZ Maintained until reset
EXCITER DIODE OPEN Maintained until reset
EXCITER DIODE SHORT Maintained until reset
Once the list of annunciation messages has been viewed, it may be cleared by pressing the Reset
pushbutton. If a condition that LED to an annunciation is still present when the alarm message screen is
cleared, then a new annunciation message will be generated.
Pressing the Reset pushbutton will also send the display back to the Metering screen. Furthermore, the
alarms message on the Metering screen will also be cleared. However, if the user leaves the alarm
message screen by pressing the Left, Right or Up scrolling pushbuttons, then the annunciation
messages list remains intact. This allows the user to maintain a short history of annunciations. In addition,
the alarms message on the Metering screen will also remain. The disadvantage of this is that the
metering screen would no longer indicate that a new annunciation occurred because the alarms message
would always be present.
Screens with Special Editing Modes
There are several screens that operate differently while in the edit mode. OPERATE_1 (1.1),
BAUD_RATE (8.1.1), and MODBUS (8.1.2) are examples of such screens. In each case, any changes
made to a setting are not used by the system (nor saved in nonvolatile memory) until the Edit pushbutton
is pressed again. The programmable inputs for output relays 1 through 4 work in the same manner.
These are on screens RELAY_1 (7.5.1) through RELAY_3B (7.5.9).
The REG_GAIN (3.1) screen also operates in a different manner when in the Edit mode. The first four
parameters on this screen represent a table containing twenty sets of predefined PID values and one set
of user-definable values. The first of these, STAB SET #, which means stability settings number, is the
index to the table. The second, third, and fourth parameters (AVR/FCR Kp, Ki, and Kd), are the actual
entries in the table. Stability setting numbers 1 to 20 are the predefined values, and 21 is the set of user-
definable values.
Editing these parameters works as follows: As long as STAB SET # is set to 21, then AVR/FCR Kp, Ki,
and Kd may be individually edited and customized. The values displayed are not used by the system until
they are saved by pressing the Edit pushbutton. This means that if a change is aborted by pressing the
Reset pushbutton, the PID numbers currently being used by the system remain unchanged.
If STAB SET # is 1 to 20, then AVR/FCR Kp, Ki and Kd may not be edited from the display (although the
cursor can be moved to their display fields). If the STAB SET # is changed, the values shown in the
display fields will not change until the selected STAB SET # is saved. When the STAB SET # is saved,
the table entries are saved, used by the system and displayed on the LCD.
If the DECS-200 is using the user-defined values previously set at STAB SET # 21 and a STAB SET # of
1 to 20 is saved, the user-defined values are lost. The next time that user-defined values for STAB SET #
21 are required, they must be manually entered and then saved. It is assumed that the table entries for
STAB SET # 1 to 20 will be used as starting points from which users will arrive at their own customized
values after the selected starting point has been saved (and thus copied into STAB SET # 21).
Menu Tree
The menu tree has eight branches:
1. OPERATING. Displays mode status and on or off status (AVR, FCR, var, PF, etc.)
2. SETPOINTS. Display and setting of mode values (AVR, FCR, var, PF, etc.)
3. LOOP GAINS. Loop gains for each element are set here (Kp, Ki, Kd, Kg)
4. METERING. Real-time metering of user-selected values and alarm messages.
5. PROTECTION. Display and setting of protective function parameters such as pickups.
6. LIMITERS. Display and setting of system limiters (OEL, UEL, etc.)