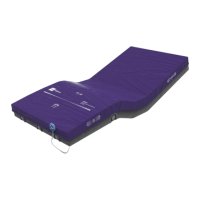
34 pro+ Surface Instruction for Use (209196 REV 8)
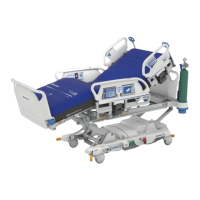
CENTRELLA Smart+ Bed
Warning—Make sure the surface is installed correctly and is securely
attached to the bed. Failure to do so could cause the bed not to
articulate as intended. Injury or equipment damage could occur.
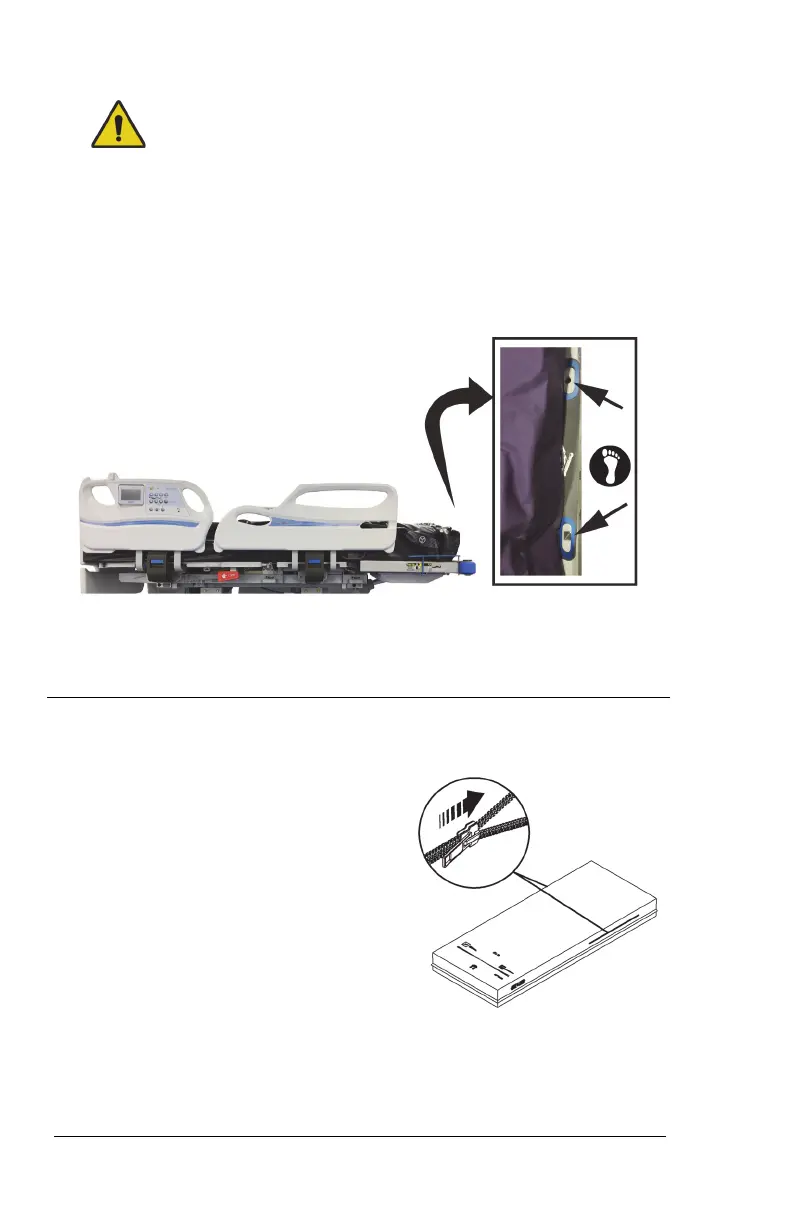
17. Lift the foot end of the surface.
18. Align the holes on the foot end flap with the footboard sockets in the
bed (see below).
19. Align the footboard posts to go through the holes on the foot end
flap, and install the footboard.
Step 2: Final Steps
20. Make sure the surface foot end flap is secured by the footboard.
21. If applicable, make sure the x-ray
sleeve zipper is closed on both
sides of the surface.
22. Put the bed in the flat position.