pro+ Surface Instruction for Use (209196 REV 8) 73
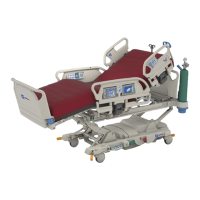
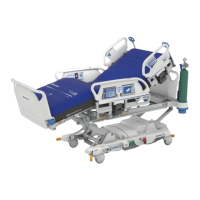
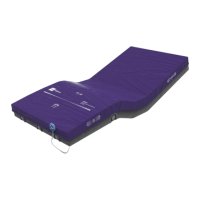
900 Beds
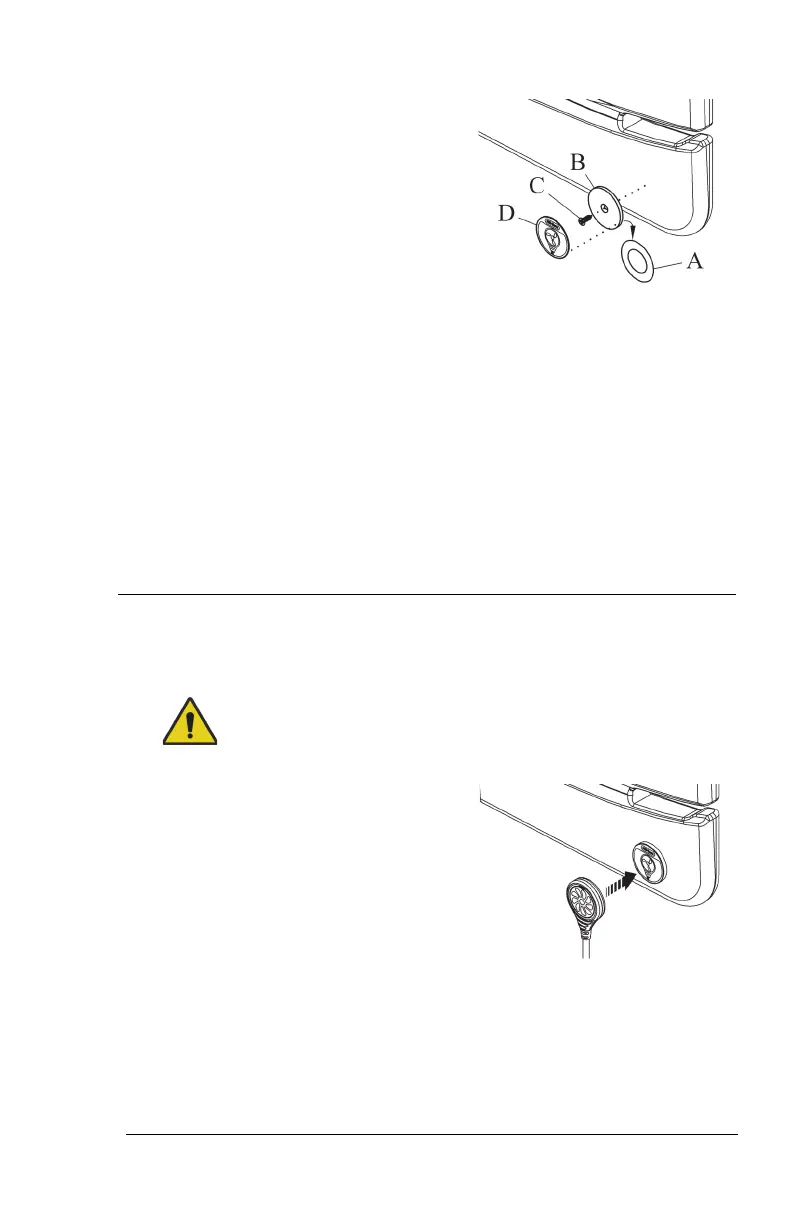
19. Remove the adhesive covering (A)
from the metal plate (B) of the
mount assembly. Firmly press the
metal plate into position for 10
seconds.
20. Install the screw (C) to attach the metal plate to the footboard.
Installing the screw on to the footboard will not void the warranty of
the product.
21. Use the alcohol-based cleaner to clean the metal plate (B). Let the
area dry.
22. Remove the adhesive covering from the mount label (D).
23. Make sure the label (D) is in the correct orientation, then install the
label on to the metal plate (B). Firmly press the label into position for
10 seconds.
Step 4: Final Steps
24. Plug the surface power cord into AC power.
25. Put the bed in the flat position.
Warning—Keep cords out of the patient area or injury could occur.
26. Attach the magnetized status
indicator to its mount on the
footboard.
27. Make sure to store the excess cord away from the patient area.