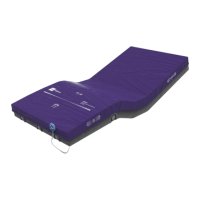
pro+ Surface Instruction for Use (209196 REV 8) 53
VERSACARE Bed—pro+ Surface Installation Instructions
19. On the outside of the footboard, use the alcohol-based cleaner to
clean the area where the status indicator mount is to be installed
(this includes new footboards). Let the area dry.
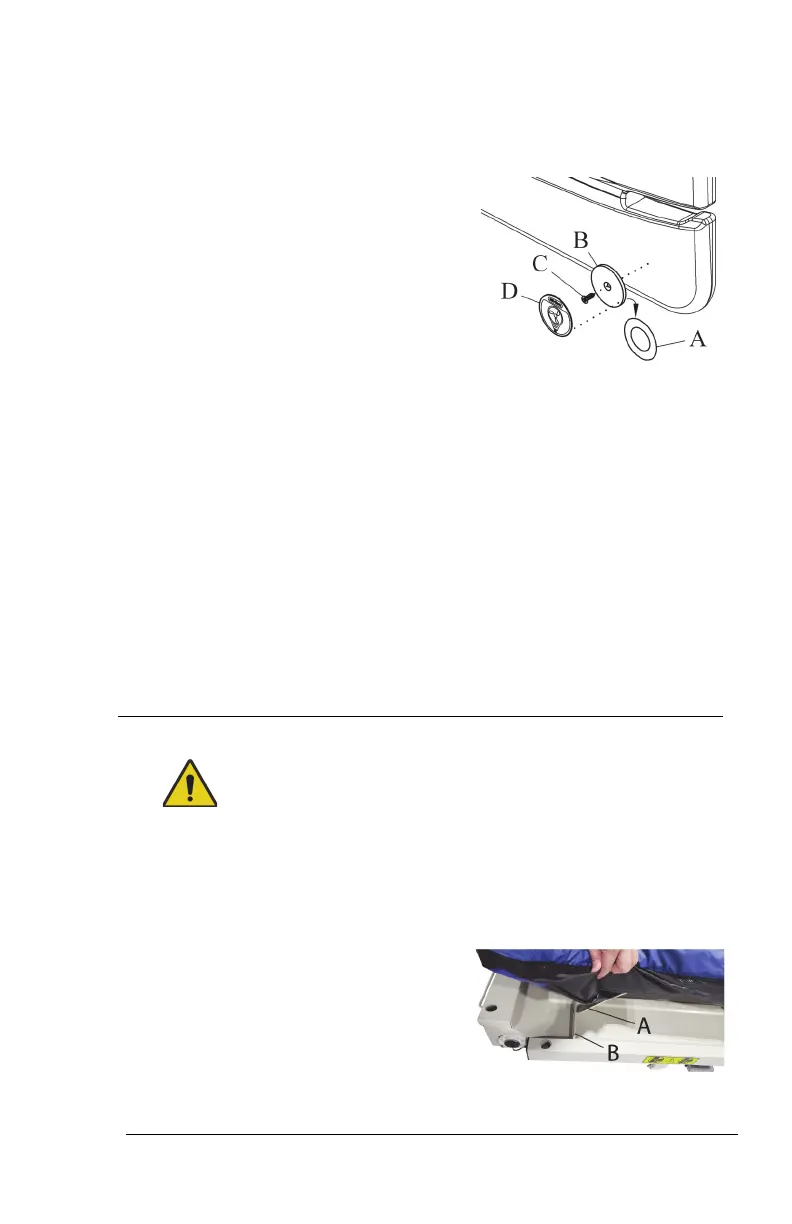
20. Remove the adhesive covering (A)
from the metal plate (B) on the
mount assembly. Firmly press the
metal plate into position for 10
seconds.
21. Install the screw (C) to attach the metal plate (B) to the footboard.
Installing the screw on to the footboard will not void the warranty of
the product.
22. Use the alcohol-based cleaner to clean the metal plate (B). Let the
plate dry.
23. Remove the adhesive covering from the mount label (D).
24. Make sure the label (D) is in the correct orientation, then install the
label on to the metal plate (B). Firmly press the label into position for
10 seconds.
25. Go to “Step 4: Final Steps” on page 53.
Step 4: Final Steps
Warning—Make sure the surface is installed correctly and is
securely attached to the bed. Failure to do so could cause the bed
not to articulate as intended. Injury and/or equipment damage
could occur.
26. Lift the foot end of the surface.
27. Install one side of the surface
retaining strap (A) into the retainer
(B).
28. Install the opposite side of the
surface retaining strap into the
retainer.