Service Manual
45
LEDs Function (on condition)
LD1 CPU status
LD2 Collision detection
LD3 Sample detection status
4.4.1. Level detection adjustment
Material required to make the adjustment:
• plastic, at-tip precision screwdriver. Bourns or similar trimming tool.
A plastic screwdriver must be used, to prevent perturbations in the detection signal while the power meter turns.
Do not use a metal screwdrive as it will aect the signal.
e state of led LD3 indicates the detection frequency adjustment. e process must be made when the analyser is
on stand-by and the tip is correctly primed.
If the led ashes or if o, this indicates that the detection frequence is not adjusted.
As the adjustment frequency is approached, the led will ash more rapidly until it remains on when the target
detection frequency is reached.
e detection frequency for the sample tip is: 2M Hz
e detection frequency for the reagent tip is: 1M Hz
Steps for making the adjustment:
1. Turn on the analyser
2. Remove the cap from the tip you want to adjust
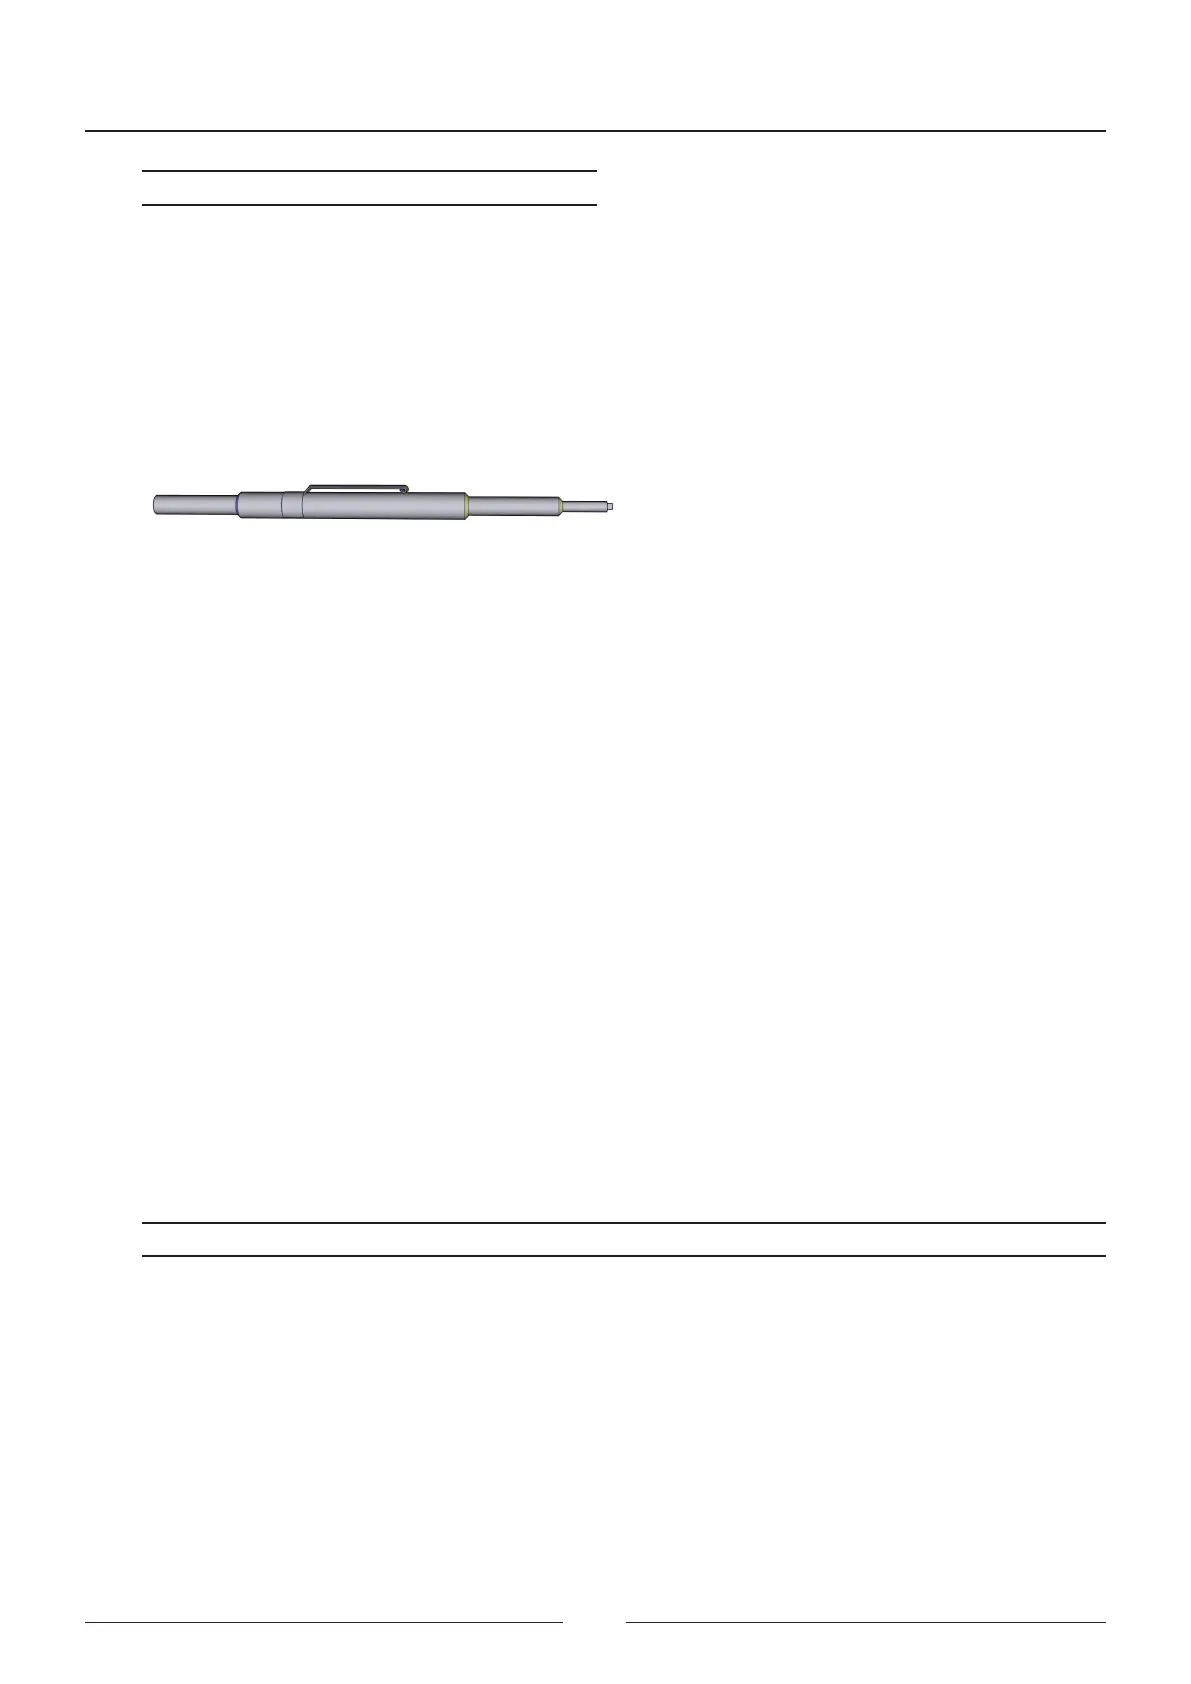
3. Insert the plastic screwdriver into the power meter (P1). Ensure that the tip is correctly primed and not touch-
ing any uid.
4. Gently turn the power meter in the direction in which the LD3 led ashing frequency increases until it stops
ashing.
5. If the frequency falls, change the direction for turning the power meter.
Potential problems in the tip detection adjustment:
Detection problem Solution
It is impossible to achieve the stable
ashing of the LD3 adjustment led
Check that the cable protective mesh is correctly compress on the
connector pin. Check that the cable is not pinched.
Check that the tip detection cable is properly attached to the board
with a clamp.
Check that the screws, nuts and parts securing the collision detection
spring are properly tightened and do not move.
Check that the tip is correctly primed.