6.4.3. Language
is allows you to change the application language. ere are two languages: Spanish and English.
6.4.4. Barcode
is enables the barcode readers to be activated/deactivated and the barcode options to be congured.
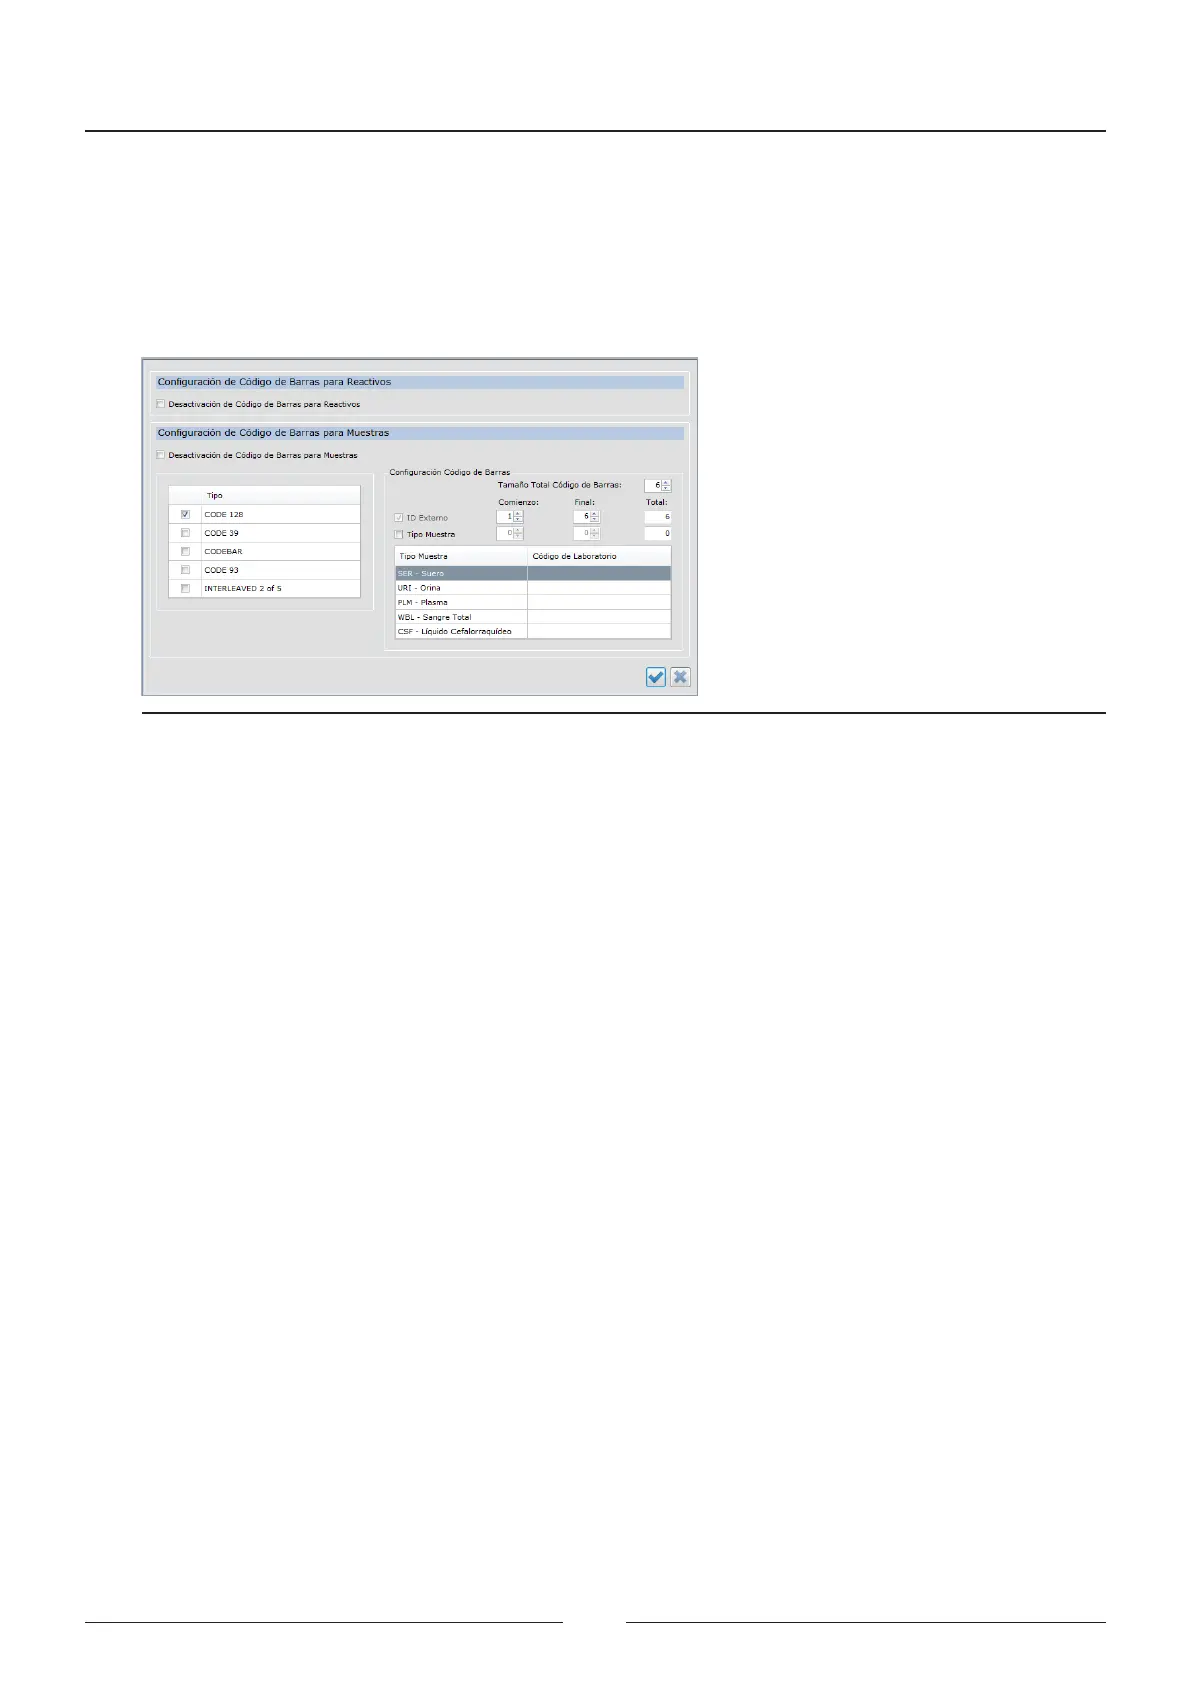
Figure 6.8 Barcode reader setup screen
• Deactivation of barcode for reagents: Check this option to deactivate the barcode reader of the reagent rotor.
• Deactivation of barcode for samples: Check this option to deactivate the barcode reader of the sample rotor.
• Type: Select the barcode type used for printing the labels on the sample tubes.
• Total barcode size: Selet the total size of the barcode for the sample reader. e reader will only read the
codes of the indicated size, otherwise, it will mark the reading as a code error.
• External ID: If the barcode has more information than the patient identier, select the start and end of the
patient identier.
• Sample Type: If the code has the sample type information, select the sample type option, start and end inside
the code and how the laboratory encodes each sample type.
6.4.5. Users
Figure 6.7 shows the screen for creating and maintaining users.
Click on the icon again to obtain access to creation of new users. e boxes for entering the user data are activated.
• User ID: Enter a name for identifying the user in the application.
• Name: Enter the name of the user.
• Surname: Enter the surname of the user.
• Password: Enter a password
• Confirm password: Enter the same password again to ensure it was entered correctly.
Press save to save the user name or undo to rule out a user or changes.
Service Manual
72