Brooks Automation 7. Service Procedures
Part Number: PF40-DI-00010 Rev. A Replacing the Electric Grippers or Slip Ring Harness
To replace the Gripper, perform the following procedure:
Step Action
1.
Turn off the robot power and remove the AC power cord.
2.
Remove the Outer Link Cover.
3.
Remove the Gripper Controller and P Clamp holding the slip ring cable. Slide the grommet out of the
notch in the belt cover.
4.
Remove the (4) M3 FHCS that attach the belt cover.
Tip up the belt cover and slide a pencil under it to hold it up to provide access to the slip ring flange.
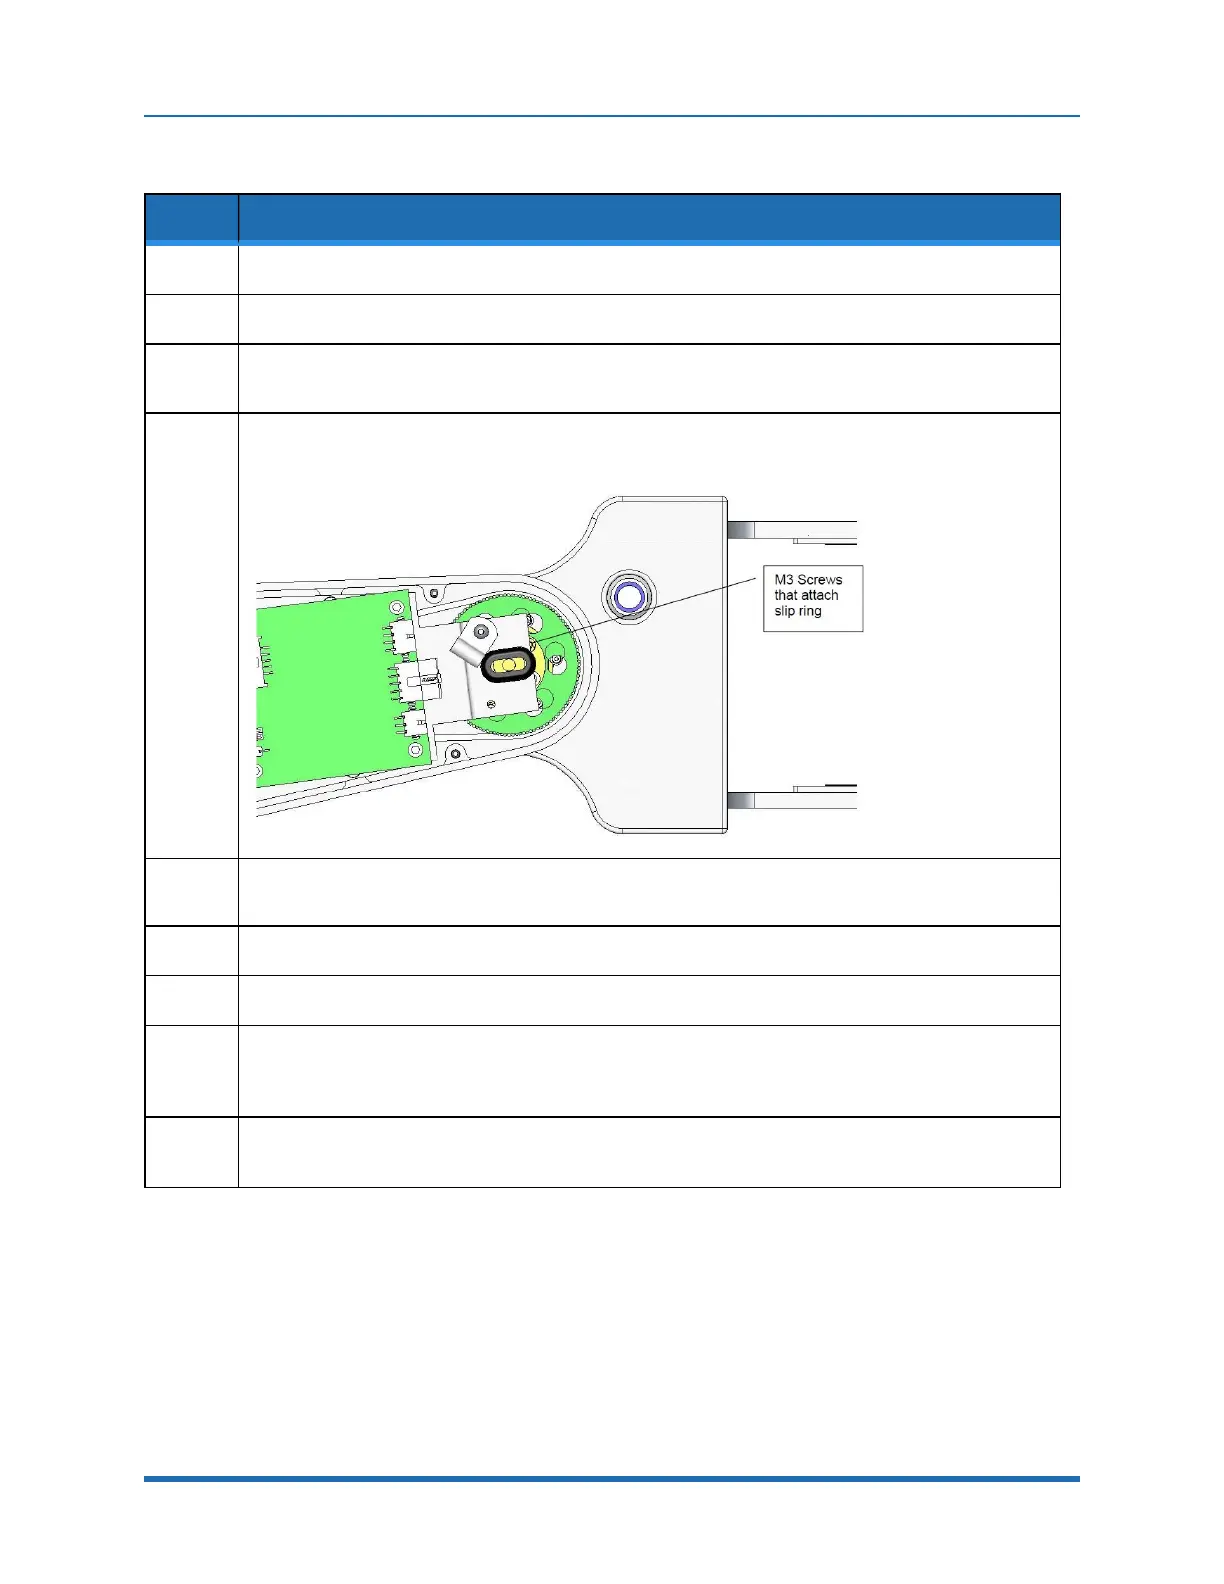
5.
Rotate the Gripper so that the (3) M3 X 6 mm BHCS which attach the Slip Ring to the J4 Output.
The pulley can be removed one by one through the notch in the Outer Link Belt Cover.
6.
Remove the bottom cover from the Gripper by removing the (6) M2 X 6 mm FHCS.
7.
Disconnect the Slip Ring harness (4 plugs) from the Gripper harness.
8.
Rotate the Slip Ring housing 30 degrees to allow access to (3) of (6) M2 X 16 mm SHCS. Loosen
these screws. Rotate the Slip Ring housing 30 degrees in the opposite direction to access and loosen
the remaining (3) screws.
9.
Gently pull the Gripper down a few centimeters and slide the Slip Ring harness and connectors
through the access hole in the Gripper housing.
Copyright © 2023, Brooks Automation
124