3-16 2007 Buell P3: Engine
HOME
ENGINE INSTALLATION 3.4
INSTALLING ENGINE
1. Verify cradle is secured under engine.
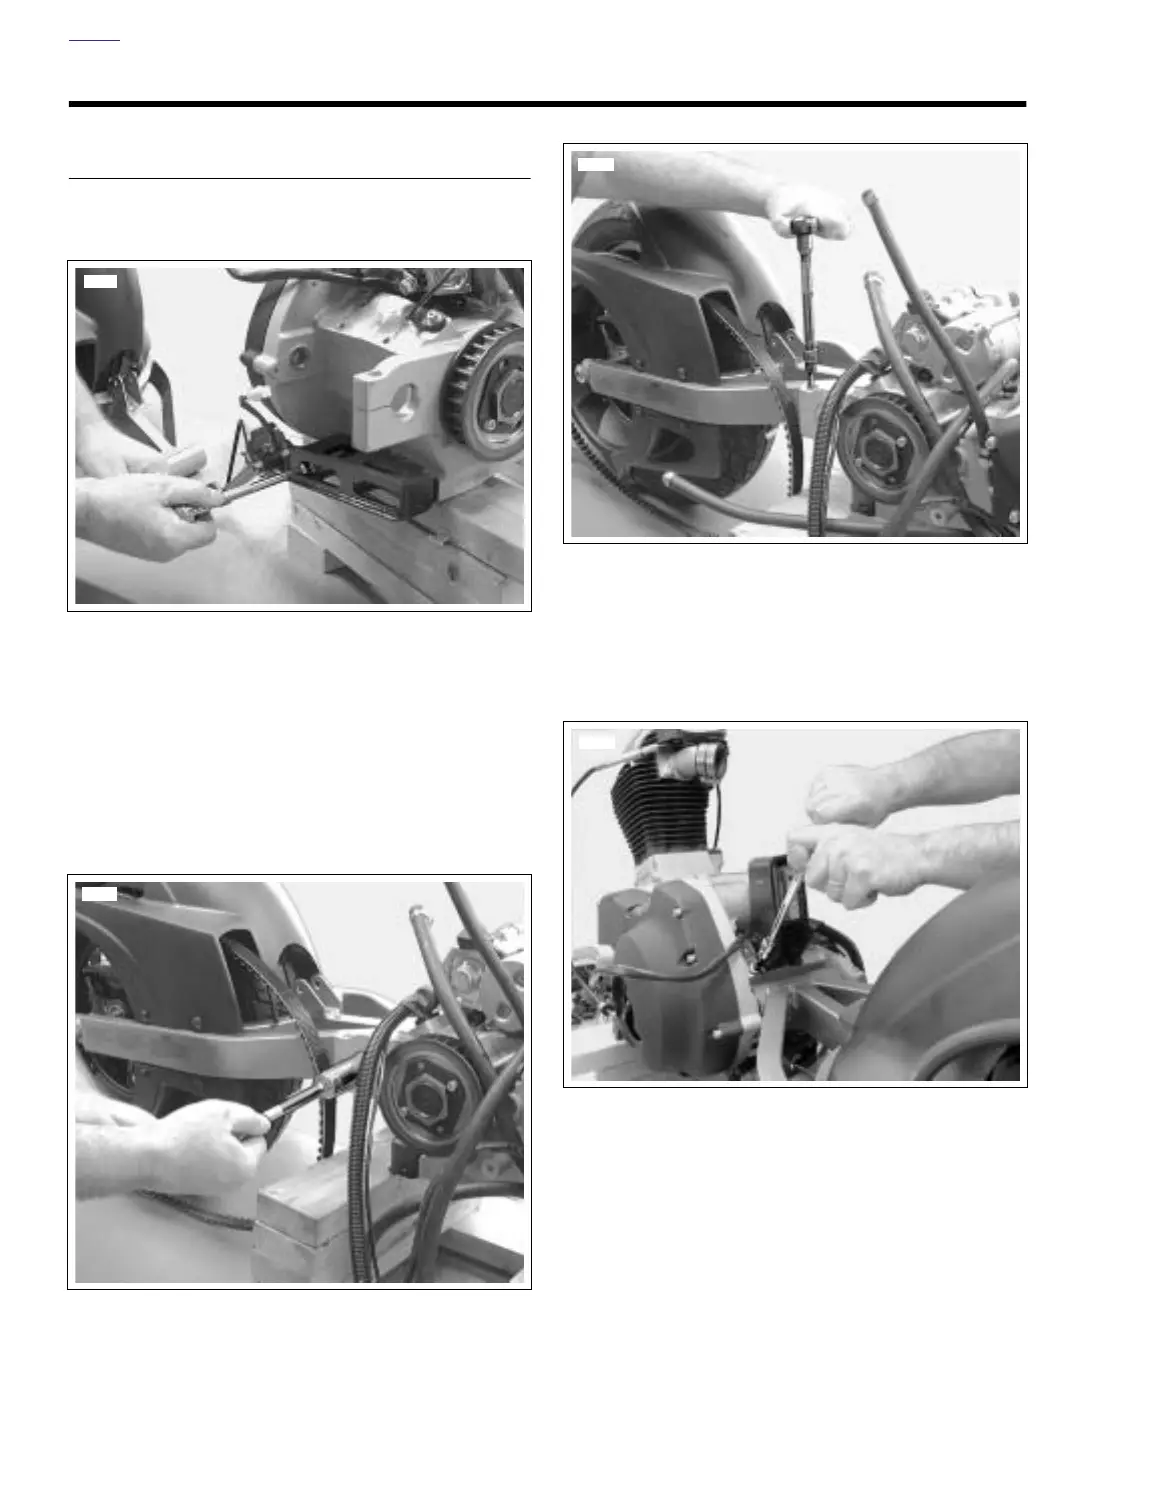
2. See Figure 3-21. Install sidestand and bracket assembly.
See 2.29 SIDESTAND.
a. Apply several drops of Loctite Threadlocker 271
(red) to last few threads.
b. Tighten to 38-41 ft-lbs (51-55 Nm).
3. Install rear wheel. See 2.6 REAR WHEEL.
4. See Figure 3-22. Install swingarm, pivot shaft and rear
wheel as an assembly and tighten pivot shaft to 24-26 ft-
lbs (32-35 Nm). See 2.19 SWINGARM.
5. See Figure 3-23. Install swingarm pinch bolt.
a. Apply several drops of Loctite 243 (blue) to last few
threads.
b. Tighten to 17-19 ft-lbs (23-26 Nm).
6. See Figure 3-24. Install rear engine mount.
a. Apply several drops of Loctite 243 (blue) to last few
threads.
b. Tighten to 23-27 ft-lbs (31-37 Nm).
Figure 3-21. Sidestand Bracket
Figure 3-22. Swingarm Pivot Shaft
7656
7655
Figure 3-23. Pinch Bolt
Figure 3-24. Rear Engine Mount
7654
7653