4-6 2007 Buell P3: Fuel System
HOME
INSTALLATION
Fuel Tank
1. Place fuel tank into position on frame backbone.
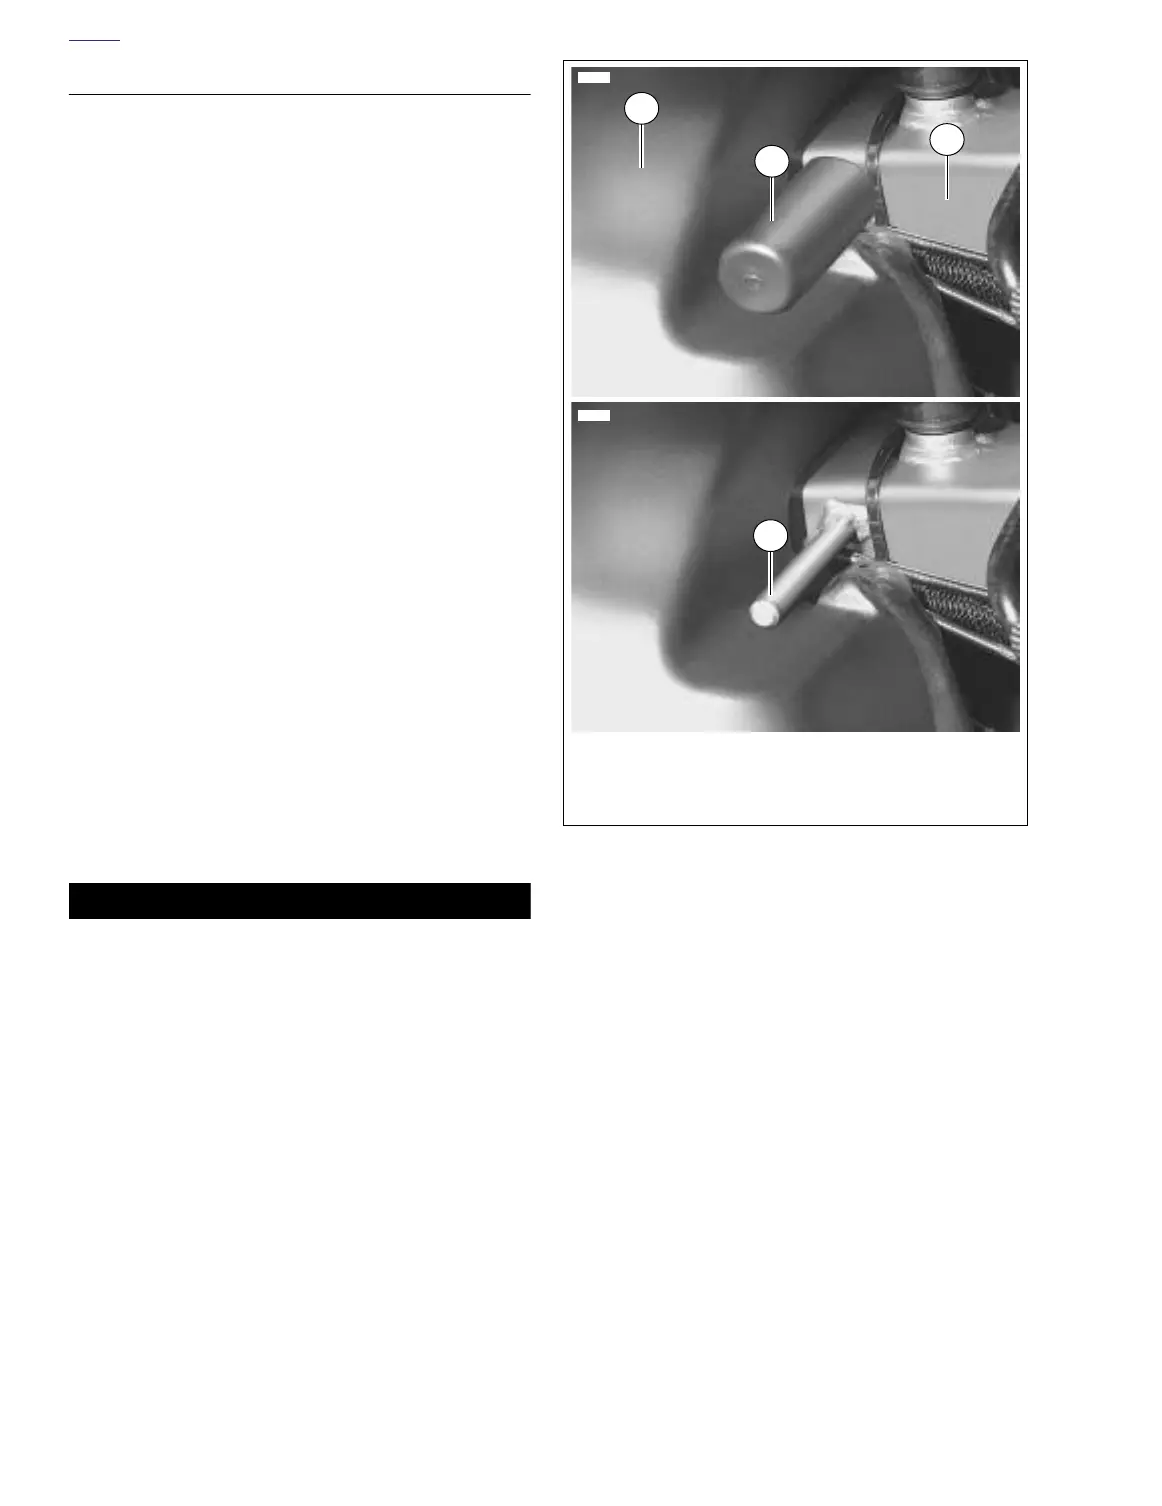
2. See Figure 4-3. Standing at front of vehicle, push rubber
stops (2) onto weld studs (4) on each side of frame back-
bone. Using a rubber mallet, tap stops until fully seated.
3. See Figure 4-2. With the lipped side up, slide two flange
bolts through forward holes in T-shaped mounting
bracket. Pushing down on rear of tank, start flange bolts
into bosses in frame backbone. Alternately tighten flange
bolts to 72-96
in-lbs
(8-11 Nm).
4. Install air box cover on left hand side. See 4.3 AIR
CLEANER.
5. Push hose onto outlet fitting at side of fuel valve. Turn
slotted screw to tighten band clamp.
Fuel Tank Cover
1. Remove oil dipstick from threaded hole in frame back-
bone (just rear of steering head).
2. Install tank cover.
3. See Figure 4-2. At rear of fuel tank, install rear flange
bolt (with nylon washer) to fasten tank cover to clip nut on
T-shaped mounting bracket. Tighten flange bolt to 30-36
in-lbs
(3-4 Nm).
4. With the lipped side up, place mounting ring over
threaded hole in frame backbone. Install oil dipstick into
hole.
5. Push vent tube onto nozzle of vent tube fitting. Install
small cable strap to fix location. Cut any excess cable
strap material.
6. Insert bolt through battery negative cable (black) into
threaded hole of battery negative (-) terminal. Tighten
bolt to 72-96
in-lbs
(8-11 Nm).
11WARNING1WARNING
After installing seat, pull upward on front of seat to be
sure it is in locked position. While riding, a loose seat can
shift causing loss of control, which could result in death
or serious injury. (00070a)
7. See Figure 4-1. Install seat.
Figure 4-3. Remove Fuel Tank
1. Fuel tank
2. Rubber stop (2)
3. Frame backbone
4. Weld stud (2)
3
2
1
4
7729
7728