110
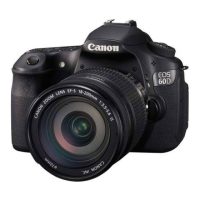
Due to the lens characteristics, the four corners of the picture might look
darker. This phenomenon is called lens light fall-off or drop in peripheral
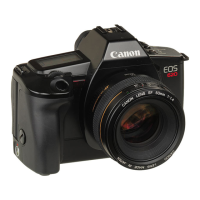
illumination and can be corrected automatically. The default setting is
[Enable]. With JPEG images, the correction is done when the image is
captured. For RAW images, it can be corrected with Digital Photo
Professional (provided software, p.302).
1
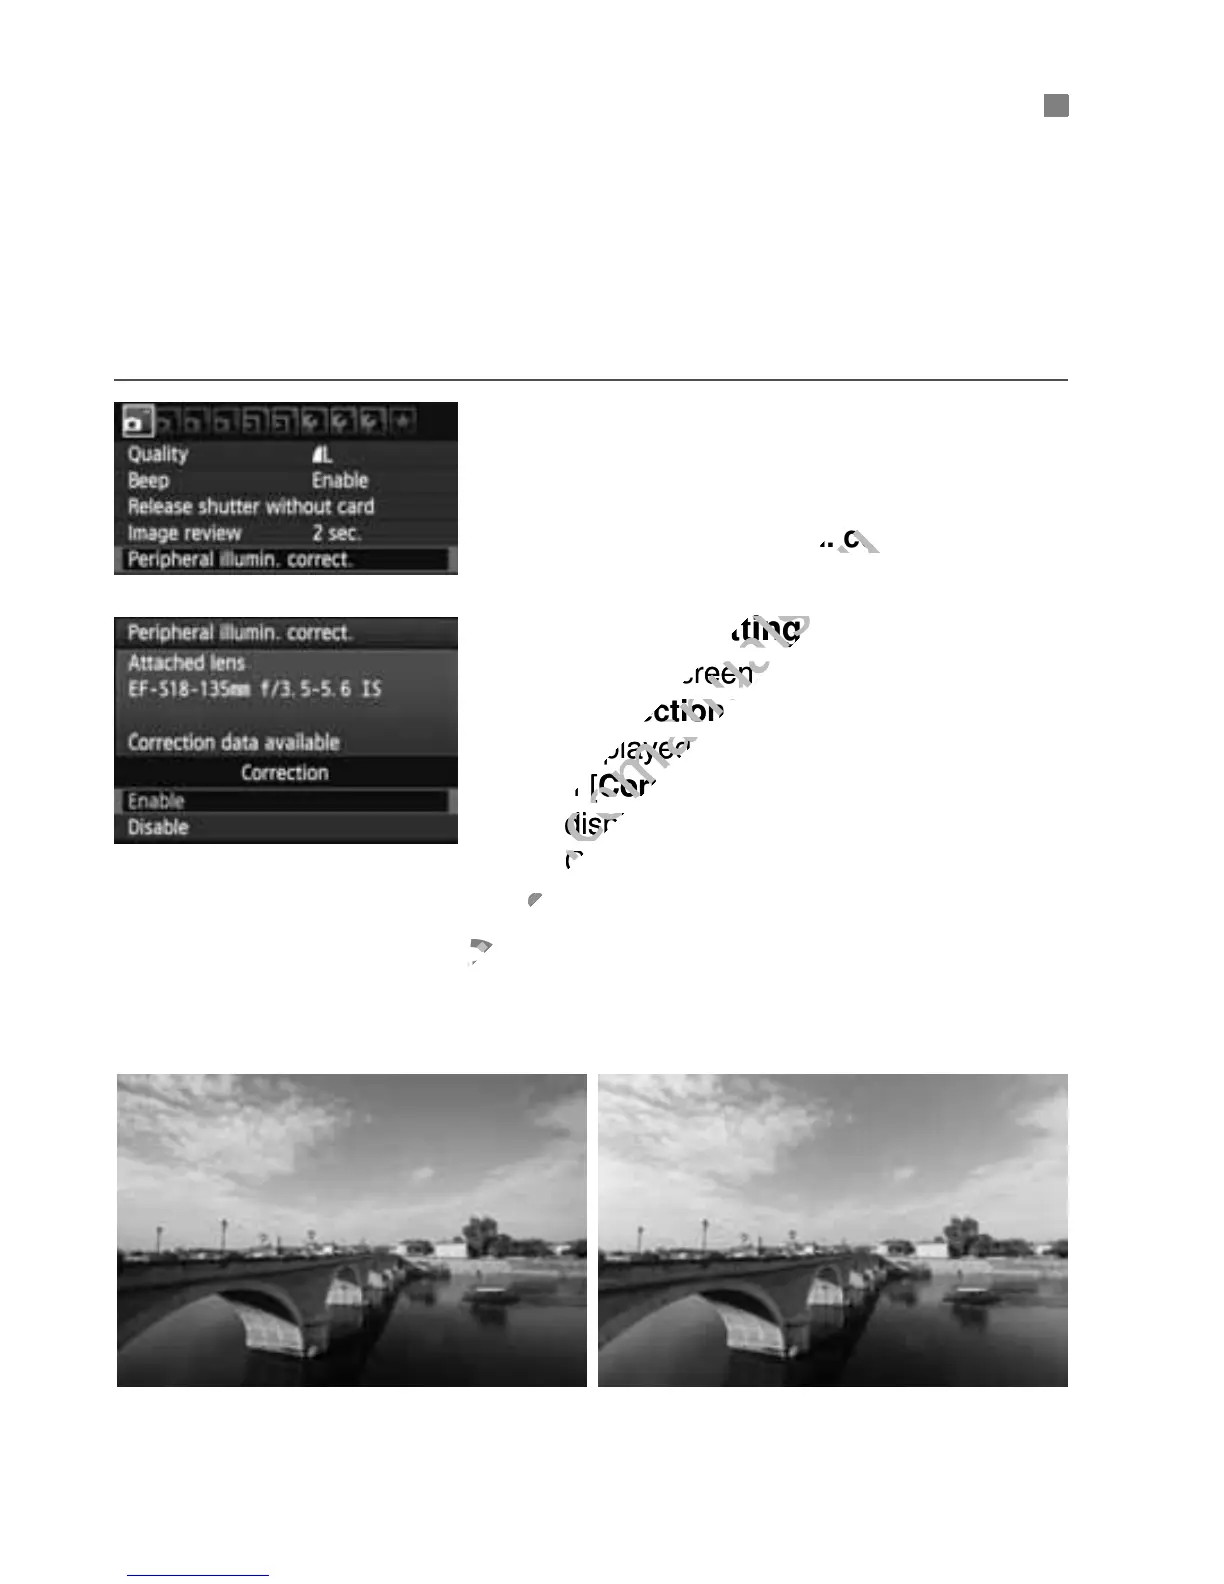
Select [Peripheral illumin.
correct.].
Under the [1] tab, select
[Peripheral illumin. correct.], then
press <0>.
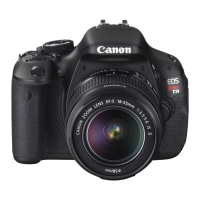
2
Select the setting.
On the screen, check that
[Correction data available] is
displayed for the attached lens.
If [Correction data not available] is
displayed, see “About the Lens
Correction Data” on the next page.
Select [Enable], then press <0>.
3
Take the picture.
The image will be recorded with the
corrected peripheral illumination.
3 Correcting the Image’s Dark Corners
Correction enabledCorrection disabled