244
Configuring Web-Based Authentication
Information About Configuring Web-Based Authentication
Local Web Authentication Banner
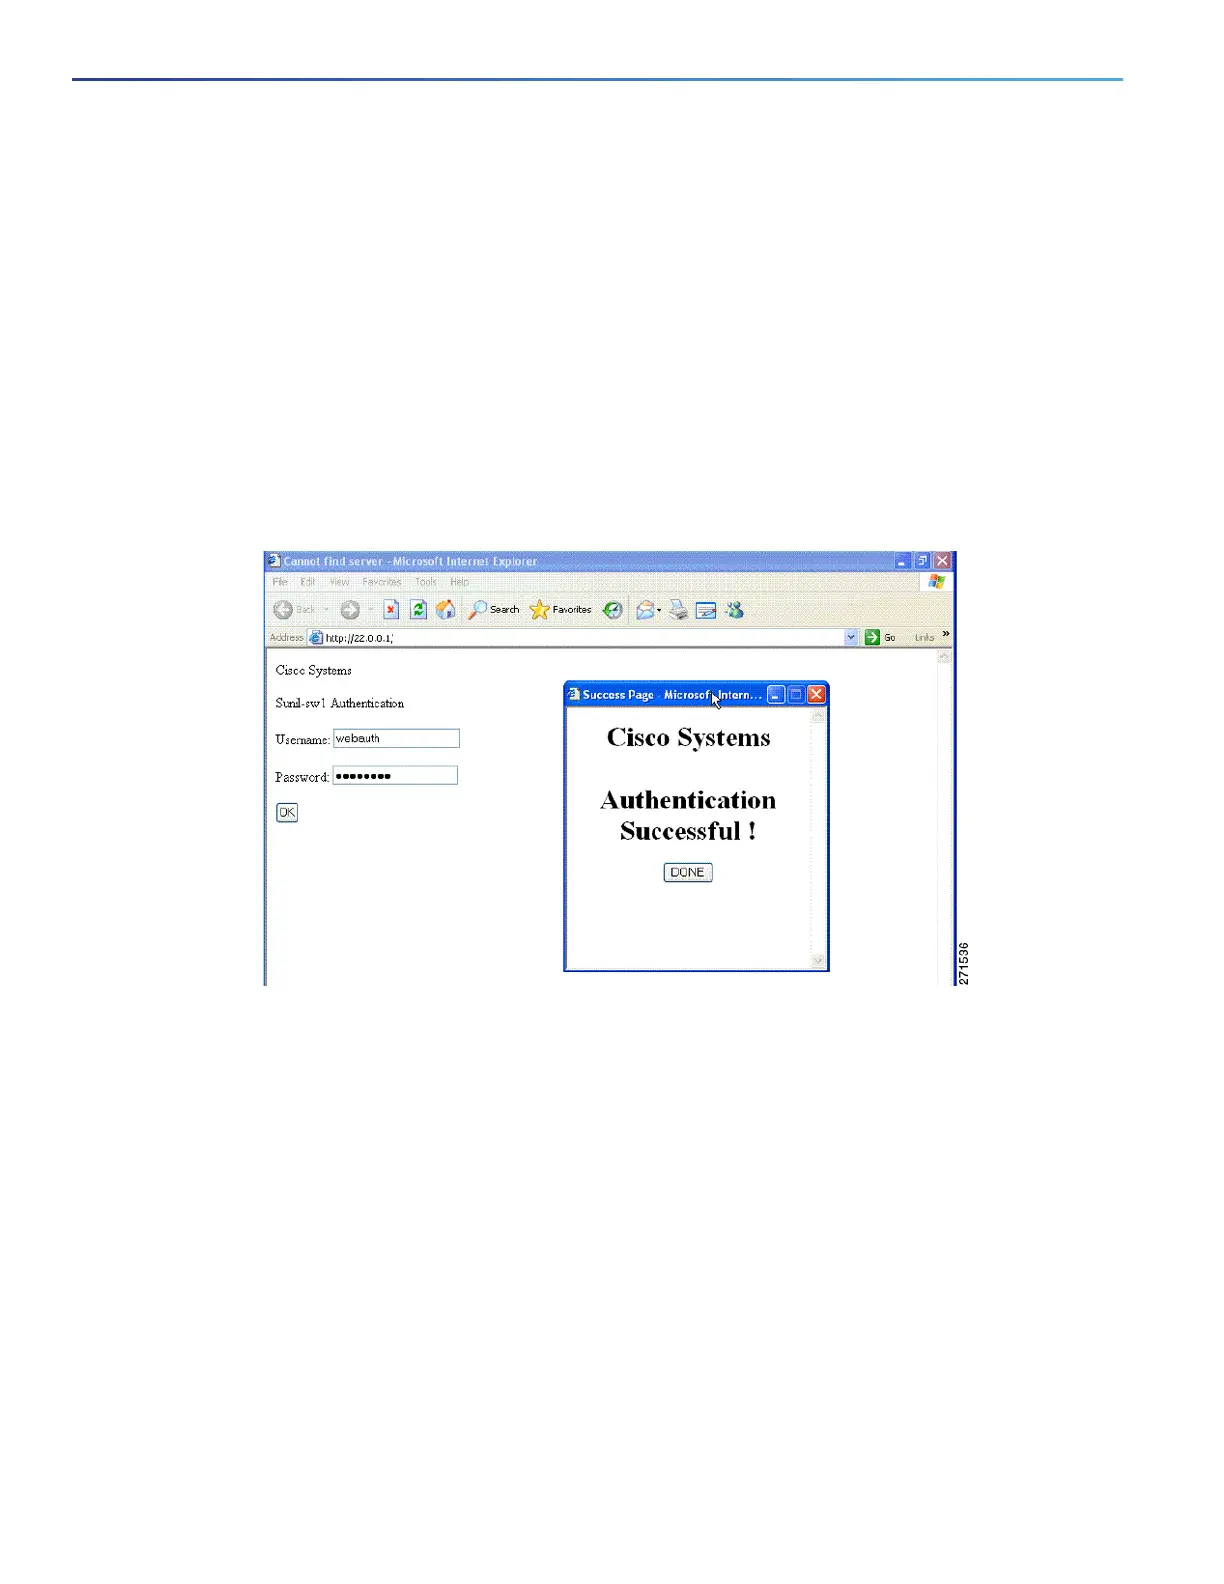
You can create a banner that will appear when you log in to a switch by using web authentication.
The banner appears on both the login page and the authentication-result pop-up pages:
Authentication Successful
Authentication Failed
Authentication Expired
You create a banner by using the ip admission auth-proxy-banner http
global configuration command. The default
banner Cisco Systems and Switch host-name Authentication appear on the Login Page. Cisco Systems appears on the
authentication result pop-up page, as shown in Figure 25 on page 244.
Figure 25 Authentication Successful Banner
You can also customize the banner, as shown in Figure 26 on page 245.
Add a switch, router, or company name to the banner by using the ip admission auth-proxy-banner http
banner-text global configuration command.
Add a logo or text file to the banner by using the ip admission auth-proxy-banner http file-path global
configuration command.
 Loading...