ECHO Series Ultrasonic Thickness Gages
11
Setup Instructions
When turning on the ECHO 9 series, the gage does an automatic zeroing of the
transducer thus eliminating the need for an on-block zero. (This manual is
interchangeable when using the ECHO series basic operations and calibration steps, with
the exception of the datalogger, B-scan, and Echo-to-Echo features.) The ECHO 9 will
electronically zero the transducer upon power up and at a particular time during normal
operation to ensure the transducer is working in accordance with electronic zeroing
procedures. This feature is particularly important on high temperature materials and when
the transducer becomes worn.
Important Notice: Please make sure the transducer is NOT coupled to the test piece
when the gage is first turned on and that there is no couplant on the end of the
transducer. The transducer should also be at room temperature and clean without any
noticeable wear.
For a more accurate “span” of calibration, Danatronics recommends a zero calibration
and sound velocity calibration as well.
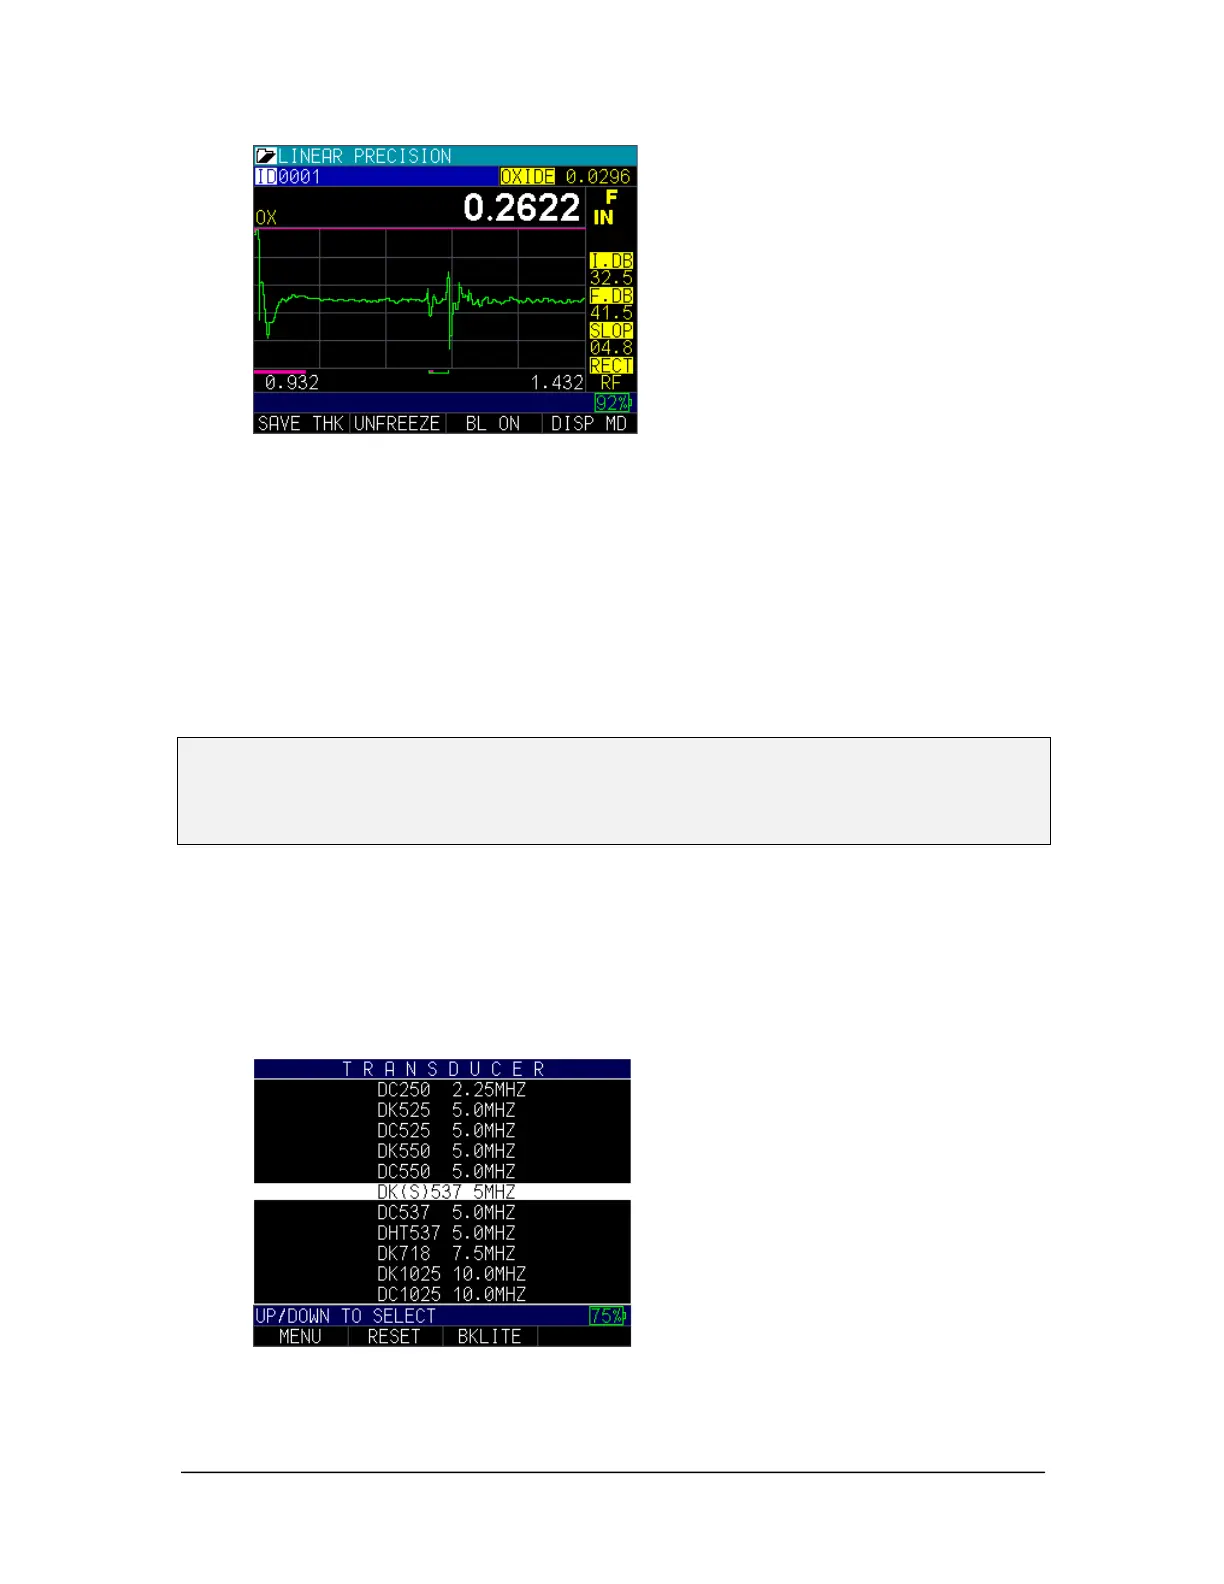
When you press and hold the F1 key, the gage will power on. Find the transducer part
number (located on the back of the transducer) and match it to the same number on the
gage display screen. Here is what the first screen will look like (see reset and backlight
sections for additional details):