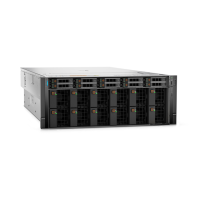
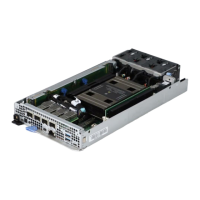
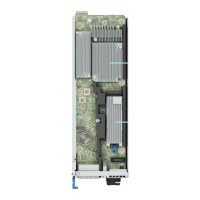
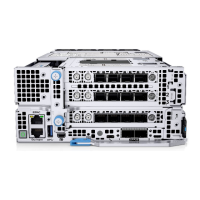
Figure 93. Installing the PCIe base board
3. Using Phillips 2 screwdriver, tighten the thumb screw on the PCIe base board.
Next steps
1. Replace the PSB module.
2. Connect the cables to PSB module from system board.
3. Replace the PSB top cover.
4. If required, install the front PERC module.
5. Slide in the drive cage.
6. Connect the drive backplane cables to the connectors on the system board and backplane.
7. Replace the drives.
8. Replace the air shroud
9. Replace the cooling fan cage assembly.
10. Replace the front top cover.
11. Follow the procedure listed in After working inside your system.
Power supply unit
NOTE:
While replacing the hot swappable PSU, after next server boot; the new PSU automatically updates to the same
firmware and configuration of the replaced one. For updating to the latest firmware and changing the configuration, see the
Lifecycle Controller User's Guide at iDRAC Manuals.
Removing a power supply unit
Prerequisites
CAUTION:
The system requires one power supply unit (PSU) for normal operation. On power-redundant
systems, remove and replace only one PSU at a time in a system that is powered on.
Installing and removing system components 125

 Loading...


