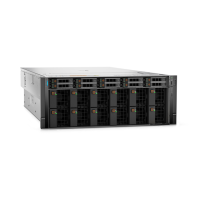
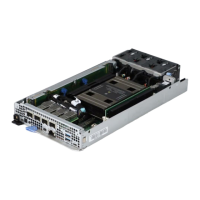
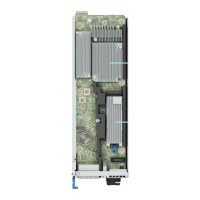
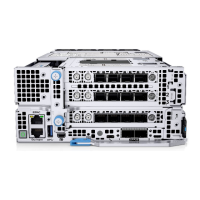
Figure 97. Installing the PSU cage
2. Hold the handle with one hand and the rear side of PSU cage with the other hand.
3. Align and insert the PSU cage with the help of guiding slots at both sides of the chassis.
4. Rotate the handle down to lock position.
Next steps
1. Connect the cables to the connectors on the power distribution board.
2. Install the air shroud
3. Install the cooling fan cage assembly.
4. Install the front top cover.
5. Follow the procedure listed in After working inside your system.
Power interposer board
This is a service technician replaceable part only.
Removing the power interposer board
There are two power interposer board on either side of the system. The procedure to remove is similar.
Prerequisites
1. Follow the safety guidelines listed in the Safety instructions.
2. Follow the procedure listed in the Before working inside your system.
3. Remove the cooling fan cage assembly.
4. Remove the air shroud.
5. Observe and disconnect the cables from the connectors on the power distribution board.
6. Remove the PSU cage.
Installing and removing system components
129

 Loading...


