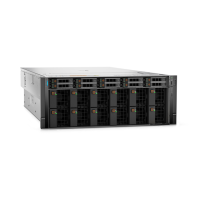
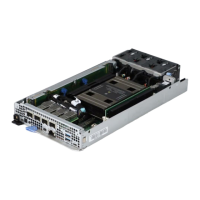
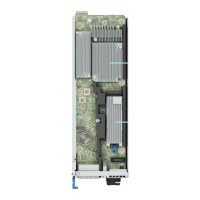
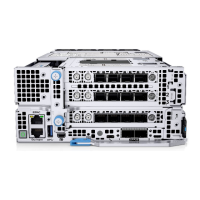
Figure 148. Removing the A100 baseboard
Next steps
1. Replace the A100 baseboard.
Installing the A100 GPU
Prerequisites
1. Follow the safety guidelines listed in the Safety instructions.
2. Follow the procedure listed in the Before working inside your system.
3. Remove the GPU fan cage.
4. Remove the GPU tray.
5. Remove the GPU top cover.
NOTE:
For heatsink installation, it is required to use an ESD-Safe Torque screwdriver holding a Phillips 1 bit with a narrow
shaft that is at least 15cm (6 inches) of length.
Steps
1. When installing a new GPU, carefully remove the bottom shipping plastic covers that protect the pinfield, and visually inspect
the pinfield to ensure that no pins are bent or damaged before installing the module.
NOTE:
If any pin fields on the module or the GPU baseboard appear damaged, DO NOT install the module. Call tech
support to determine the best course of action.
2. Align and insert the GPU on the GPU base board socket.
3. Using Phillips 1 screwdriver, tighten the screws securing GPU in the order that is mentioned below:
a. Tighten the screws securing the GPU 3 turns each in the following order. Assembly order:1, 2, 3, 4.
b. Return to first screw and completely tighten it.
c. Completely tighten the remaining screws in the correct order.
NOTE: When installing the GPU, ensure that the final torque value is 5.2 ± 4% lbf-in or 0.59 ± 4% N-m.
172 Installing and removing system components

 Loading...


