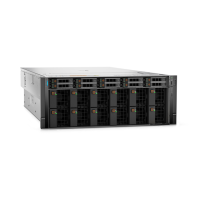
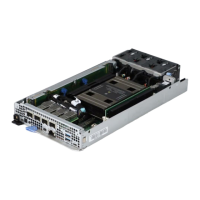
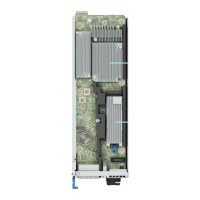
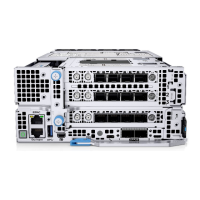
Figure 132. Installing the H100/H800 GPU tray
Figure 133. Installing the A100 GPU tray
4. Using a Phillips 2 screwdriver, tighten the ten capture screws on both side of the chassis.
NOTE: The screw torque is 10 in-lbs and requires additional effort to tighten the screws.
160 Installing and removing system components

 Loading...


