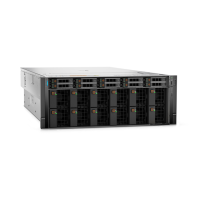
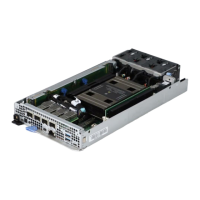
Figure 159. Removing the plastic cover from H100/H800 GPU Heatsink
2. Using Torx 15 screwdriver, release the four outer corner screws securing the GPU and heatsink module.
NOTE: H100/H800 GPU and heatsink module is one part and is removed together.
NOTE: A flashlight will be helpful in locating and identifying the screws clearly.
3. Using both hands, lift the GPU and heatsink module from the GPU baseboard. Carefully place the failed GPU and heatsink
module down on its side and protect the GPU connector pin field on the bottom from getting damaged
Figure 160. Removing the H100/H800 GPU and heatsink module
Next steps
1. Replace the H100/H800 GPU and heatsink module
2. Remove the H100/H800 baseboard.
180
Installing and removing system components

 Loading...


