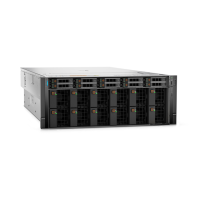
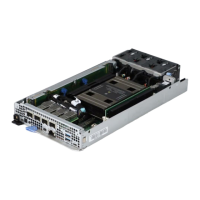
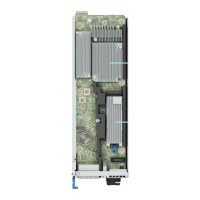
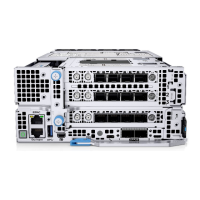
Figure 162. Removing the H100/H800 GPU and heatsink module
NOTE: Do not remove any NVLink heatsinks. The replacement H100/H800 baseboard will have the 4 new NVLink
heatsinks already attached.
4. Using Torx 15 screwdriver, loosen the two captive screws on the HGX Management Controller card and lift them from the
failed baseboard.
Figure 163. Removing the HGX Management Controller card
5. Using Torx 15 screwdriver, release 17 captive screws that secure the GPU base board onto the GPU tray.
6. Using the handles on the GPU base board lift it from the GPU tray.
182
Installing and removing system components

 Loading...


