107
4
Enter the setting.
The Option Setup Menu reappears.
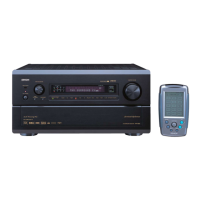
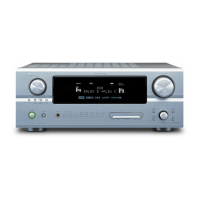
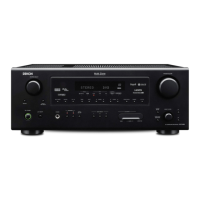
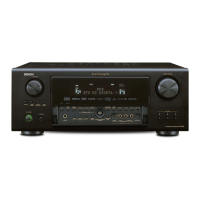
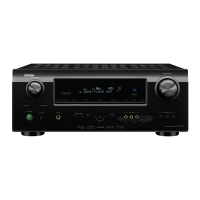
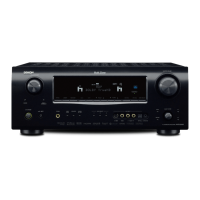
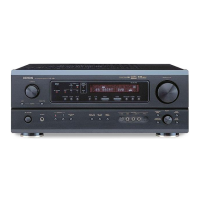
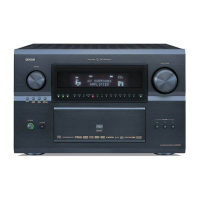
(Main unit) (Remote control unit)
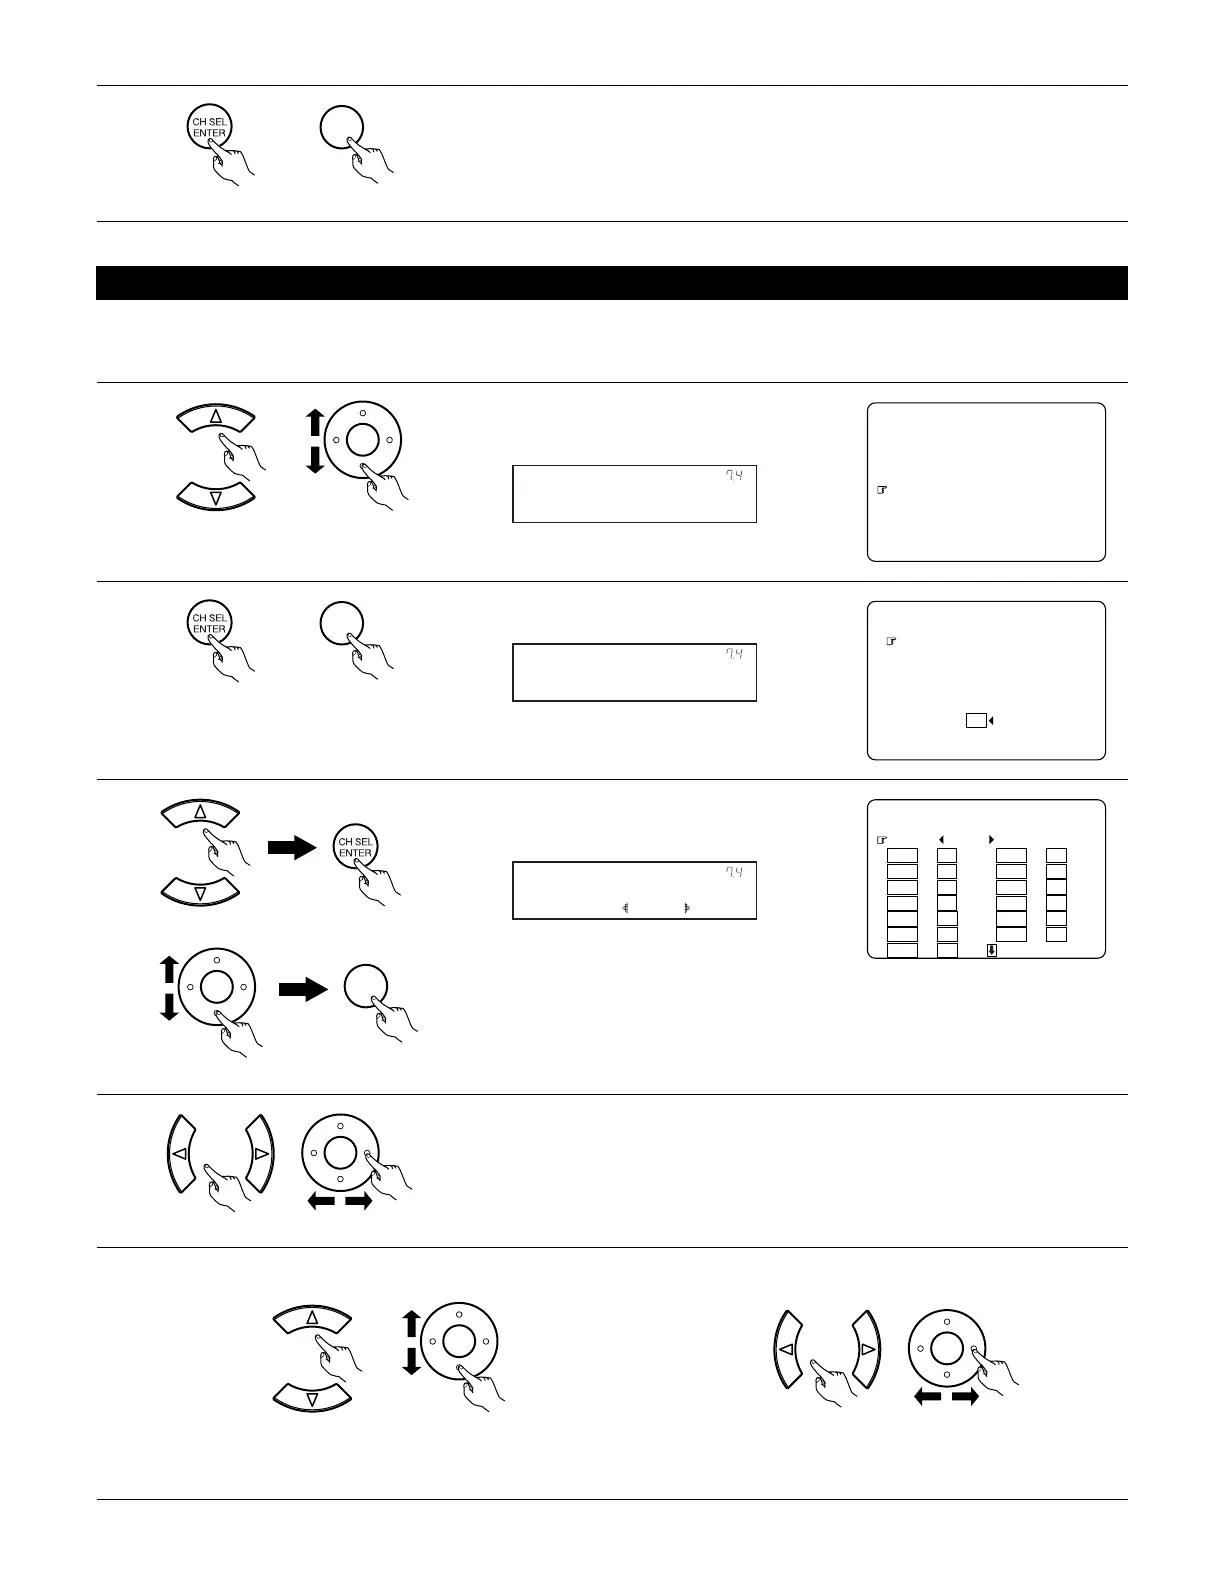
7-4. Setting the Trigger Out
• Four 12 V DC Trigger Outputs on the rear panel can be used to control other devices with compatible trigger inputs, such as motorized screens,
motorized screen masking, motorized drapes, and other trigger-controlled devices.
• Set the DC output supplied from the trigger out jacks for the various input sources to ON or OFF.
1
¥¥¥
¥¥Ĺ©ńţŜũũŠŧ¥ŔŠůŰū
¥¥ĺ©őŪŲŠŭ¥łŨū¥łŮŮŤŢũ
¥¥Ļ©ŗŪŧŰŨŠ¥ńŪũůŭŪŧ
¥¥ļ©ŕŭŤŢŢŠŭ¥ŐŰů
¥¥Ľ©łń¥ŐŰůŧŠů¥łŮŮŤŢũ
¥¥ľ©ŔŠůŰū¥ŎŠŨŪŭŴÃōŪŞŦ
¥
¥¥ņųŤů
¥Ŀ©ŐūůŤŪũ¥ŔŠůŰū
Select “Trigger Out” at the Option Setup Menu.
2
Display the Trigger Out screen.
¥
¥¥¥ŕŭŤŢŢŠŭ¥ŐŰů¥Ĺ
¥¥¥ŕŭŤŢŢŠŭ¥ŐŰů¥ĺ
¥¥¥ŕŭŤŢŢŠŭ¥ŐŰů¥Ļ
¥¥¥ŕŭŤŢŢŠŭ¥ŐŰů¥ļ
¥
¥¥¥ŅŠšŜŰŧů
¥
¥¥¥ņųŤů
¥¥Ŀáļ©ŕŭŤŢŢŠŭ¥ŐŰů
;G U
Trigger Out 1
*Trigger Out
(Main unit) (Remote control unit)
(Main unit) (Remote control unit)
3
Select the trigger out jack you want to set.
Switch to the setting screen.
ZONE : MAIN
*Trigger Out 1
¥¥Ŀáļ©ŕŭŤŢŢŠŭ¥ŐŰů¥Ĺ
¥¥śŐŏņ«¥ŎłŊŏ
¥¥¥¥¥«¥¥¥¥¥¥¥¥¥¥«
¥¥¥¥¥«¥¥¥¥¥¥¥¥¥¥«
¥¥¥¥¥«¥¥¥¥¥¥¥¥¥¥«
¥¥¥¥¥«¥¥¥¥¥¥¥¥¥¥«
¥¥¥¥¥«¥¥¥¥¥¥¥¥¥¥«
¥¥¥¥¥«¥¥¥¥¥¥¥¥¥¥«
¥¥¥¥¥«¥¥¥¥¥¥¥ŔŰŭŭ©ŎŪşŠ
¥
6WPGT &$5
8%4
8%4
8%4
8%4
8#WZ
2JQPQ
%&
6CRG
&8&
8&2
68
10
10
10
10
10
10
10
10
10
1((
1((
1((
1((
Example: When “Trigger Out 1” is selected
4
Select the Zone. (MAIN ZONE, ZONE2, ZONE3 and ZONE4)
The power supplied from the trigger out jack turns on and off when the power for the set zone
is turned on and off.
(Main unit) (Remote control unit)
(Main unit)
(Remote control unit)
(Main unit)
(Remote control unit)
5
q Select the input source. w Select “ON” or “OFF”.
ON : When that input source is selected, the power supplied from the trigger out jack turns on.
OFF : When that input source is selected, the power supplied from the trigger out jack turns off.
(Main unit) (Remote control unit)
(Main unit) (Remote control unit)
 Loading...