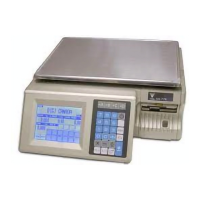
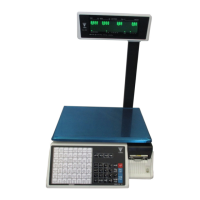
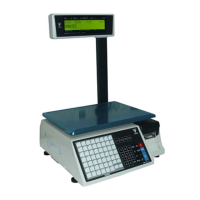
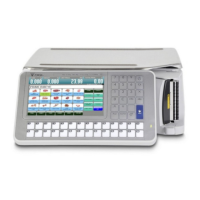
SM-500V2 Service Manual Edition 5
84
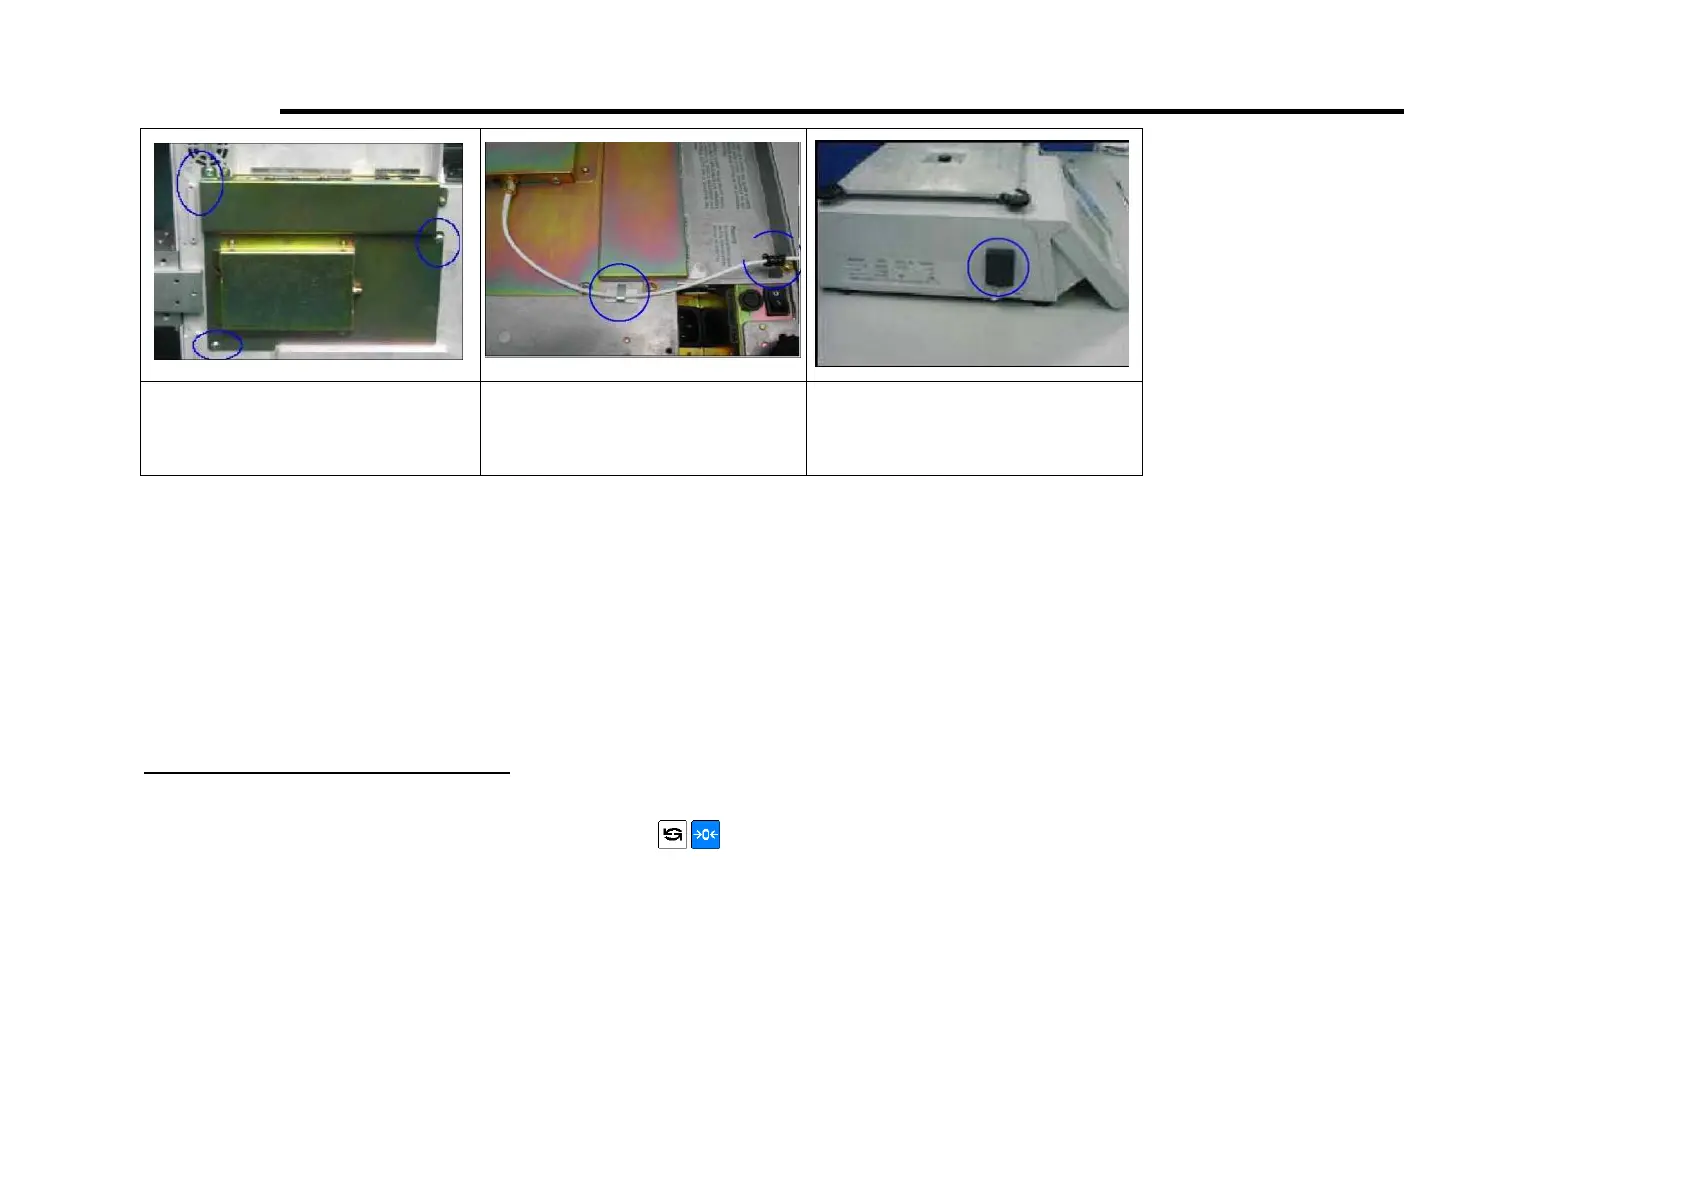
7. Then assemble WLAN kit
together with Bottom Cover
Bracket.
8. Connect Antenna wire to WLAN
kit. Then tidy up wire using screw
M4x6 and Clamp A then tie wire
with Hi Sticker.
9. And then paste Antenna on the
Body of machine as shown to
complete assembly.
10.2.2 RF Bridge Configuration Setup
Set all scale to Server.
1. In Registration Mode, touch [MENU] key or press
to enter OPERATION MENU Mode.
2. Touch [USER SETUP] [YES] and then touch [COMMUNICATION (RS232, 4L,ETHERNET)].
3. Touch [CLIENT/SERVER SETTING] box to enter CLIENT/SERVER SETTING mode.
4. Touch [INTERFACE TYPE] box and then touch [ETHERNET-TWISTED] box.
5. Touch [SELECTION OF CLIENT/SERVER] box to set scale to Server.
6. Touch [IP ADDRESS] box, set the IP Address to 192.168.000.021 by using TEN Keys and then touch [EXIT] key.
7. Touch [EXIT] key to exit from CLIENT/SERVER SETTING.
8. Touch [WIRELESS COMMUNICATION SETTING] box
9. Touch [WIRELESS COMM.] box to set Enable.
10. Touch [ESSID] box, enter ESSID name as “pttegroup” by using the character keys.
11. Touch [EXIT] key to exit from ESSID setting.