D-Show Guide130
Graphic EQ Controls
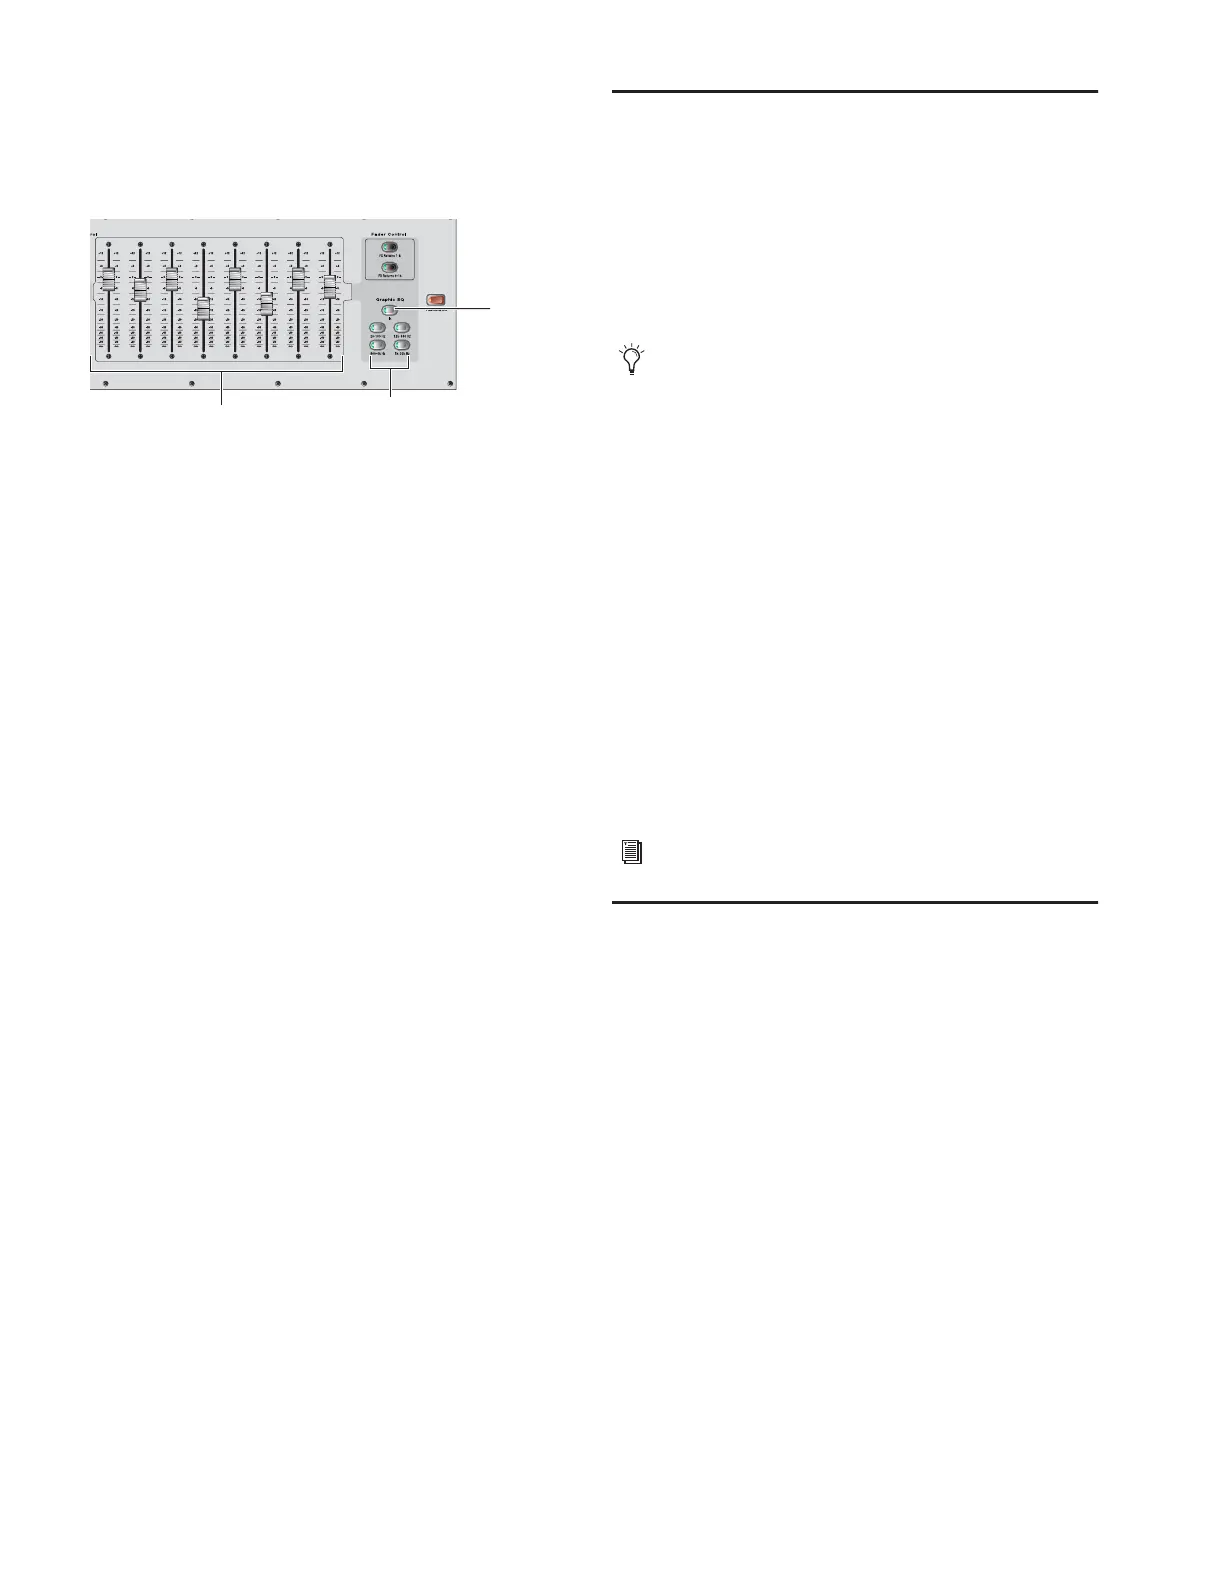
The Input Faders of the Main Unit provide control of Graphic
EQ in/out, and targeting of EQ bands. You can also use
on-screen controls to adjust graphic EQ parameters.
To enable the graphic EQ:
1 Target an Output bus with a graphic EQ assigned. If no
graphic EQ is assigned, display the 31-Band Graphic Equalizer
tab in the Outputs page and assign one using the Graphic EQ
pop-up menu.
2 Press the Graphic EQ In switch, or click the In button
on-screen, to toggle in/out status. When enabled, the In/Out
switch LED lights.
To set a graphic EQ curve:
1 Press the Graphic EQ band switch or click on-screen to select
the appropriate bank of graphic EQ bands: (20 to 100 Hz,
125 to 630 Hz, 800 Hz to 4 kHz, or 5 kHz to 20 kHz).
2 Adjust one of the eight faders controlling the selected
graphic EQ bands.
3 Press another Graphic EQ band switch or click on-screen to
select another bank of graphic EQ bands and adjust as needed.
To adjust graphic EQ gain:
■ Use the eighth fader in the fifth band (5 kHz to 20 kHz), or
use the on-screen Output knob.
Resetting Graphic EQ Parameters
To reset a band to its default setting, do one of the following:
■ Hold the Default switch and press the Select switch on the
fader corresponding to the graphic EQ band.
■ Right-click the individual band fader on-screen and choose
Reset.
■ Alt-click the band on-screen.
To reset the entire graphic EQ to flat:
■ Right-click anywhere in the Graphic EQ section on-screen
(but not directly on a fader) and choose Reset GEQ Section.
Plug-In Mapping of EQ Controls
D-Show compatible EQ plug-ins can map their gain, fre-
quency, and Q/bandwidth controls to corresponding encod-
ers on the control surface.
When a plug-in provides additional parameters beyond those
that map to the dedicated EQ encoders, you can use the As-
signable Output Encoders and the Previous/Next switches in
the ACS.
To adjust an EQ plug-in from the control surface:
1 Target the channel with the plug-in by pressing the channel
Select switch.
2 Press the plug-in Select switch (located at the bottom of the
ACS EQ section).
3 Do one of the following:
• If the EQ plug-in maps correctly, adjust parameters by
pressing or turning the corresponding ACS EQ encoders.
– or –
• If the EQ plug-in does not map to the ACS controls, press
the Insert Mode switch in the Insert Processing section of
the ACS. Use the Assignable Output Encoders to adjust
parameters, and use the Previous Page and Next Page
switches to access other pages, bands and parameters.
EQ Settings and Presets
Built-in parametric and graphic EQ settings can be copied and
pasted between channels. EQ presets can also be saved and
loaded to archive and transfer settings.
Copying and Pasting EQ Settings
To copy and paste an EQ setting:
1 Do one of the following:
•To copy a parametric EQ setting, right-click anywhere in
the on-screen EQ section or EQ graph (but not directly on
an encoder) and choose Copy EQ Settings.
– or –
•To copy a graphic EQ setting, right-click anywhere on the
graphic EQ display (but not directly on a fader) and
choose Copy GEQ Settings.
Graphic EQ controls on the control surface
In/Out
EQ band
selectors
Selected EQ bands
All plug-ins, including EQ plug-ins that do not map directly
dedicated D-Show EQ encoders, can be controlled using the
Assignable Output Encoders.
See Chapter 19, “Plug-Ins.”