Chapter 2: Configuring and Connecting D-Show 15
Com Mic Input
Com Mic Connector
◆ Plug a dynamic or condenser microphone, or any compati-
ble intercom system microphone into this connector.
Applying Phantom Power to the Com Mic
The Com Mic input has available 15V phantom power.
To apply phantom power to the Com Mic:
■ Move the Mic Power switch to the right.
Com Mic Gain
◆ Turn the Com Mic knob to adjust overall Com Mic gain.
MIDI Input and Output
◆ Connect a compatible MIDI device to the MIDI In and MIDI
Out ports. The D-Show Snapshot feature receives and sends
MIDI commands, and generates and responds to MIDI Time
Code.
Control Surface Connections
Talkback Mic
Talkback Mic Connector
◆ Plug a dynamic talkback microphone into this connector.
Talkback Level
◆ The talkback gain for this connector is fixed at 20 dB.
◆ Adjust talkback send level by pressing the Talkback switch
in the Talkback/Osc section and turning the level knob.
Talkback Switch
◆ Activate talkback by pressing the On/Talk switch.
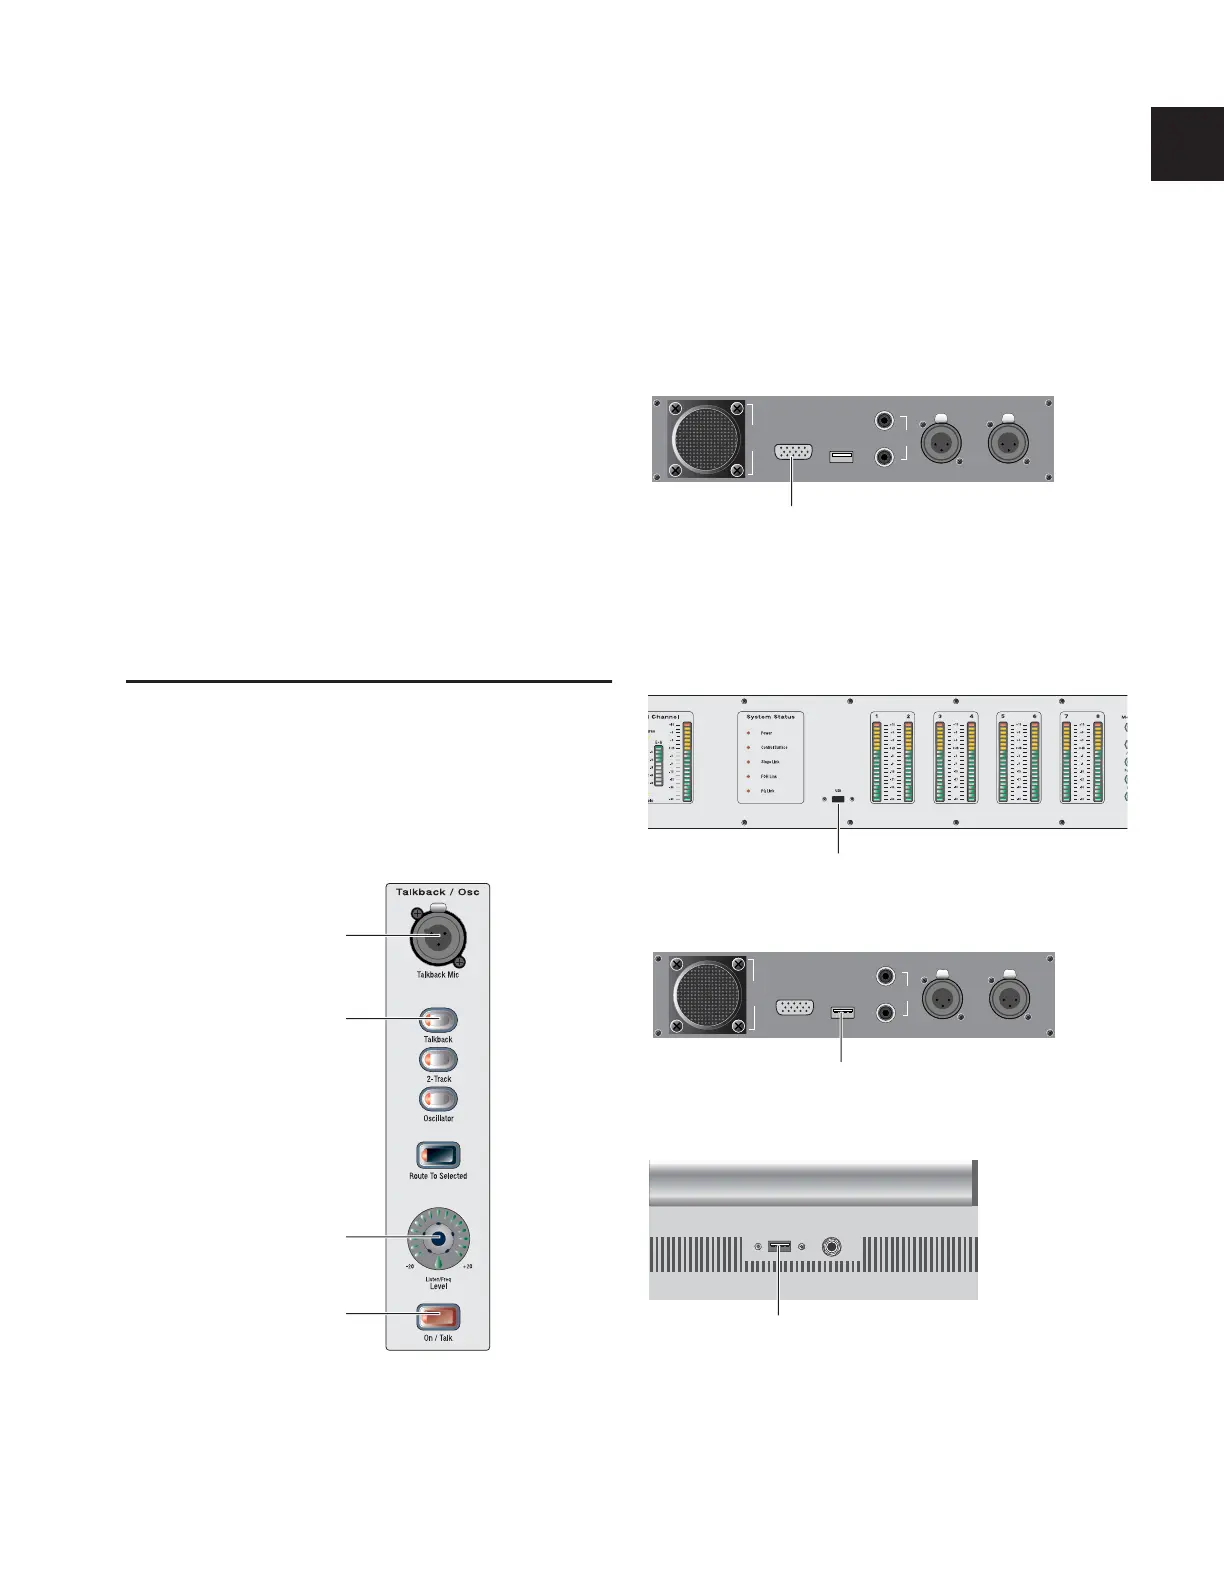
VGA Display
◆ Plug a compatible VGA display into this connector.
USB Keyboard
◆ Plug a compatible USB keyboard into any of the 3 available
USB connectors on the Main Unit.
Talkback microphone connector and controls on the Main Unit
Talkback Mic connector
Talkback switch
Talkback level
On/Talk switch
VGA display connector on back panel of the Main Unit
USB connector on the meter bridge panel of the Main Unit
USB connector on back panel of the Main Unit
USB connector on front panel of the Main Unit
FOH Link
To Rack
Footswitch
Console Link
Sidecar 4-6
Console Link
Sidecar 1-3
VGA
USB
1
2
VGA Display connector
FOH Link
To Rack
Footswitch
Console Link
Sidecar 4-6
Console Link
Sidecar 1-3
VGA
USB
1
2
USB connector