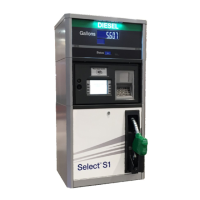
6.13 Unit Price, Control Board, and Glass Replacement
The serviceable parts are shown in the Fig 6.32 below. Replacement procedures for all of the
components are given in this section. The PTS buttons/switches can be replaced at the front of
the dispenser. The UPD’s, controller board, and totalizers are separately replaceable. These
can be replaced from underneath the payment terminal drawer without removing it. As shown
below, the display glass is part of the panel. To replace the panel, the whole payment terminal
drawer must be removed from the dispenser as explained in the next section.
Figure 6.32: NA Version Unit Price / PTS Panel Parts
6.13.1 UPD, Controller Board or Totalizer Replacement
1
Turn off power at the dispenser power switch.
2
For IEC unit price display board, skip to step 7 and Figure 6.36.
3
Remove all PTS buttons. Place fingers up inside the button, push up and then pull out as
shown in Fig 6.33.
4
From the underside of the payment terminal, disconnect cables at the top of the UPD controller
board, and move drain spout aside. Fig 6.34.
5
Remove the (3) T20 Torx screws from the controller board panel, then remove the panel as
shown in Fig 6.35.
6
At this point, replace totalizers as needed and reassemble, or proceed with the next steps.
To replace totalizer, press the small tab on each side of totalizer to remove from panel.
7
For IEC, remove (2) T20 Torx screws from the controller board. See Figure 6.36.
For NA, remove (2) T20 Torx screws from the controller board panel, then separate the board
from the panel as shown in Fig 6.37.
106 WM048523 Rev 08 01/2019
6 Replacement Procedures
 Loading...