Chapter 3: Installation and Testing
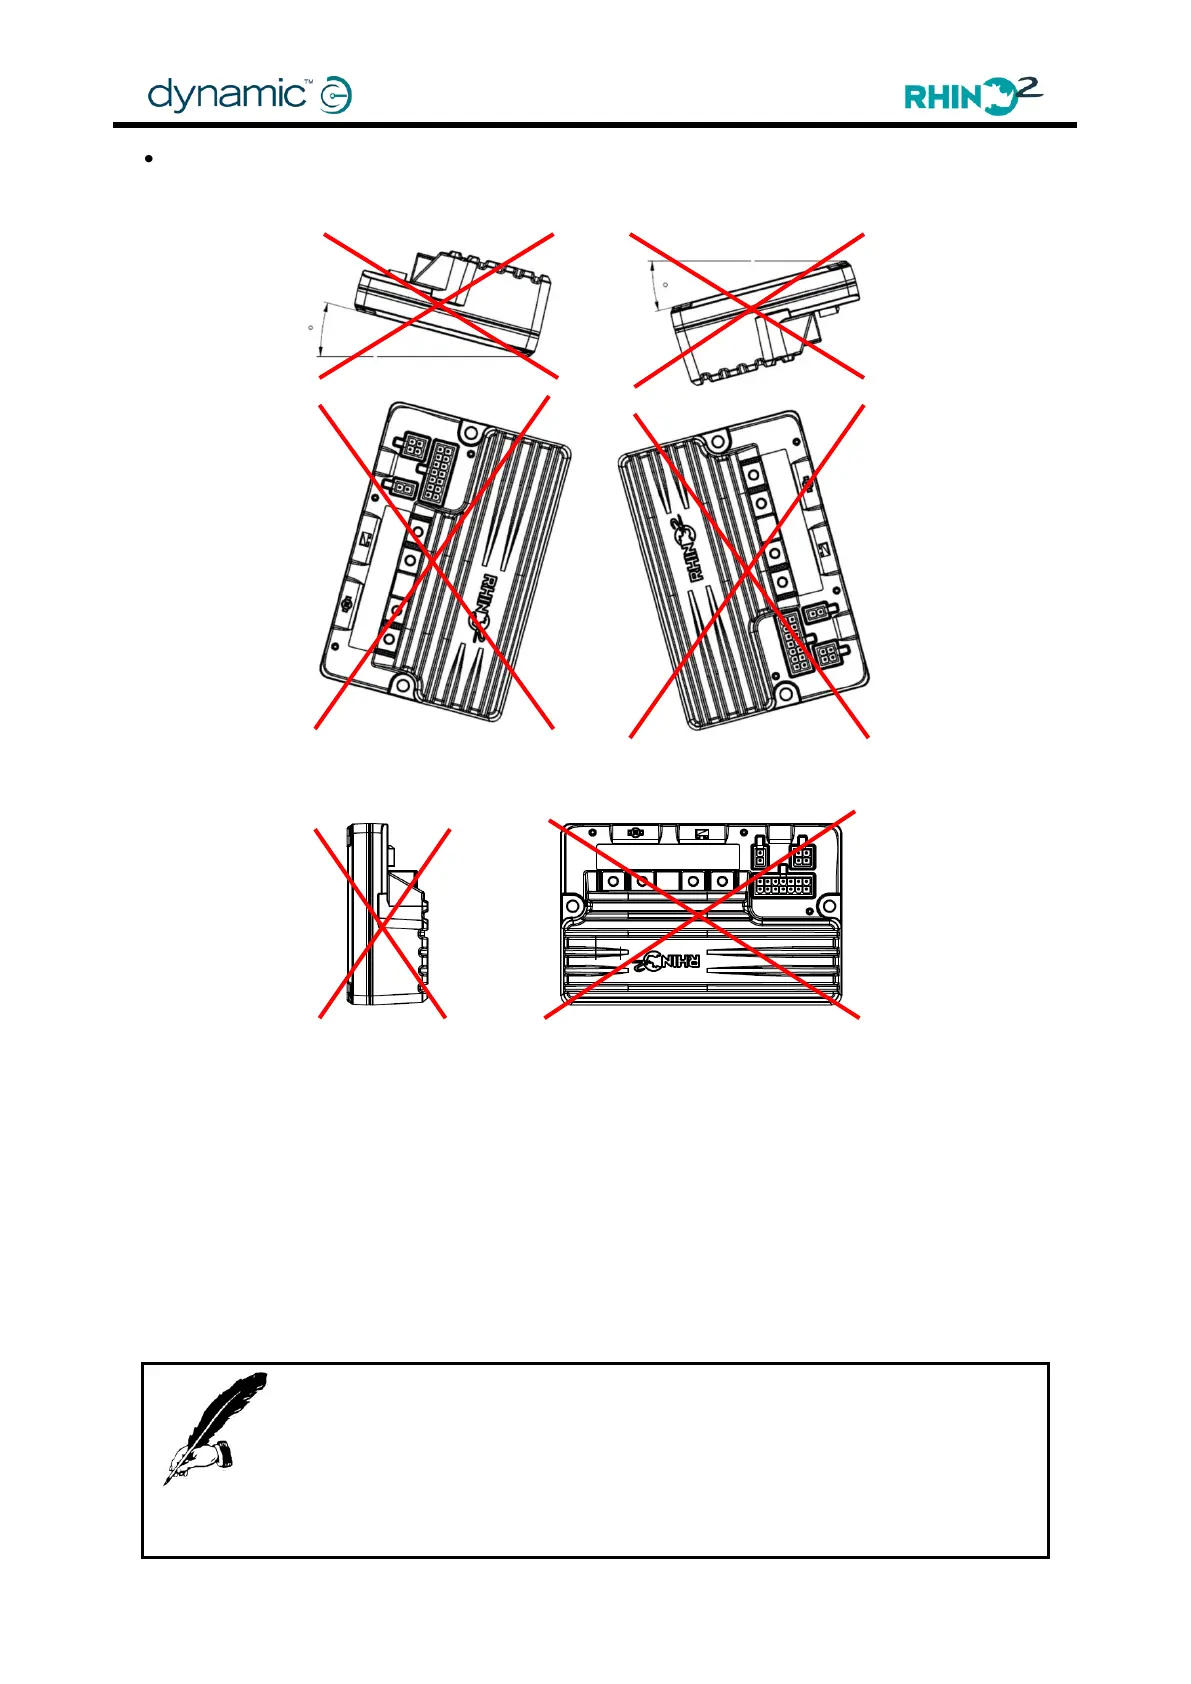
Not Recommended Mounting Orientation:
The horizontally tilted mounting orientations and vertical (with connector side on the top)
orientation, which have chances of water and dirt accumulation, are not recommended.
Horizontally Tilted Mounting Orientations
Vertical (Connector side on the top) Mounting Orientation
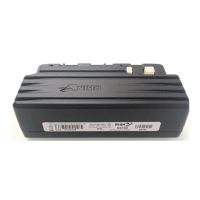
3.2 Attaching the terminal cover
An optional terminal cover is available for the RHINO2 controller. This can be ordered
separately – see Accessories + Parts List (6.2) for more details.
The terminal cover kit comprises a terminal cover and three M3x8mm screws.
To attach the terminal cover, offer it towards the top case ensuring that the locating-lugs
(see image below) are positioned in the recesses in the top case, and then screw the
terminal cover to the top case with the M3 screws provided.
Notes:
1. Tighten the screws with a hand torque wrench to 80cNm. Over-
tightening may cause thread damage on the top case.
2. When attaching the terminal cover, ensure that no cables are trapped.