111
Correcting Image Shape with Arc Correction
Parent topic: Using Basic Projector Features
Correcting Image Shape with the Keystone Buttons
You can use the projector's keystone correction buttons to correct the shape of an image that is
unevenly rectangular on the sides.
Note: You can use the keystone buttons to correct the image up to ± 3° horizontally or vertically.
Note: Using the keystone correction buttons may affect interactive pen and finger touch calibration.
1. Turn on the projector and display an image.
Note: You can display a pattern to aid in adjusting the projected image using the Settings menu.
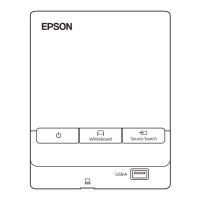
2. Press one of these keystone buttons on the control panel to display the Keystone adjustment
screen.
 Loading...
