180
Controlling Computer Features from a Projected Screen (PC Interactive Mode)
Parent topic: Using the Interactive Features
Using the Projected Screen as a Whiteboard (Built-in Whiteboard Mode)
You can use the interactive pens or your finger to write or draw on the projection surface just as you
would on a chalkboard or dry erase board. You can use one pen, both pens at the same time, or a
combination of pens and finger touch.
1. Hover near or tap the board or projected image with the interactive pen or your finger. Tap the
whiteboard icon on the toolbar.Tap the image source icon on the projector control toolbar and
select the Whiteboard source. You can also press the Home button on the remote control and
select the Whiteboard source.
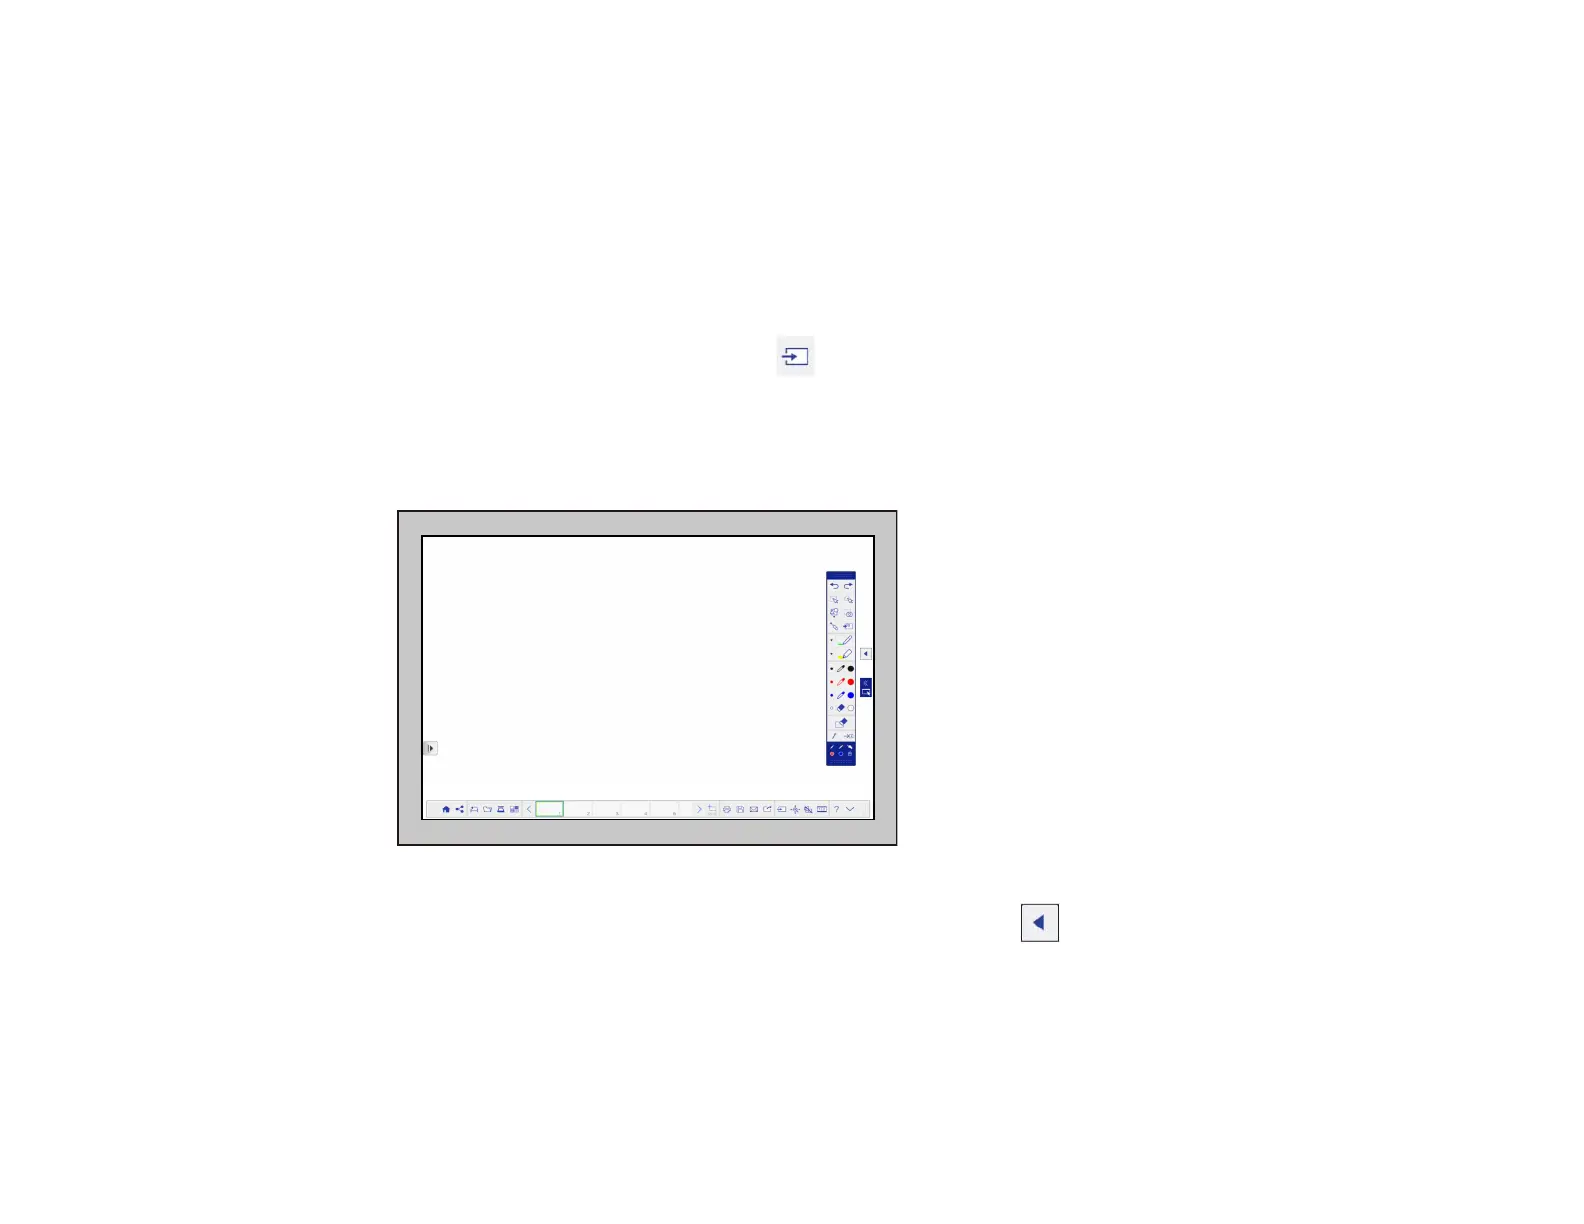
You see the whiteboard screen, with the main toolbar on the side and the projection control toolbar
on the bottom of the screen:
2. To move the main toolbar to the other side of the screen, tap the arrow on the opposite side of
the screen.
Note: You can use the pen or your finger to move the arrow icon up or down to reposition the
toolbar.