Image Shape
68
g
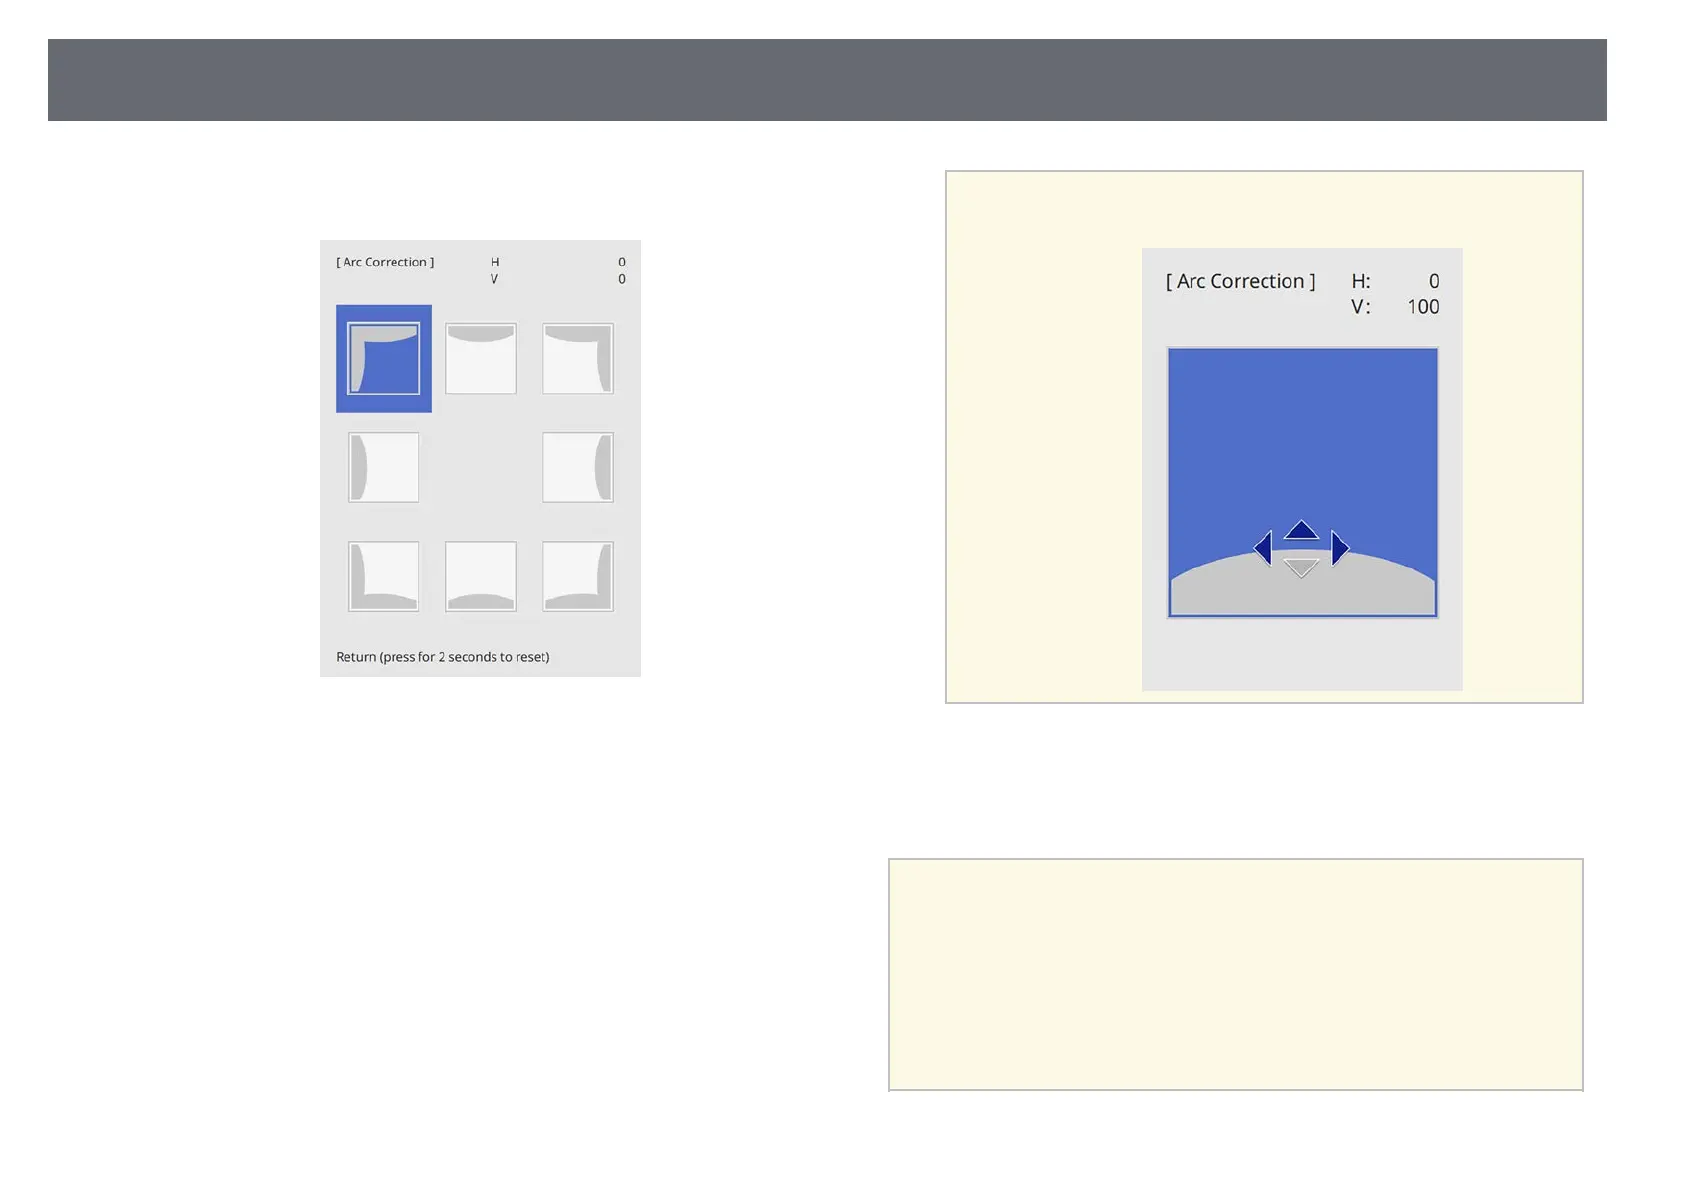
Use the arrow buttons to select the area of the image you want to
adjust, then press [Enter].
h
Press the arrow buttons to adjust the image shape of the selected area as
necessary.
To return to the area selection screen, press [Enter].
a
If you see this screen, you cannot adjust the shape any further in
the direction indicated by the gray triangle.
i
Repeat steps 7 and 8 as needed to adjust any remaining corners.
j
When you are finished, press [Esc].
a
• You can fine tune the corrected results. Use Quick Corner to adjust
the tilt of the image, and then use Point Correction for fine tuning.
Select Quick Corner or Point Correction on the screen in step 6.
• To save the current shape of an image you have adjusted, select Save
Memory. You can save up to three image shapes in the memory.
s Installation > Geometry Correction > Memory > Save Memory
• To reset the Arc Correction settings, hold down [Esc] for about 2
seconds while the area selection screen is displayed, and then select
Yes.