Rev. E Setup 3-25
TM-H6000III Technical Reference Guide
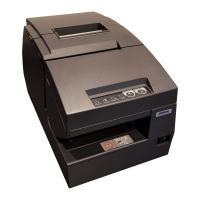
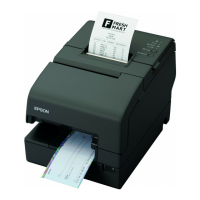
3.5.2 Running the Self Test with Slip Paper
1. Make sure the printer is turned off and the printer cover is closed properly.
2. While holding down the RELEASE button, turn on the printer using the switch on the front of
the printer. (The SLIP light blinks.)
3. Feed a sheet of slip paper into the printer. The printer loads the paper automatically, prints
the printer settings, and then ejects the paper. (The SLIP light blinks.)
4. Remove the paper from the printer and feed another sheet of slip paper into the printer to
print characters from the character table. Continue to feed slip paper into the printer until
the self test prints the following:
***completed***
The printer is ready to receive data as soon as it completes the self test.
3.5.3 Running the Self Test with the Validation paper (Option)
1. Make sure the printer is turned off and the printer cover is closed properly.
2. While holding down the FEED button and RELEASE button, turn on the printer using the
switch on the front of the printer. ( The SLIP light flashes.)
3. Feed a validation paper into the printer. The printer loads the paper automatically, prints the
printer settings, and then ejects the paper. ( The SLIP light flashes.)
4. Remove the paper from the printer and feed another validation paper into the printer to
print characters from the character table. Continue to feed slip paper into the printer until
the self test prints the following:
*** completed***
The printer is ready to receive data as soon as it completes the self test.
3.5.4 Running the Self Test with the Endorsement Function (Option)
If your printer has the endorsement function, the slip paper self test is slightly different. When
you feed additional sheets of slip paper in step 4, two lines are printed on the back of the slip by
the endorsement print mechanism; then the test continues printing on the surface side of the slip
as described above.

 Loading...

