Chapter 1 Introduction
1-2 ER1 User Guide
Your first steps are to assemble your robot, add your laptop, install the software, and start
the ER1 RCC software. If you have the ER1 kit, the assembly will take about an hour. The
instructions are in Appendix A, Assembly Instructions. If you have the assembled robot,
the Assembly Instructions in Appendix A will explain how you connect the camera carrier
and mount your laptop on the robot. It will take about 5 minutes. You will be plugging
two items into your laptop, both provided. One is the camera that will be used for your
robot’s vision. The other is our proprietary Robot Control Module (RCM) that will
coordinate your robot’s navigation. Both are USB connections to your computer. A
separate 12-Volt 50 Watt power module is provided for the RCM.
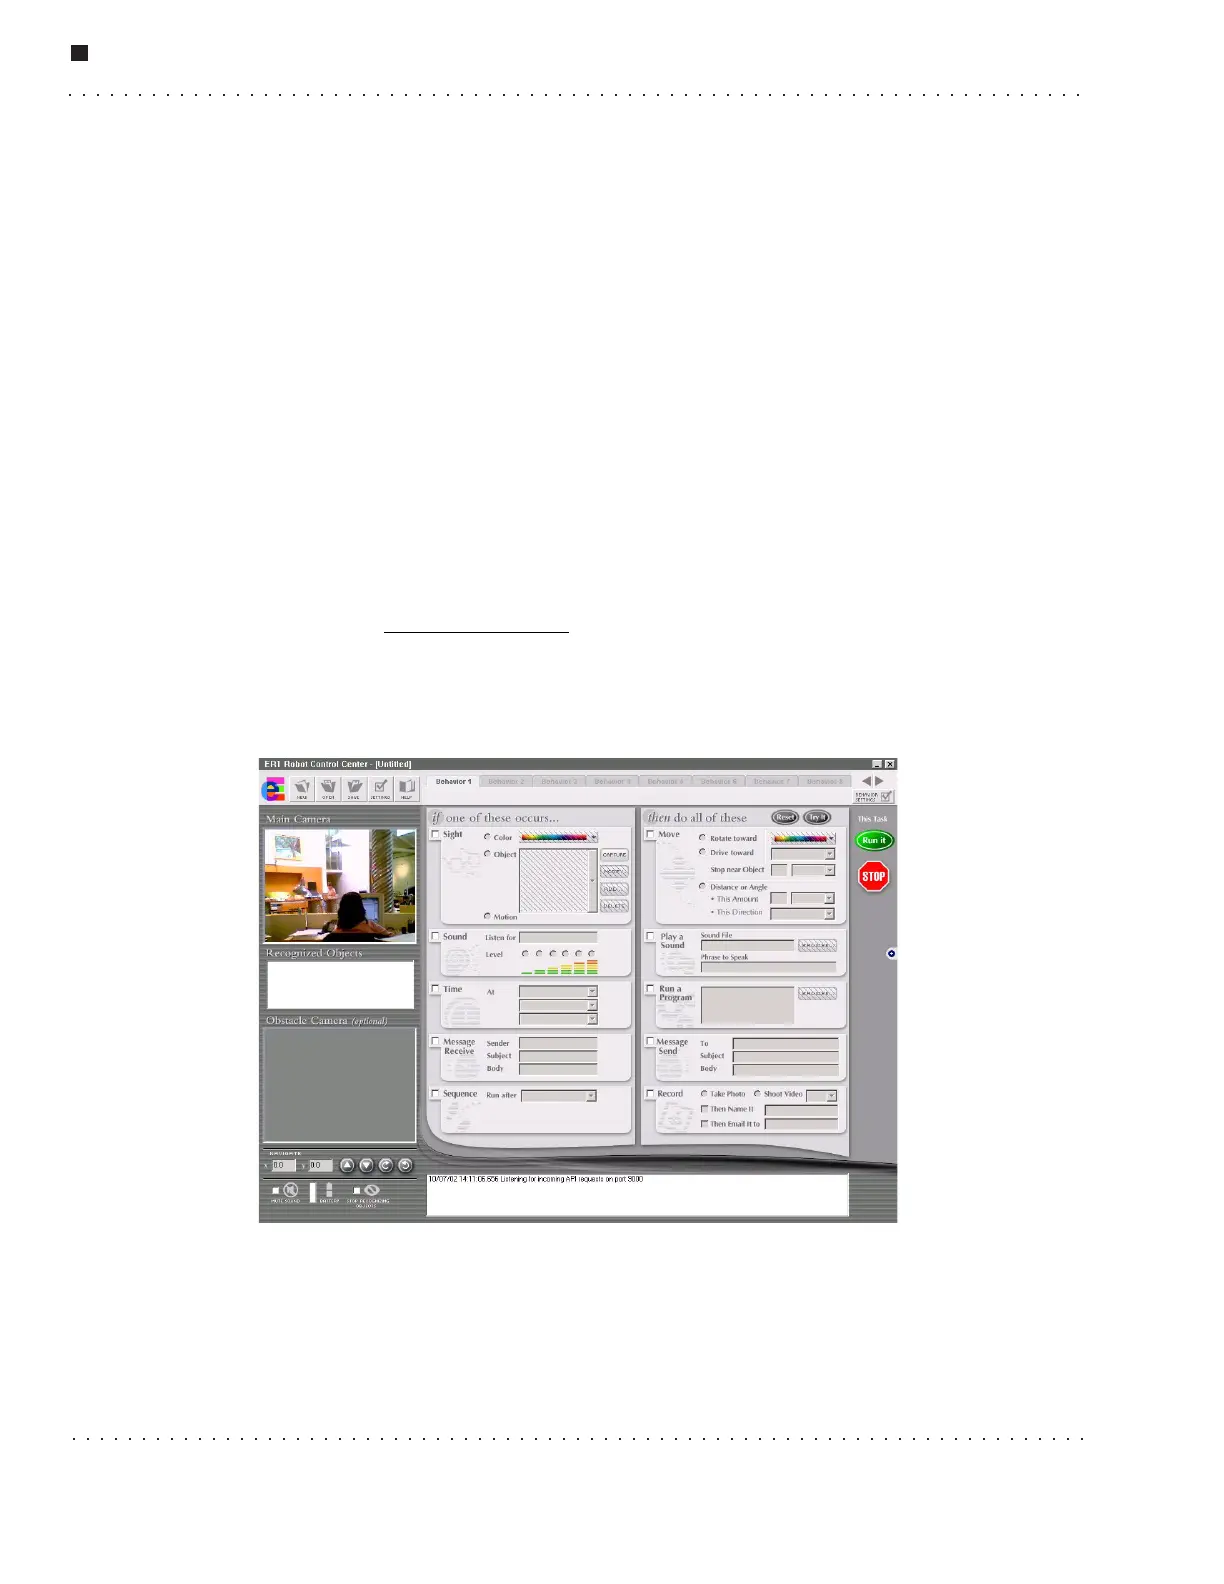
Robot Control Center Software
The ER1 RCC software is used to control and receive feedback from your robot. On the
left side of the screen is an area to show you what your robot is seeing, a list of any
recognized objects, any additional video input from an obstacle avoidance camera and
robot movement controls. The rest of the RCC software consists of a set of If conditions
and Then actions that can be used to create a wide variety of robot behaviors or to
perform tasks. You can have up to 96 behaviors that can run in any sequence you specify,
or individually. You can save what you create and share it with others at our ER1
community at www.evolution.com
. We have provided a number of tasks and activities for
you to try in “50 Ways to Love Your Robot”, but the true range of the ER1 is unlimited. A
quick tutorial for this software is available in the “Getting Started” section. Later sections
will describe this software in detail.
To create a new robot task, here is the strategy:
• Decide what you want to trigger the task: a recognized object or color, a sound, a
certain time, or email.
• Break the task into subtasks that the robot can achieve, one at a time, such as
moving, speaking, sending an email or recording video.