AT600 User’s Manual 49
Chapter 3. Initial Setup and Programming
Test Frequency
3.6.2d Setting the Alarm
Setting Measurement Type
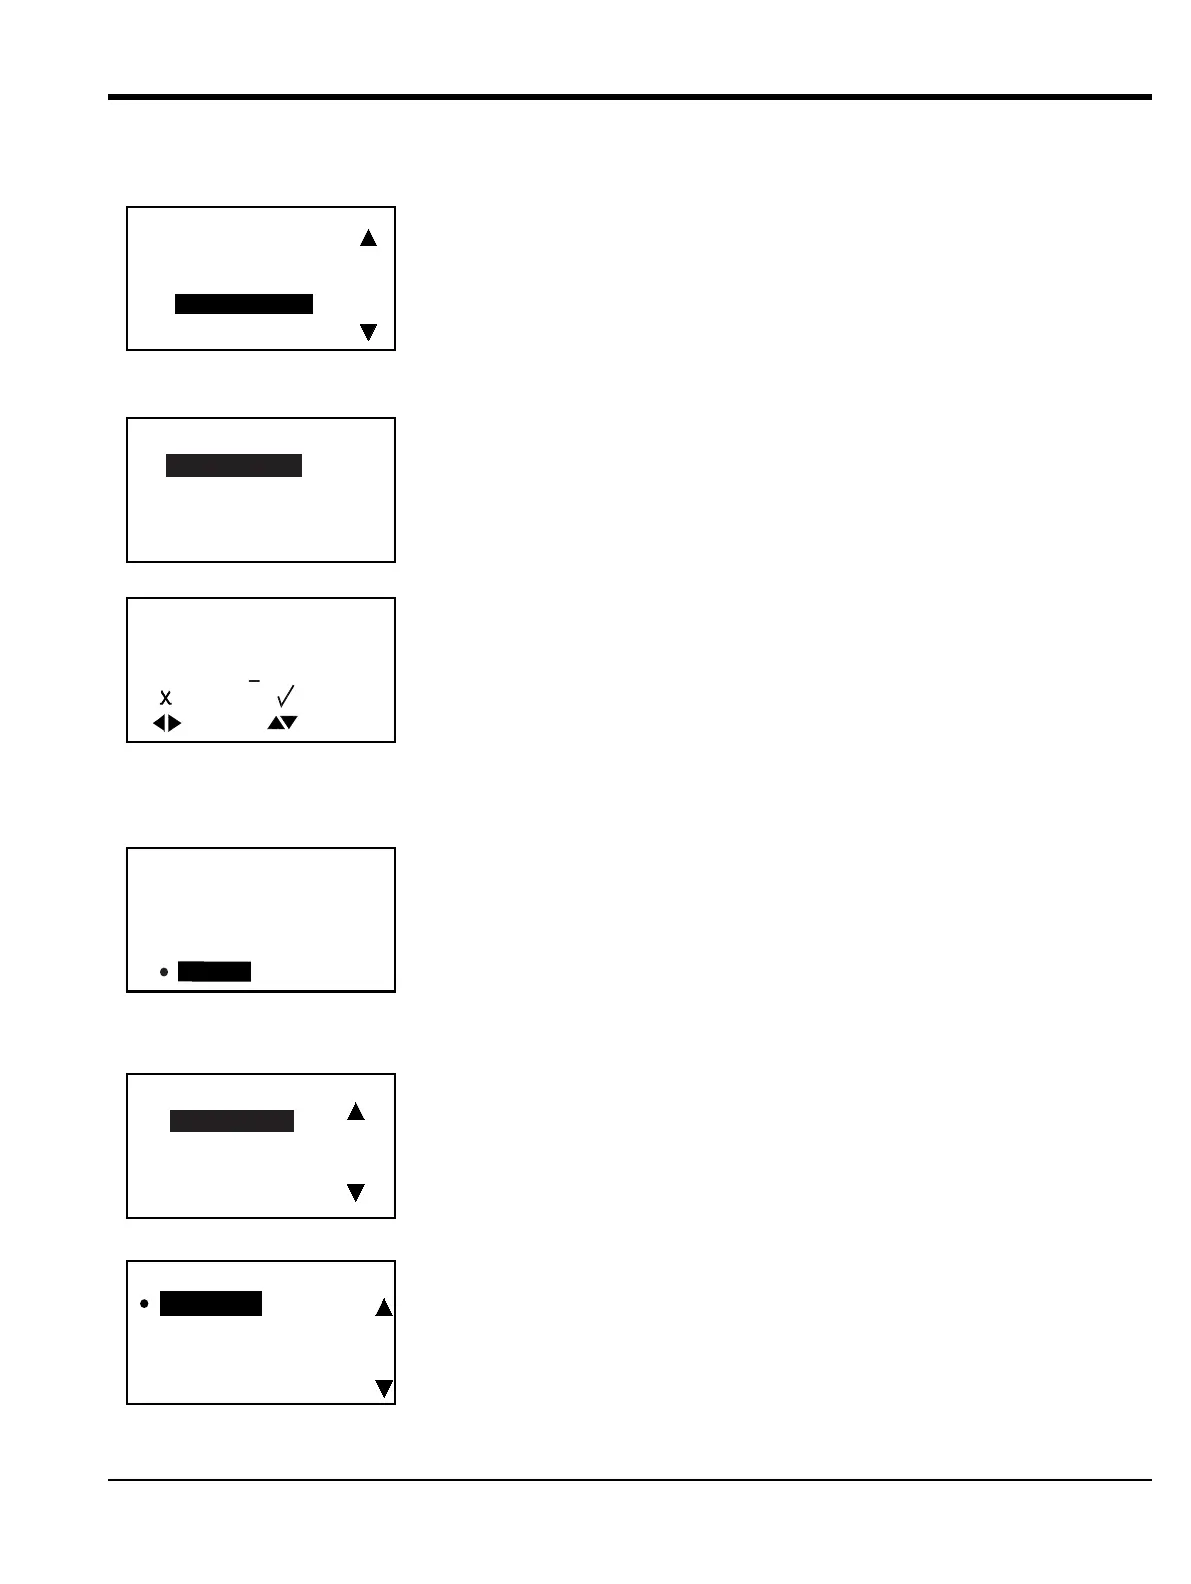
To test the Frequency output, select
Test Frequency and press []. The following
screen appears.
Press
[], and a screen similar to the following appears.
To change the current test frequency, press
[]. Set a Hz value. The meter will set
the digital output to this value. Then verify at your measurement system that you
see the frequency you entered. You can repeat this procedure with several
frequencies.
After testing,
press [] to return to the Digital Output menu.
The alarm can be an open or a short circuit, depending on the error condition. To
check the alarm and/or change its settings, in the
Digital Output menu select
Alarm and press []. The following screen appears.
Select
Measurement and press []. A screen similar to the following appears.
In the Measurement menu, select the type of analog output to be used, and press
[]. The screen returns to the previous display.
Full Value
Full Frequency
Test Frequency
Error Handling
Test Frequency
Test Frequency
0 Hz
Test Frequency
UNIT: Hz
0
]MOVE
]UNDO [ ]SAVE
]
]
]MODF
[
Digital Output B
Off
Pulse
Frequency
Alarm
Alarm
Measurement
Alarm State
Alarm Type
Alarm Value
Velocity
Act Volumetric
Std Volumetric
Mass