NetworX Version 3 Installation Manual
30
2. Mount the keypad cradle ! on the wall using the mounting holes.
3. Place the keypad in the cradle inserting the bottom edge first ", and carefully push the
top until the keypad snaps in place.
Note: To replace keypad batteries, see the Battery replacement section on page 157, and the Battery replacement
chapter in the NetworX V3 User Guide.
Note: Any unauthorized opening of the battery compartment will cause tamper alarm in the system.
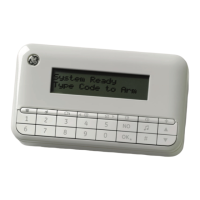
Mounting the wired keypad
There is also an option to use wired keypads with the NetworX V3 system. To install a wired keypad:
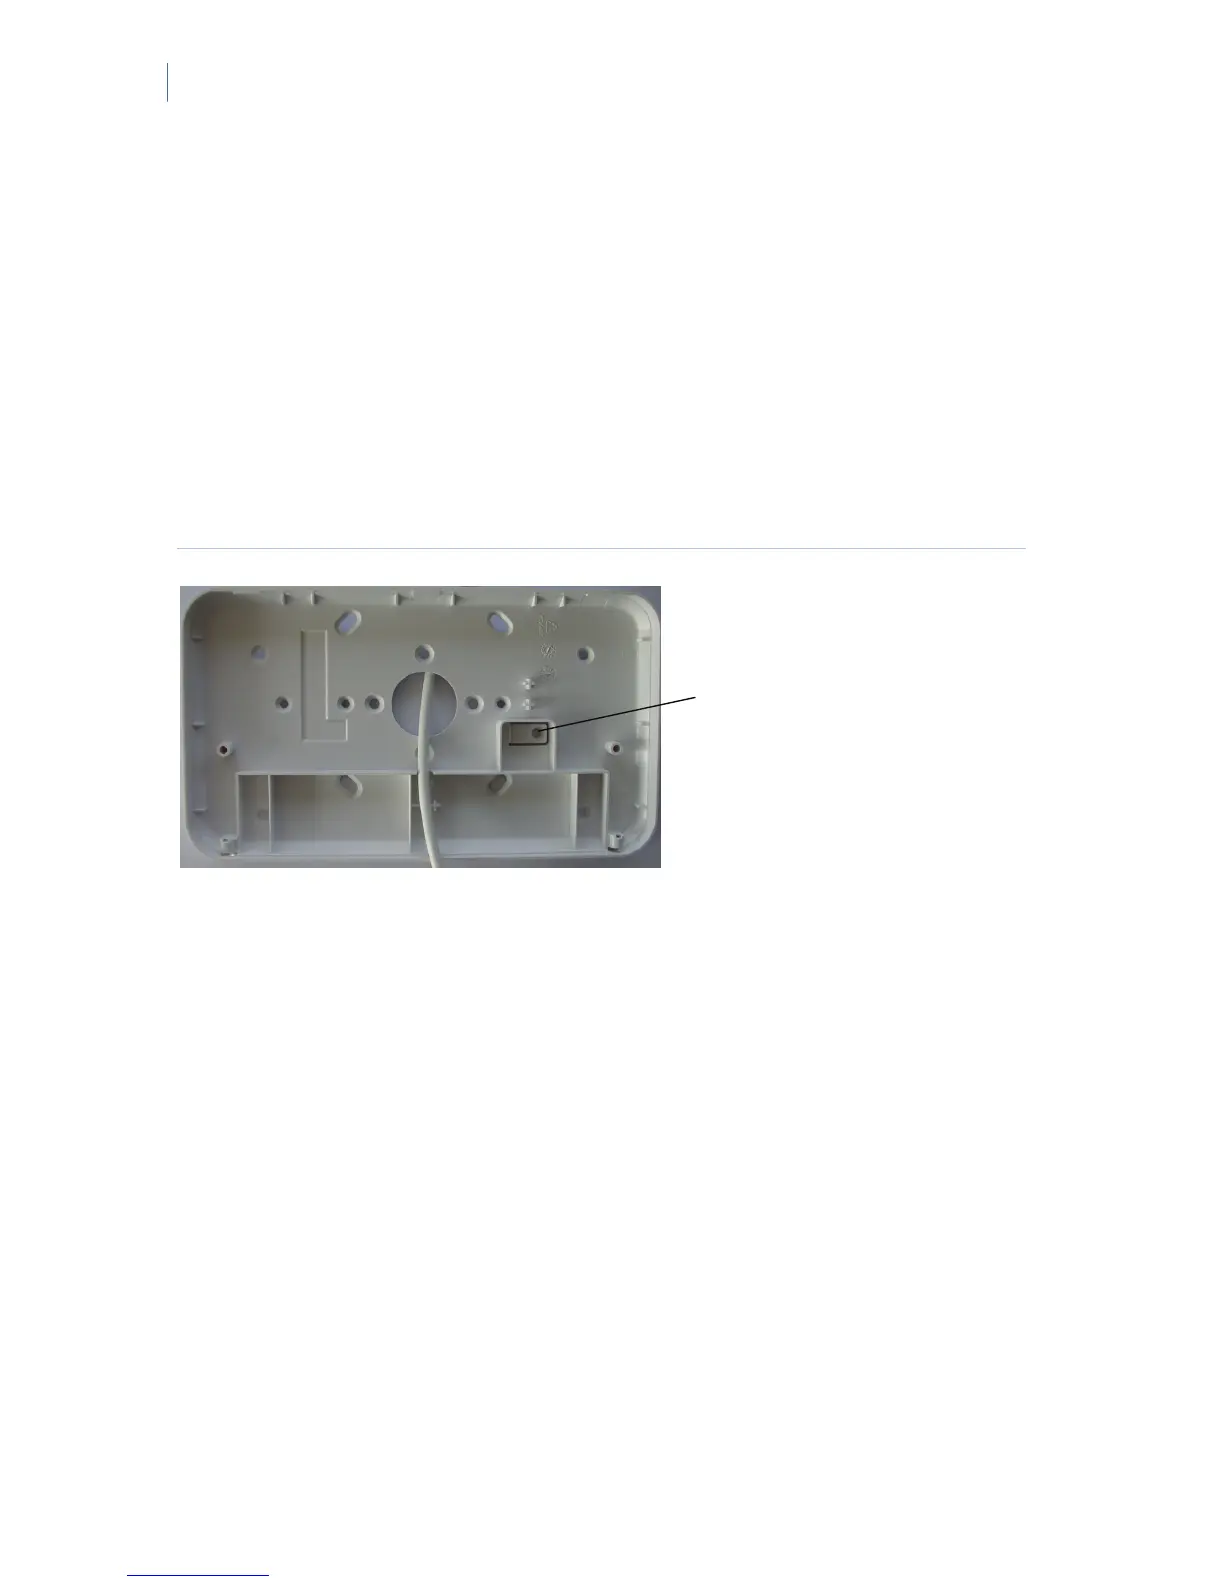
1. Run the NetworX bus cable to the appropriate location on the wall. Insert the cable into
the cable opening in the wired keypad's backplate.
Figure 9. Wired keypad's backplate
2. Mount the backplate of the keypad on the wall using the mounting holes. Using a screw,
fasten the tamper trigger
1 to the wall.
3. Connect the shielded NetworX bus wires to the connector block (BUS+, DATA, COM)
on the keypad board, and additionally connect the shielding to COM (see
Figure 10).
Isolate the NetworX bus wires and shielding correctly to prevent any short circuits on the
keypad.
1

 Loading...