Following orientation markers are available: A Anterior
P Posterior
L Left
R Right
Cr Cranial
Ca Caudal
There are also combinations thereof possible e.g.: AL, PRCa etc.
Note
The orientation marks are visible if slices are present in T.U.I. mode (not in Render Full-
Screen). They are visible as long as they are not turned off, by pressing [Off] key in Probe
Orientation Menu.
'Tomographic Ultrasound Imaging – TUI (Parallel Slices)'
on page 9-39
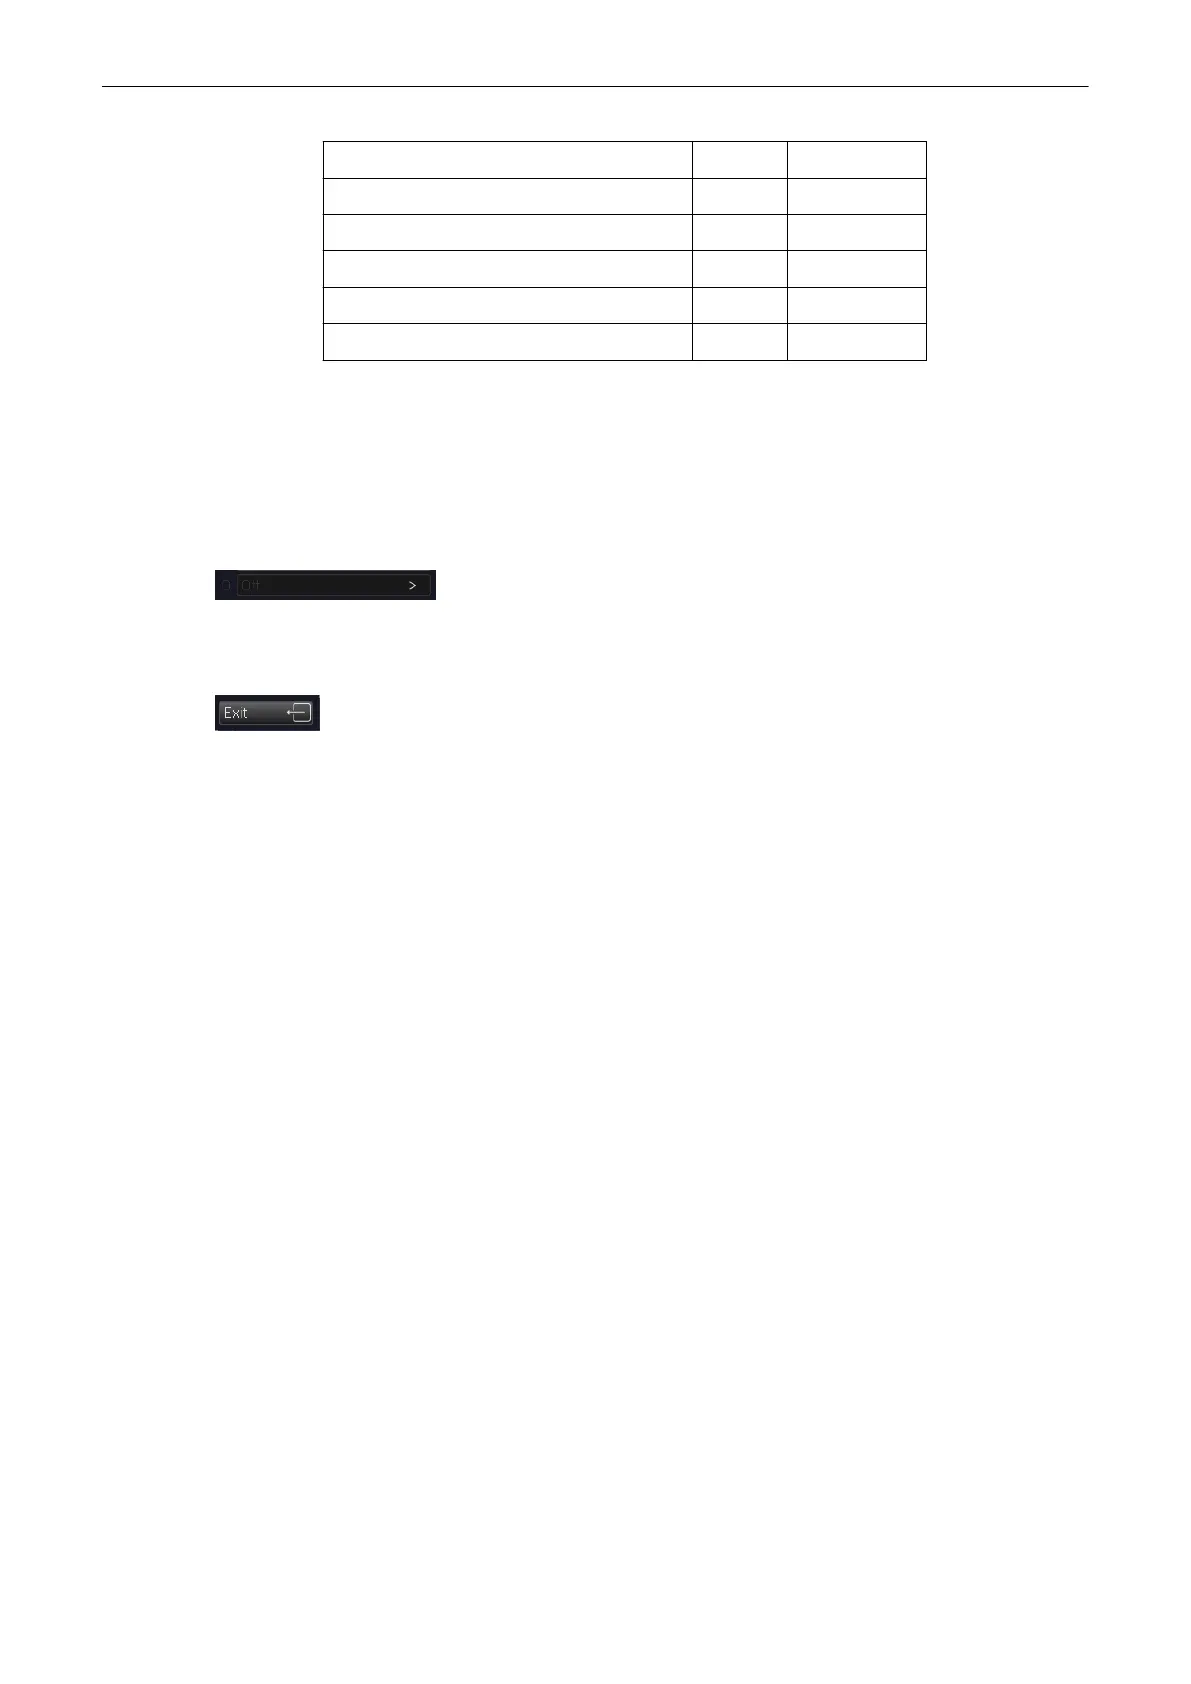
Select the [Off] key to return to 3D/4D menu without applying changes. The
orientation marks in 3D/4D mode are hidden. Reset of probe orientation
setting to default values. This key is only available if probe orientation menu
has been activated once.
Select the [Exit] key to return to 3D/4D menu without applying changes.
9.1.6 The Render Box
To obtain a good 3D picture, the following three points are very important (similar to a
photography):
•
the direction of view
•
the area/size of view
•
unobstructed view of the object (surface mode)
This has to be adjusted with the render box. The render box determines the size of the volume
to be rendered. Therefore, objects that are not inside the box will not be included in the render
process and cut out (important for the surface mode to cut off objects, which obstruct the view
of the object). The positioning of the box inside the scanned volume is performed by trackball
and selection of a sectional plane A, B, C.
Review the following diagram to understand how the render box determines the direction of
view. Six different view directions are possible
Volume Mode
9-14
Voluson® S6/S8 Basic User Manual
5433669-100 Revision 4