Step 4:
Wait for the GWN76XX to boot up and acquire an IP address from the DHCP Server.
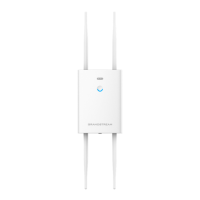
Figure 8: Connecting GWN AP - GWN7600 as example
Warranty
If the GWN76XX Wireless Access Point was purchased from a reseller, please contact the company where
the device was purchased for replacement, repair or refund.
If the device was purchased directly from Grandstream, contact our Technical Support Team for an RMA
(Return Materials Authorization) number before the product is returned. Grandstream reserves the right to
remedy warranty policy without prior notification.
Wall/Ceiling Mount Installation GWN7630/GWN7605/GWN7610/GWN7600
GWN7630/GWN7610/GWN7615/GWN7600/GWN7605 can be mounted on the wall or ceiling, please
refer to the following steps for the appropriate installation. This is the GWN7600 example:
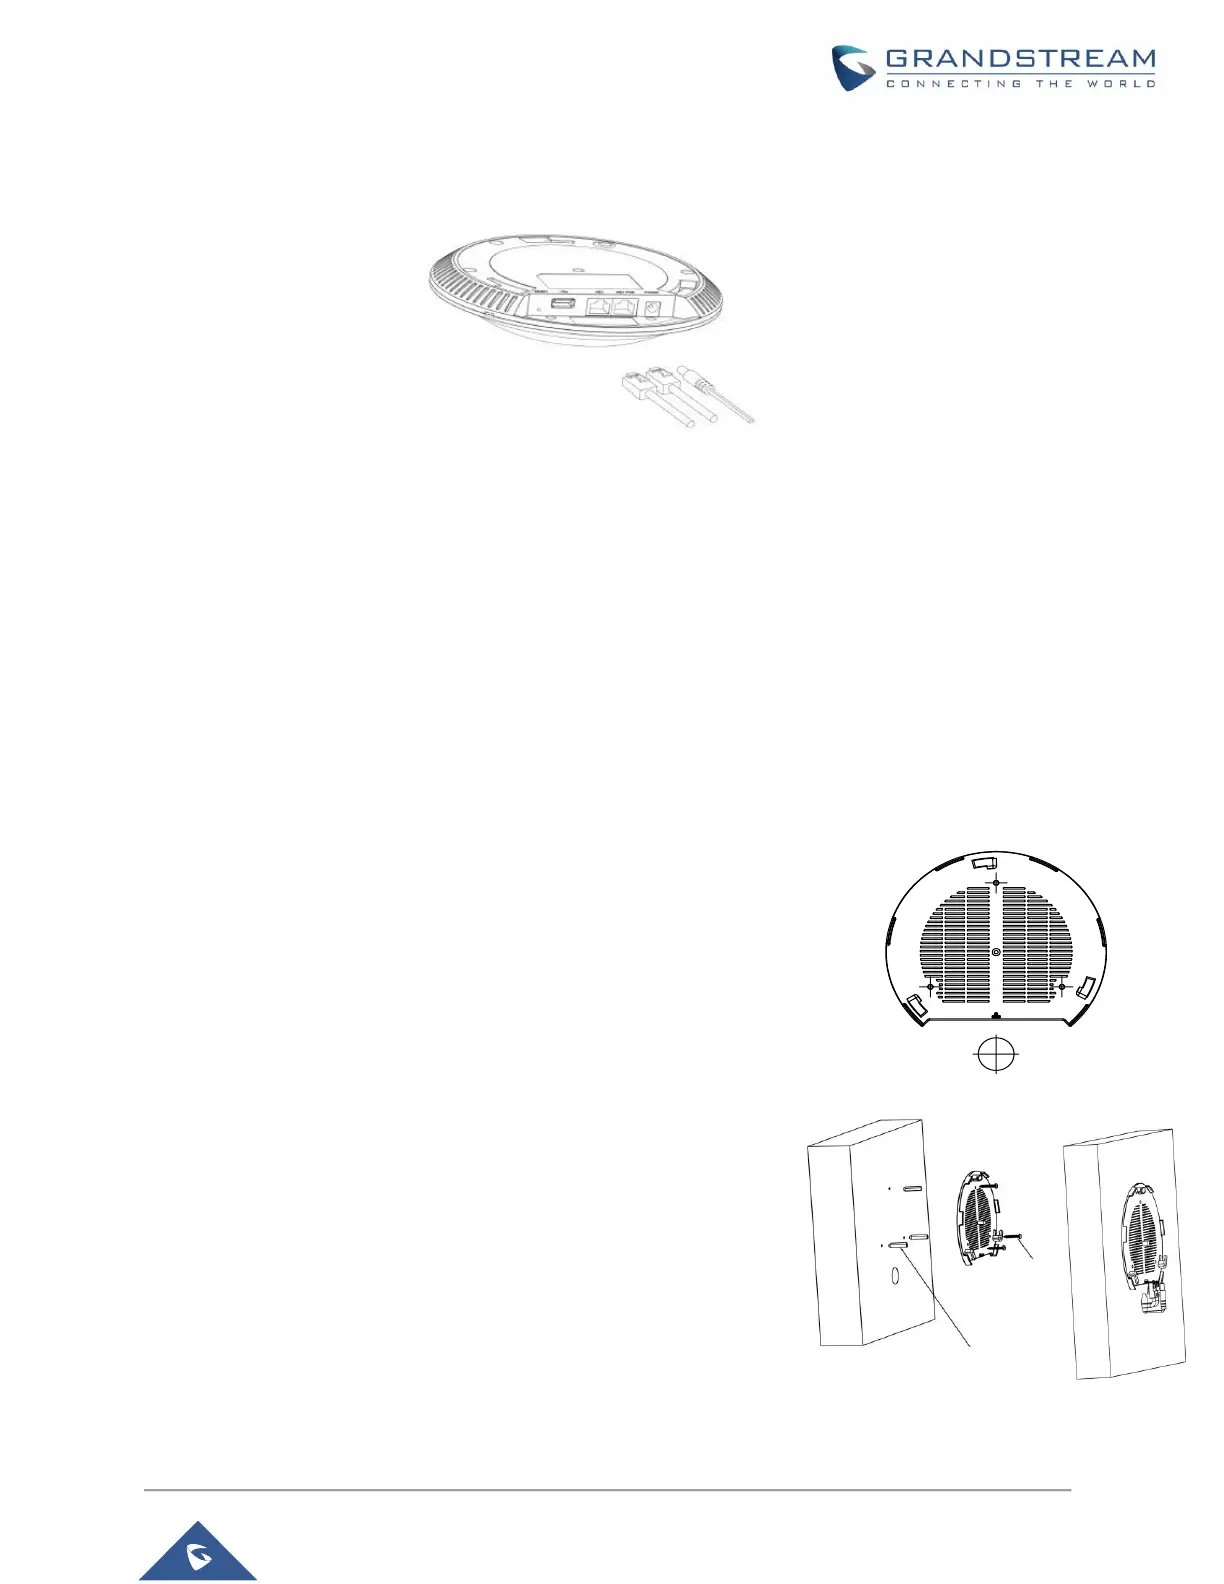
Wall Mount
Step1:
Position the mounting bracket at the desired location on the wall
with the arrow pointing up.
Step 2:
Use a pencil to mark the four mounting holes (screw holes DIA
5.5mm, reticle hole DIA 25mm).
Step 3:
Insert screw anchors into the 5.5 mm holes. Attach the mounting
bracket to the wall by inserting the screws into the anchors.
 Loading...