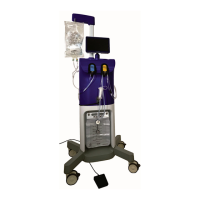
Fluent Pro Fluid Management System
16 Procedure Setup English
Caution!
Only use the Handle to move or position the Fluent Pro Fluid Management System. Do not pull or push the system with the
IV pole or Touchscreen Monitor.
Caution!
Do not lean on the Handle. Leaning may cause the system to tip.
WARNING!
Do not place excessive force or weight on the Fluid Bag Hooks. Doing so can result in an inaccurate fluid deficit value,
causing risk to patient safety.
2.2.2 Position the Fluent Pro Fluid Management System to allow the MyoSure tissue removal device (TRD) drive cable to hang in
a large arc with no bends, loops, or kinks.
2.2.3 The ideal placement of the Fluent Pro Fluid Management System is behind the Physician either to the right (if right-
handed) or to the left (if left-handed).
2.2.4 Inspect the console for noticeable severe damage. This includes severe damage to the supply arm, supply bag hooks, and
waste bag hooks. If severe damage is found discontinue use of the system. To use the device, perform a Scale Calibration
Check following steps detailed in Section 6.1.1.
2.3
Connecting the Power Cord
2.3.1 Unwrap the Power Cord from the Power Cord Wrap on the rear of the Fluent Pro Fluid Management System.
2.3.2 Connect the Power Cord to the Power Cord Port on the rear of the Fluent Pro Fluid Management System.
2.3.3 Plug the Power Cord directly into a hospital grade wall outlet with the appropriate power for the Fluent Pro Fluid
Management System. The Power Button will illuminate orange.
2.3.4 Position the Fluent Pro Fluid Management System to ensure that the Power Cord does not obstruct positioning or cause a
tripping hazard.
WARNING!
To avoid the risk of electric shock, this equipment must only be connected to a supply mains with protective earth.
Caution!
Ensure the available wall outlet voltage matches the data listed on the label attached to the rear of the system. Incorrect
voltage can cause errors and malfunctions and may damage the system.
For more information about Power Cord safety, see Section 6.3 Power Cord Safety.
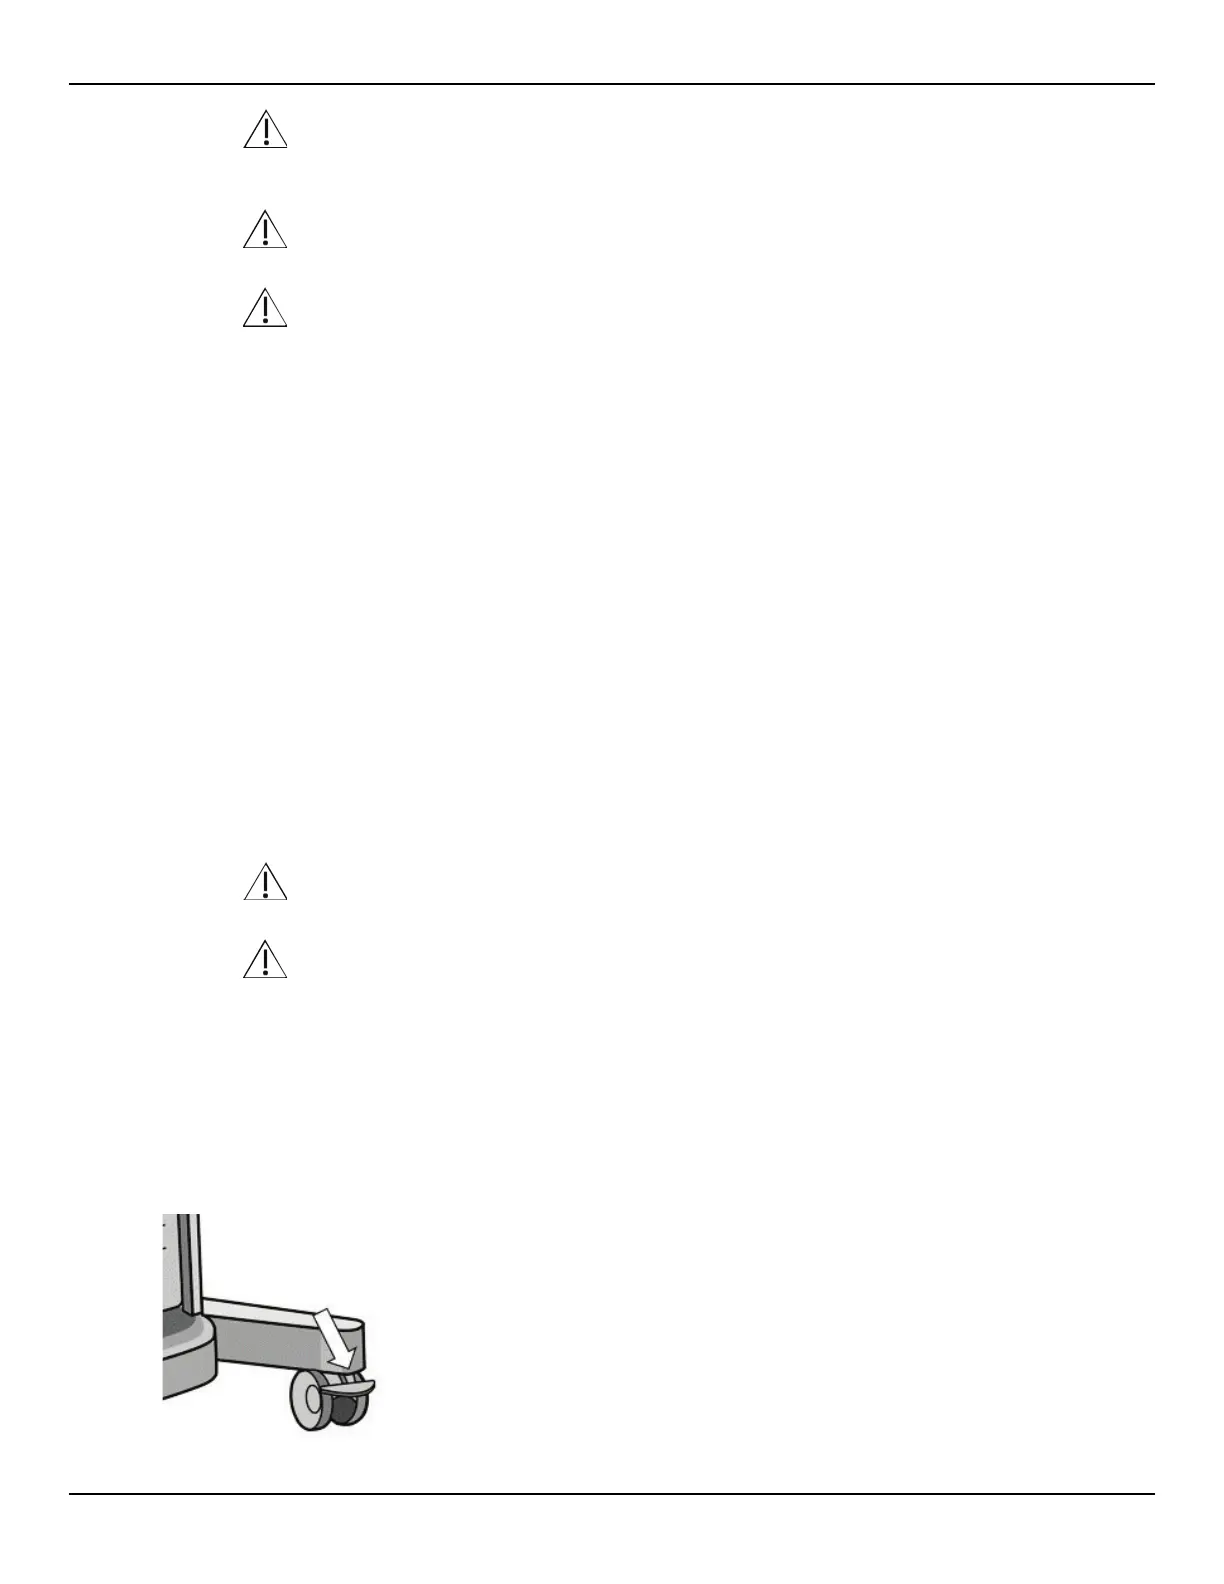
2.4
Locking the Wheels
To lock the wheels, use your foot to push down on the outer lever of each Wheel Lock.
Figure 12: Lock Wheels