96 IFP-300 Series Manual — P/N LS10145-001SK-E:C 4/6/2022
Programming Modules
2. Select 7 for Program Menu.
3. Press 1 to enter the Module Menu.
4. Press 1 to edit a module.
5. To select the module you want to edit, use the up or down arrow key. Then, press ENTER.
Editing Module ID
6. Press the up or down arrow key to modify the module ID.
Naming Modules
You can assign an English name to a system hardware module to make it easier to recognize on a display.
7. If you want to edit the modules name, press the up or down arrow key to select each character for the modules name (or press the right
arrow key to bypass the name edit).
.
Changing Module Options
Each module has a unique set of options that specifically applies to the functionality of the module being edited.
8. Use the left and right arrow keys to move the cursor between the available options.
9. To edit the Option settings, press the up or down arrow key or use the keypad to enter a number.
8.2.2 Adding a Module
If you need to add a new hardware module to the system, follow these steps.
1. Login to the panel.
2. Select 7 for Program Menu.
3. Press 1 to enter Module Menu.
4. Press 2 to add a module.
5. From the next screen, use the up or down arrow to choose a module type to add from the <New Module Type> screen.
The screen will display “Adding module [#]...” for a few moments. You will be returned to the <New Module Type> screen where you
can add additional modules if desired.
You must save changes when you exit the Program Menu or the new module will not be added.
8.2.3 Deleting a Module
If you ever need to delete a module, follow these steps.
1. Login to the panel.
2. Select 7 for Program Menu.
3. Press 1 to enter Module Menu.
4. Select the desired module.
5. Press 3 to delete a module.
6. Select a module to delete.
7. A Warning screen will display. If you want to proceed with deleting the module, select Yes. To cancel, select No.
NOTE: If you are working on a networked system, you will need to select which panel you want to program.
NOTE: You cannot edit the module ID for any internal devices, the ECS-NVCM, or the SK-NIC.
NOTE: See Appendix A for instructions on how to edit names.
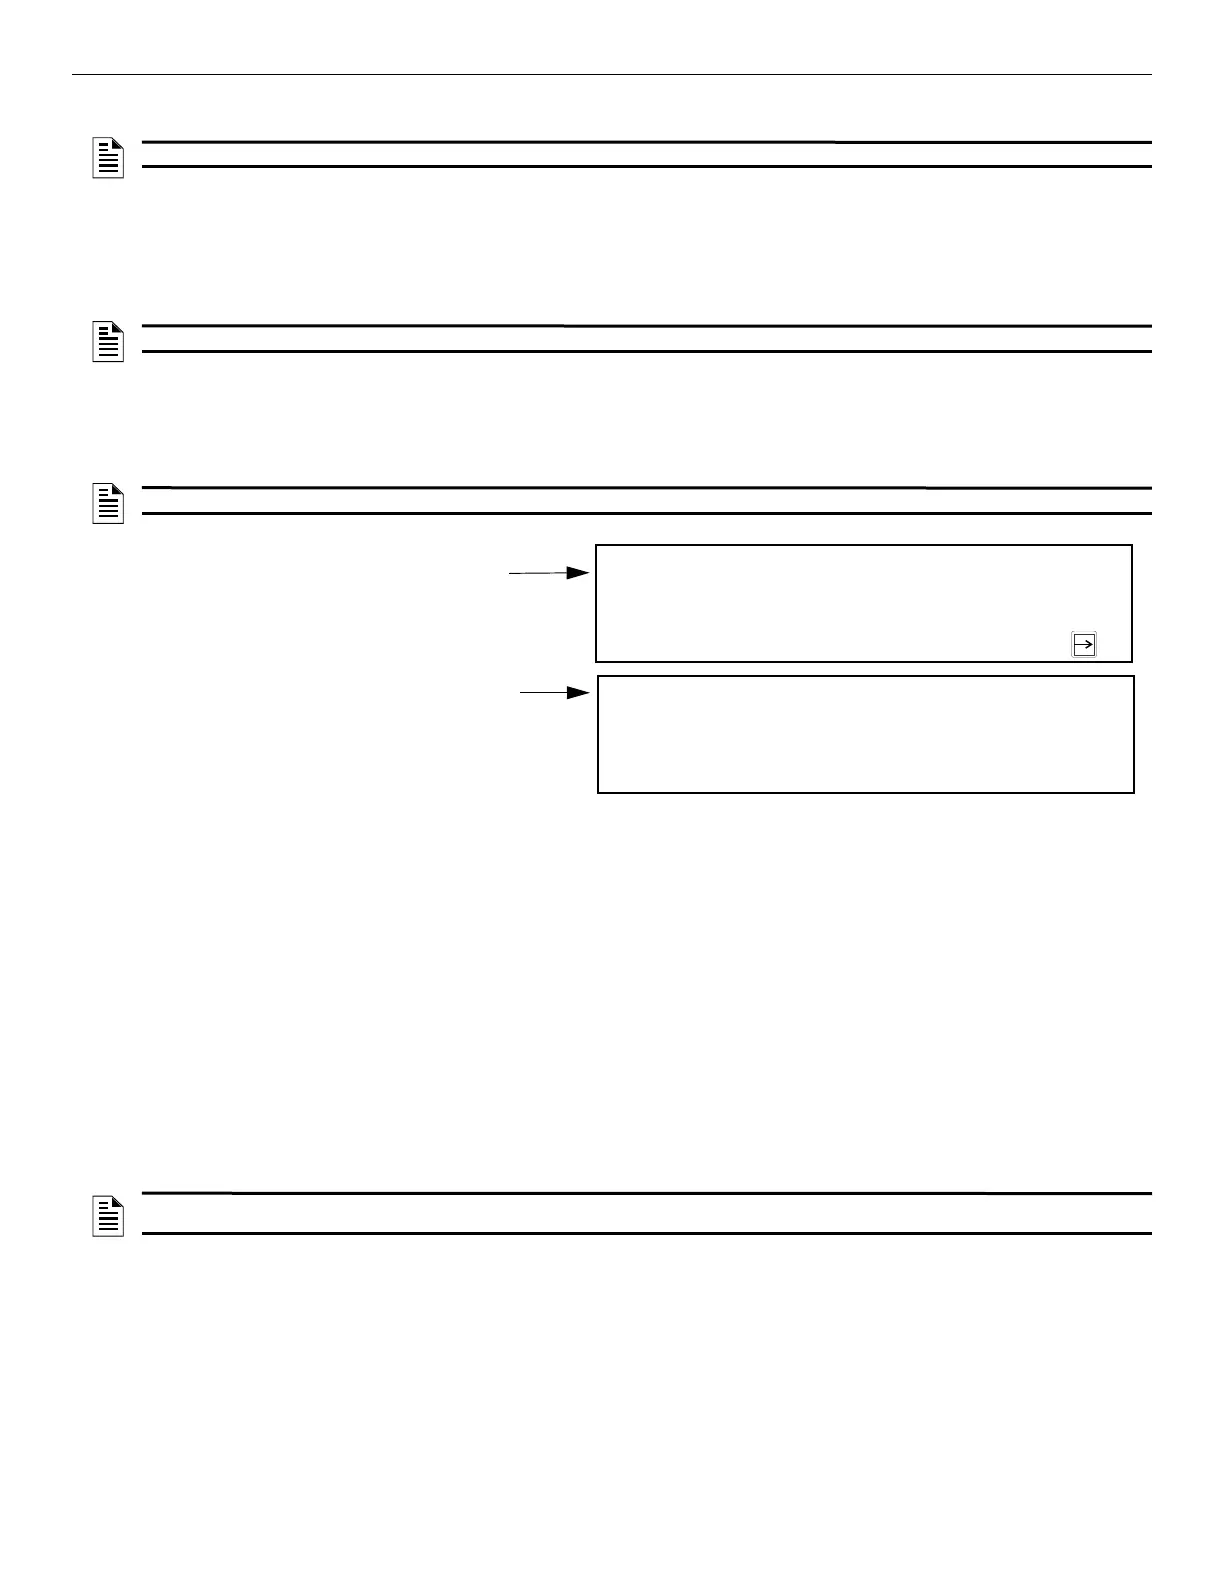
Default name for the Internal SLC module
(no customization)
Use the up or down arrow key to select the mode.
Press the number until the desired character is
shown.
Press left/right arrow key to move.
Internal SLC Loop
Module ID: 97
Internal SLC
<Module Name> More
<Enter Module Name> Enter: Accept
Internal Power Supply
1 [abc] 2 [def] 3[ghi] 4 [jkl] 5 [mno]
6[pqr] 7 [stu] 8 [vwx] 9 [yz ] 0 [Spc]
Figure 8.1 Edit Module Name Programming Screen Example
NOTE: If you add a module that has not been physically connected, the panel will go into trouble after it reinitializes (when you exit the
Program Menu). When the new module is attached, the trouble will correct itself automatically.
 Loading...