Chapter 6 – Maintenance
Honeywell Confidential: Use or disclosure of information on this page is subject to the restrictions on the title page.
13841 Rev A
214
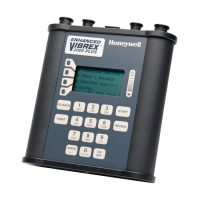
4. Pull the shield (02) away from the Vibrex unit chassis
enough to gain access to the ribbon cable that connects
the main PCB (14) to the keypad (part of the chassis).
5. Gently remove the ribbon cable (for the keyboard) from
its connector on the main PCB.
1. CAUTION: Pull on the connectors
only, not on the ribbon cable.
6. Remove the four 4-40 screws (03) from the connector
end plate (04).
2. NOTE: These screws do not hold connectors on the
connector end plate.
7. Pull the connector end plate away from the chassis,
using care that the shield (02) follows the main PCB (14)
without catching on anything.
8. Locate the EPROM chip (U20) on the top side of the
main PCB (same side as the LCD screen).
9. Remove the EPROM chip from the EPROM socket in
the main PCB (14) by gently prying it up, first at one end
then the other until the EPROM is clear of the socket.
10. Insert the new EPROM chip into the EPROM socket so
the index notch in the chip aligns with the notch printed
for “U20” on the main PCB.
CAUTION: Take care not to bend the pins on the EPROM
when pushing the chip into place.
11. Make sure the EPROM chip pins align with the EPROM
connector sockets before pressing the chip into the
socket.
12. Reassemble the Vibrex unit in the reverse order of
disassembly.
13. Switch the unit on and verify a successful power-up
operation.

 Loading...


