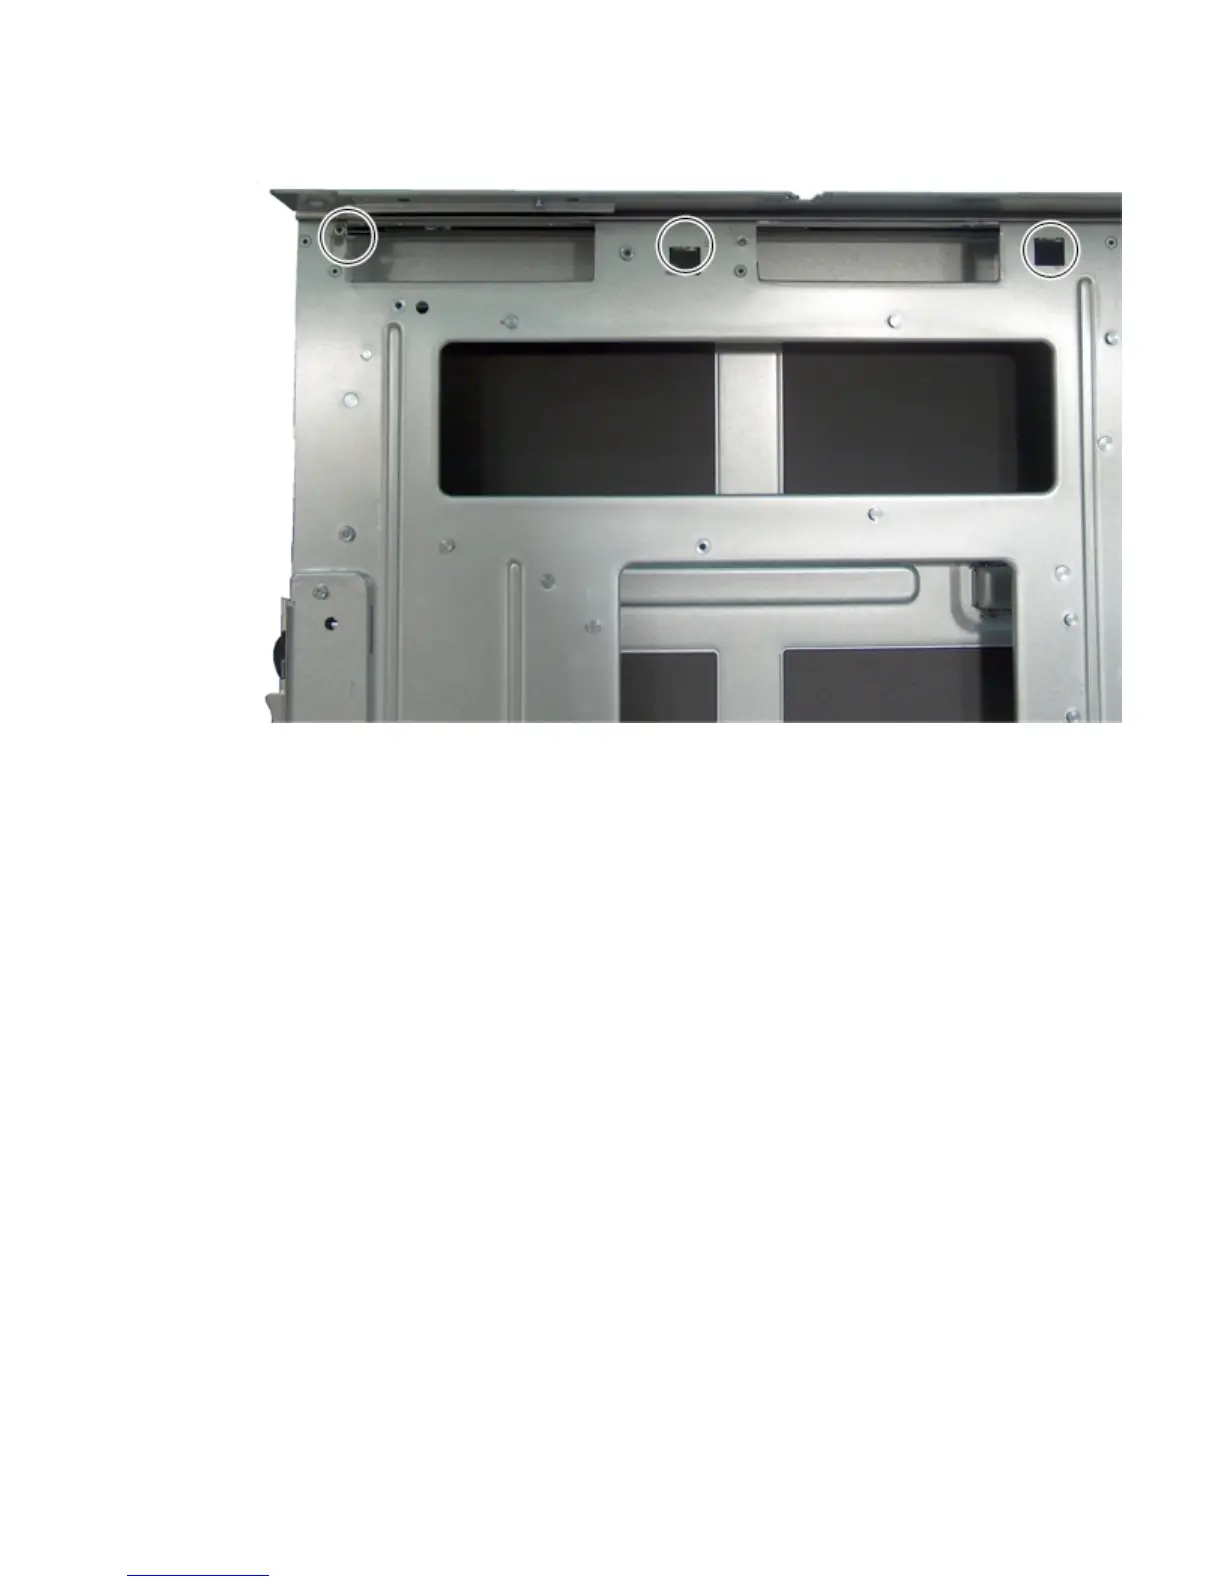
1. Install the system board into the server by lining up the keyways on the system board with the
guide keys on the server blade chassis. For the guide key locations, see Figure 66.
Figure 66 Guide Keys on the System Board
2. Shuttle the system board toward the front of the server blade until it clicks into place.
3. Tighten the four captive thumbscrews on the system board to attach the system board to the
server blade chassis.
For the thumbscrew locations, see Figure 65 (page 140).
4. Install the TPM (if necessary).
See “Replacing the TPM” (page 137).
5. Install the air baffles.
6. Install the front panel.
See “Replacing the Front Panel” (page 132).
7. Install the SAS backplane and cable.
See “Replacing the SAS Backplane” (page 130).
8. Install the processor MVR cable by pushing it into the connector on the system board.
9. Install the processors onto the system board.
See “Replacing a Processor” (page 127).
10. Install the mezzanine card or cards.
See “Replacing a Mezzanine Card” (page 135).
11. Replace the right access panel. “Replacing the Right Access Panel” (page 117).
12. Install the SAS disk drives or disk drive blanks.
See “Replacing a SAS Disk Drive” (page 112).
13. Turn the server blade over to access the left side of the server blade.
14. Remove the left access panel.
See “Removing the Left Access Panel” (page 118).
Removing and Replacing the System Board 141
 Loading...


