Step 3 Power o the RH2288H V3. For details, see 4.2 Powering O the Server.
Step 4 Remove all external cables such as power and network cables.
Step 5 Remove the RH2288H V3 and put it on an ESD desktop. For details, see 3.6
Removing the Server.
Step 6 Remove the chassis cover. For details, see 7.11 Removing the Chassis Cover.
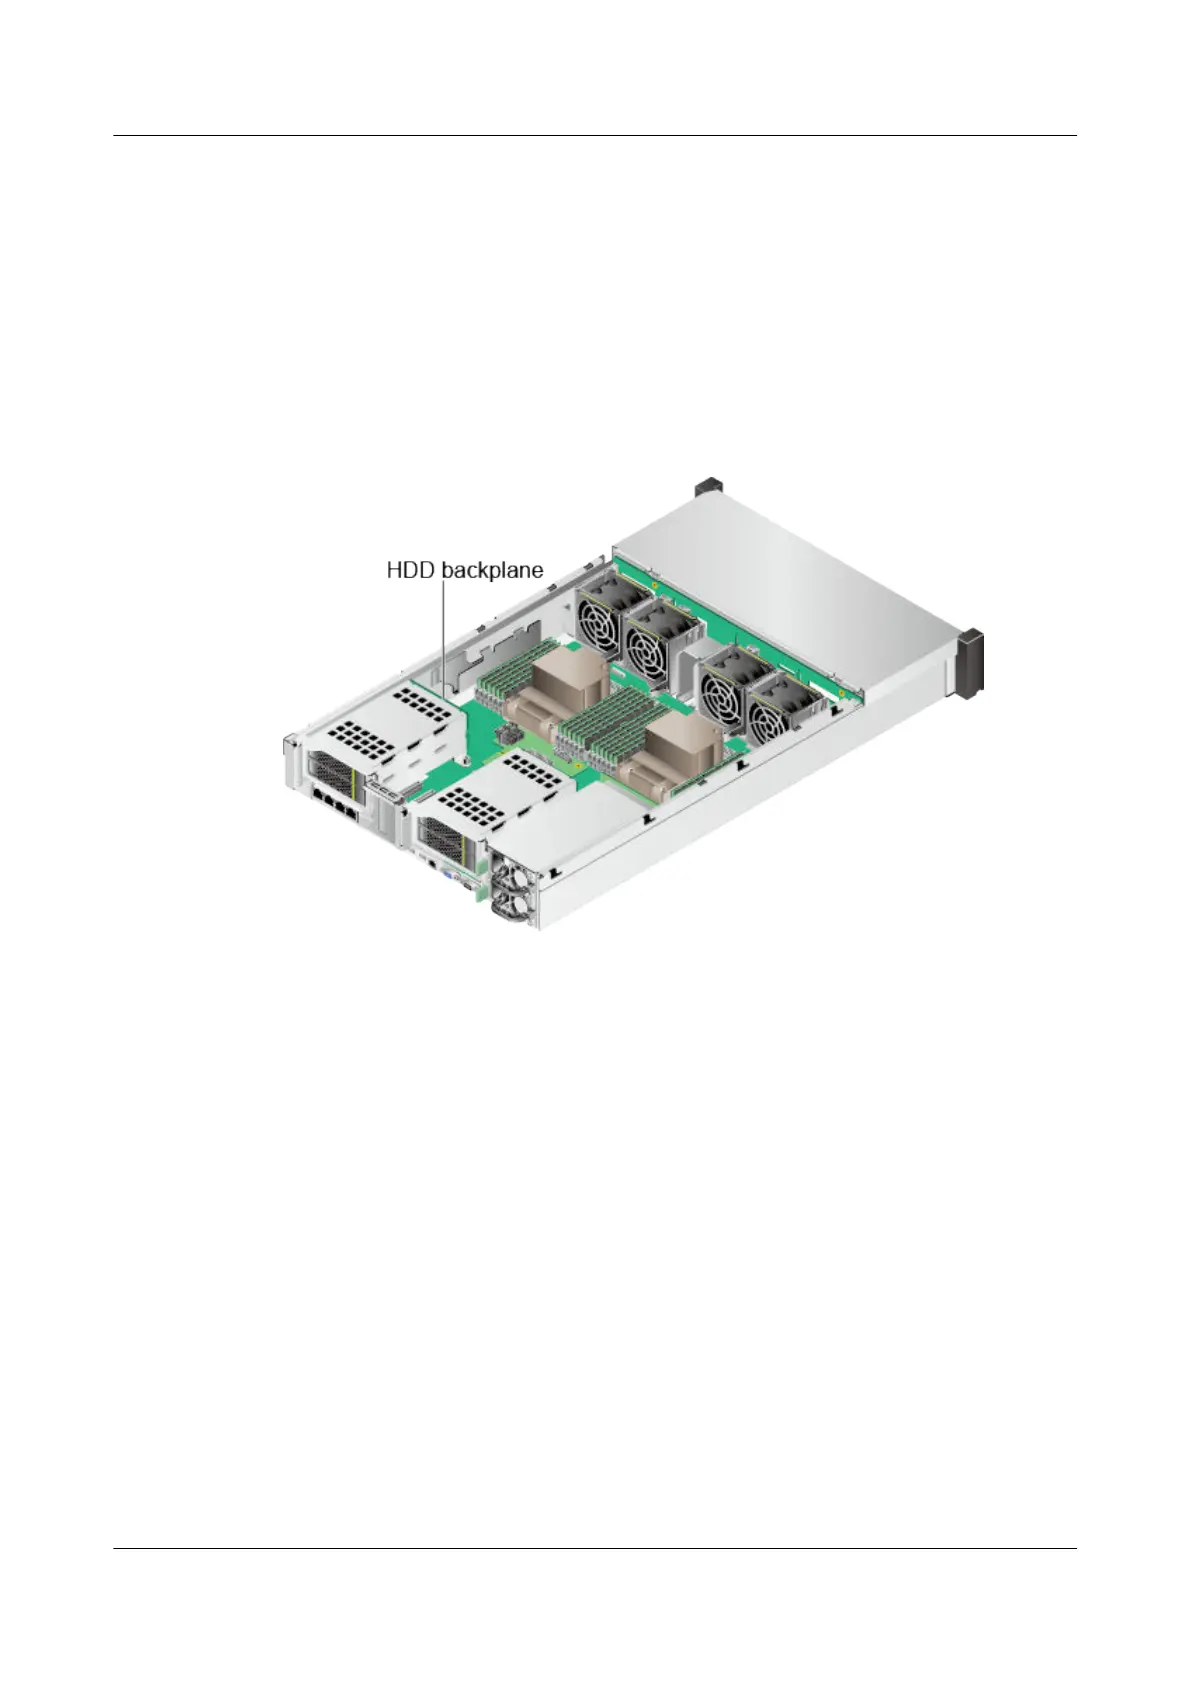
Step 7 Determine the position for removing the rear disk backplane. Figure 7-138 shows
an example.
Figure 7-138 Position for removing the rear disk backplane
Step 8 Remove the rear hard disks from the disk backplane.
Step 9 Disconnect all cables from the rear disk backplane. For details, see 2.7 Internal
Cabling.
Step 10 Loosen the screws that secure the rear hard disk module, and lift the module. See
Figure 7-139.
RH2288H V3 Server
User Guide 7 Replacing Parts
Issue 46 (2022-12-28) Copyright © Huawei Technologies Co., Ltd. 273

 Loading...


