v 1.4 — September 2015 Altanium Neo2
56 Running a Mold Test
8.1.1 Running a Mold Test
To run the automated mold diagnostics test please follow the steps below:
1. Before connecting any power to the controller or the mold, clean the area. Remove any
debris or fluids from the surrounding area.
2. For safety reasons, make sure the controller and mold share the same ground.
3. Check all mold wiring one more time to make sure there are no bare wires, frayed ends
or cut insulation.
4. If thermocouple and power cables are available, connect them from the controller to the
mold, checking them for a clean fit.
5. Connect the Altanium mainframe to the main input power and turn it On via the main
disconnect.
6. Load a mold setup before running the Mold Test.
7. Verify the zones to test are turned On. Any zones turned Off will not be tested.
8. On the Home screen touch Mold Test.
NOTE:The mold test function can performed when the system is stopped.
Function Button Description
Zone Displays the zone number and the test/result status.
• Grey - Zone is turned off or not selected for testing.
• Yellow - Zone is being tested or is selected for testing.
• Red - Test is complete and zone has failed one or more tests.
• Green - Test is complete and zone has passed all tests.
TEST RESULTS Displays the results from the last test.
DELAY TIME Used to adjust the time delay between one zone completing testing and
the next one starting.
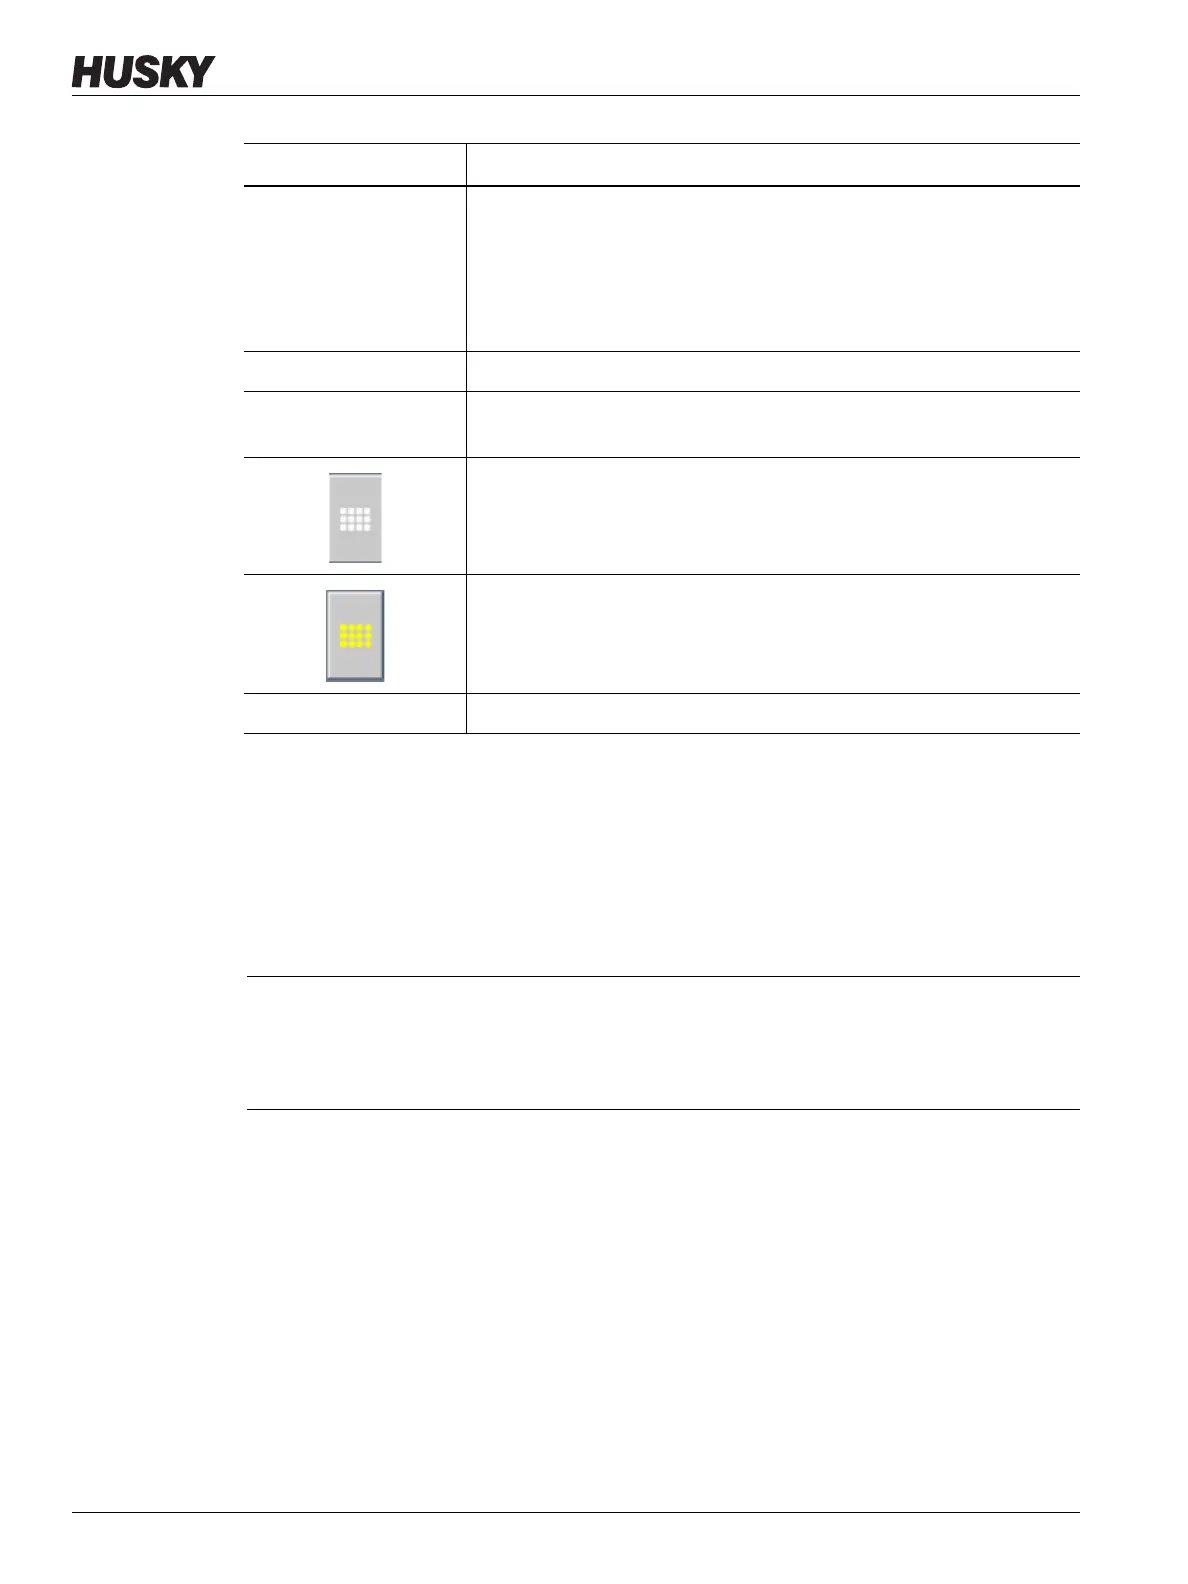
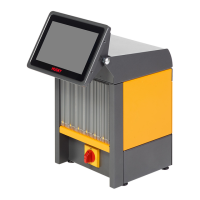
Clears all of the selected zones.
Selects all of the selected zones.
OK Closes the Test screen.
CAUTION!
Mechanical hazard - risk of damage to the equipment — Do not rely on the possibility
of a ground in the mold cables. Using a piece of grounding wire and attach it to the
mold ground connector on the Altanium mainframe.