Connect for Communication
XPR300 Instruction Manual 809480 181
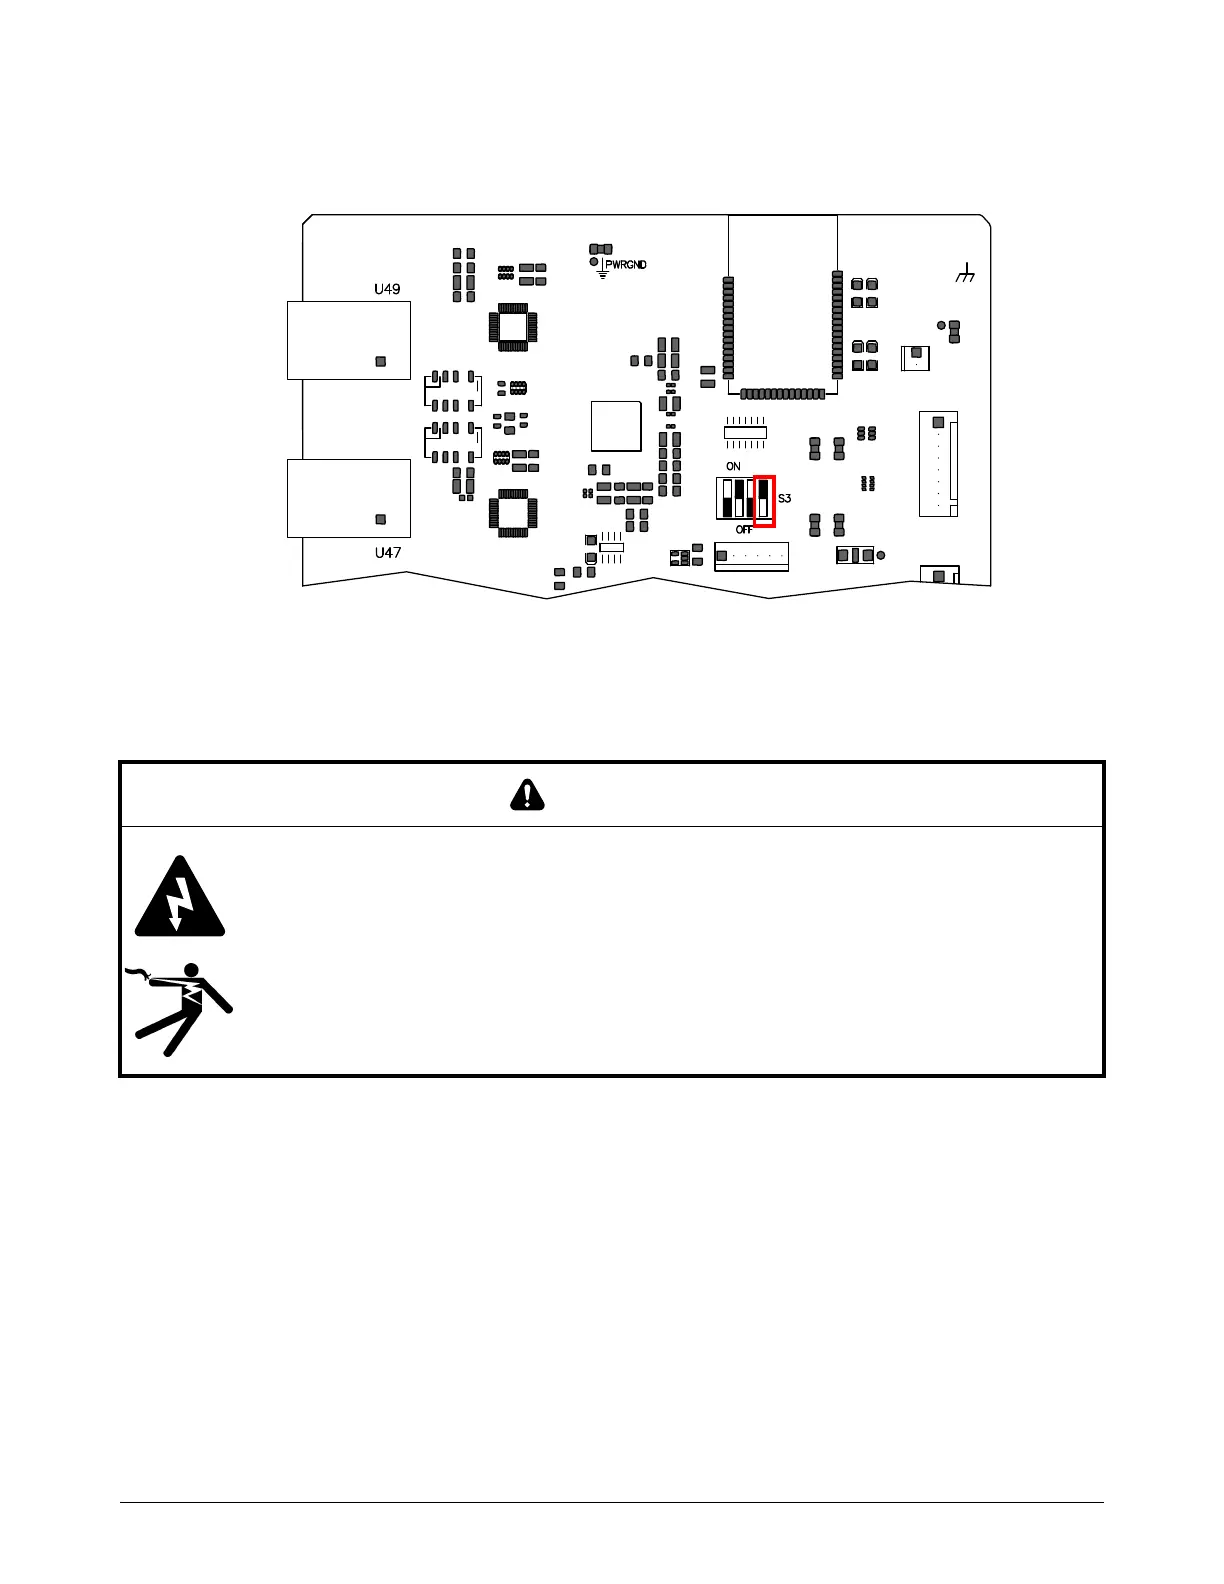
3. On the main control board, set position 4 on DIP switch S3 to the ON position.
This disables the wireless.
4. Supply power to the cutting system:
a. Set the line-disconnect switch to the ON position.
b. Make sure that the power-indicator LED is illuminated on the plasma power supply.
5. W
ait 30 seconds.
6. Remove the power from the cutting system:
a. Set the line-disconnect switch to the OFF position.
b. Make sure that the power-indicator LED is not illuminated on the plasma power supply.
7. Set position 4 on DIP switch S3, located on the main control board, to the OFF position. This
enables the wireless.
WARNING
ELECTRIC SHOCK CAN KILL
The plasma power supply contains dangerous electric voltages that can seriously injure or
kill you.
Use extreme caution if you do service or maintenance work on a plasma power supply
when it is connected to an electric power source and the outer cover or panels are
removed.