Installation
XPR300 Instruction Manual 809480 133
Install the consumables
The torch head that comes with the XPR torch assembly kit (428488) has 300 A mild steel
consumable parts pre-installed.
For guidance about how to choose consumables for your cutting or marking needs, refer to the XPR
Cut Charts Instruction Manual (809830).
1. Remove the power from the cutting system:
a. Set the line-disconnect switch to the OFF position.
b. Make sure that the power-indicator LED is not illuminated on the plasma power supply, gas
connect console, and TorchConnect console.
2. Choose the best consumables for your cutting or marking needs.
3. Apply a thin film of silicone lubricant (027055) to each O-ring on every consumable.
The O-rings should look shiny. Too much lubricant can prevent gas flow.
Remove excess lubricant if found.
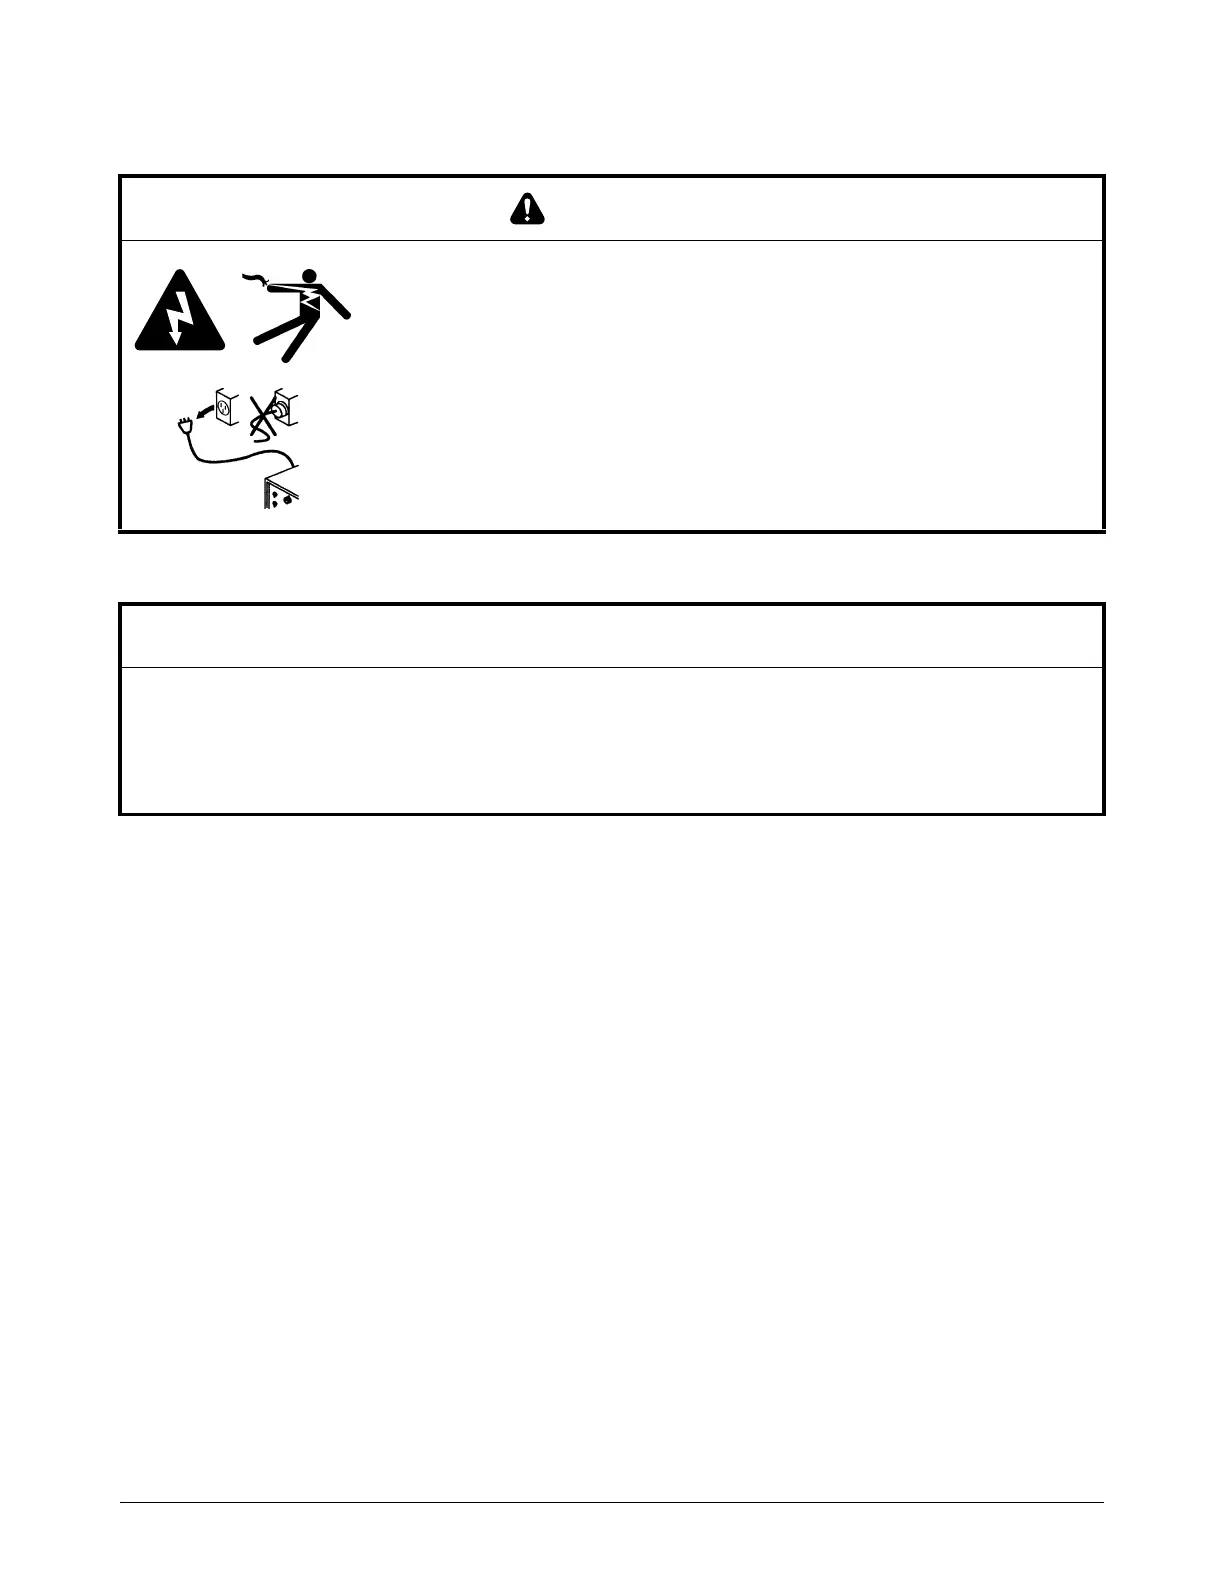
WARNING
ELECTRIC SHOCK CAN KILL
Disconnect electrical power before doing installation or maintenance.
The line-disconnect switch must REMAIN in the OFF position until all
installation or maintenance steps are complete.
See the Safety and Compliance Manual (80669C) for more safety
information.
NOTICE
A LOOSE OR OVERTIGHTENED ELECTRODE CAN DAMAGE THE TORCH
A tool is necessary to correctly install and tighten the torch electrode. Do not use your hands.
Hypertherm recommends tightening the electrode to between 2.3 Nm – 2.8 Nm (20 inlbf – 25 inlbf)
torque. If you fail to correctly install and tighten the electrode, torch damage can occur.